Temperature indicators from Testo's Testoterm range are self-adhesive, irreversible labels that permanently change colour the moment a surface exceeds a rated temperature threshold. They do not display a live reading. They do not reset after cooling. What they do is provide a permanent, physical record that a specific temperature was reached — exactly once, on a specific surface, at some point between application and the next inspection. That distinction is the most important thing to understand before selecting, placing, or interpreting any Testoterm product. For a broader look at the Testo HVAC instruments range available in Australia, that collection covers live measurement tools alongside the indicator products discussed here.
Reviewed by Rica Francia Macaspac | Published: May 2026 | Last reviewed: May 2026

What Testoterm Temperature Indicators Are
Testoterm temperature indicators are peak-threshold labels. They prove that a surface reached or exceeded a set temperature. They do not tell you when it happened, how long it lasted, or what the temperature is right now. That single-purpose design is a strength, not a limitation — it makes them reliable passive monitoring tools for surfaces that cannot or should not have instruments attached permanently.
The Testo brand, headquartered in Germany, produces the Testoterm range specifically for surface-temperature threshold monitoring across industrial, HVAC/R, electrical, and logistics applications. In Australia, the HVACShop range includes three main Testoterm formats: the compact Ø15 mm Mini Indicators, the 14 x 14 mm Measuring Points, and the 50 x 18 mm temperature strips. Each format suits different surface sizes, pack quantities, and inspection workflows — but all three share the same irreversible colour-change principle.
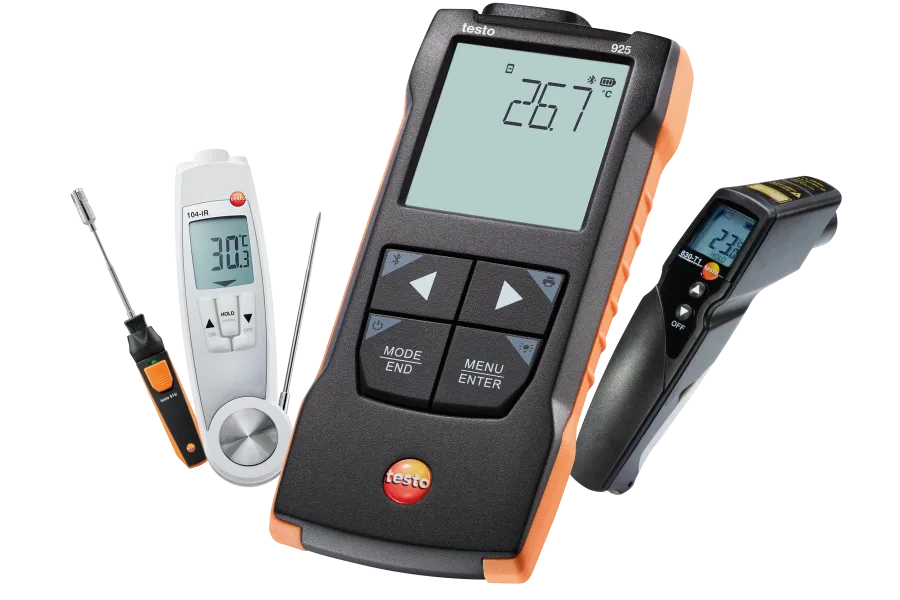
The key distinction for any HVAC technician evaluating these products is that Testoterm indicators complement live measurement tools — they do not replace them. A probe thermometer tells you what a surface is doing right now. A Testoterm indicator tells you what the surface did at its peak between visits. Both have a place in a professional service workflow, and understanding when each applies is what this guide covers.
How Irreversible Colour-Change Labels Work
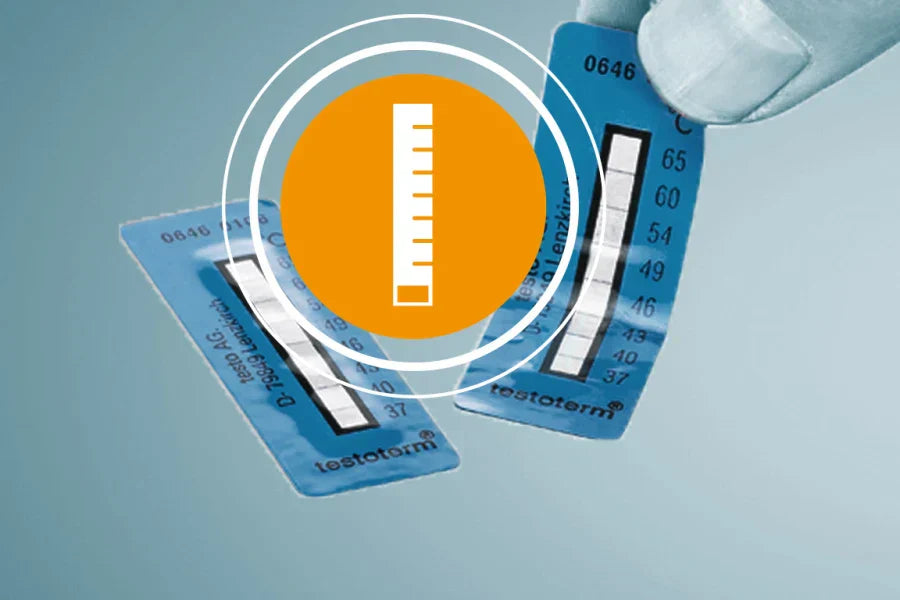
The chemistry behind Testoterm indicators is straightforward. Each threshold point on a label contains a heat-sensitive compound that undergoes a permanent physical or chemical change when the rated temperature is reached. The change is visible — typically a darkening or colour shift that contrasts clearly against the unactivated indicator — and it cannot be reversed by cooling, pressure, or time.
The response time across the Testoterm range is 2–3 seconds at the rated threshold temperature. That is fast enough to register a brief heat event — a momentary overload on a motor winding, a compressor discharge temperature spike, or a transient thermal event in a switchboard — that might be missed entirely by a technician who only visits the site periodically. The label is there continuously, responding to whatever the surface does between inspections.

Once activated, the reading is permanent. A label that shows a threshold has been exceeded will continue to show that after the surface cools, after the equipment is switched off, and after the next service visit. That permanence is what gives Testoterm indicators their evidence value — they create a physical record of a heat event that exists independently of any instrument, any log, or any technician's recollection. For more detail on reading activated indicators correctly, our guide on how to read temperature strips accurately covers the interpretation workflow in full.
Across the Testoterm range: response time 2–3 seconds at rated threshold. All formats are self-adhesive and irreversible — once activated, the colour change is permanent and cannot be reset. Storage maximum +25°C for unused stock. Accuracy for Measuring Points: ±1.5°C. Confirm current specifications on the Testo Australia manufacturer page or the relevant HVACShop product listing before specifying for a formal QA or compliance application.
Mini Indicators vs Measuring Points vs Strips
The three Testoterm formats serve different surface types, pack quantities, and reading requirements. The comparison below covers the key practical differences to help you select the right format before purchasing.

| Format | Dimensions | Pack Quantity | Threshold Style | Best Application | HVACShop Link |
|---|---|---|---|---|---|
| Mini Indicators | Ø15 mm (round) | 10 per booklet | Multi-point (several thresholds per label) | Compact components, small motors, bearings, tight spaces | compact Testoterm Mini Indicators |
| Measuring Points | 14 x 14 mm (square) | 50 per booklet | Single threshold per label | QA checks, warranty monitoring, multi-asset fleet inspections | Testoterm Measuring Points for single-threshold checks |
| Temperature Strips | 50 x 18 mm (rectangular) | Varies by variant | Multi-point across a wider range | Larger flat surfaces, pipework, heat exchangers, panels | Testoterm temperature strips for wider range checks |
The format choice comes down to three practical factors: the size of the surface being monitored, whether you need a single threshold or a range of threshold points per label, and how many labels you need per monitoring cycle. A compressor bearing housing with limited clearance suits the Ø15 mm Mini Indicator. A control cabinet door being checked across 50 assets on a service fleet suits the 14 x 14 mm Measuring Point at 50 per booklet. A broad pipe section or heat exchanger face suits the wider strip format.
Choosing the Right Threshold
Threshold selection is the step most likely to be done poorly, and a poorly chosen threshold produces a label that either never activates (set too high) or activates on every normal service cycle (set too low). Neither outcome tells you anything useful.
The correct approach is to start with the component's rated normal operating temperature — available from the equipment datasheet, nameplate, or manufacturer documentation — and then select a threshold that sits meaningfully above that normal range but below the component's rated maximum. The gap between normal operating temperature and selected threshold is your alert margin. A label that activates only when something genuinely abnormal has occurred is a useful diagnostic tool. A label that activates during every normal operating cycle is noise.
For the Testoterm Measuring Points for single-threshold checks, the currently listed thresholds are 65, 71, 77, 82, 110, and 121°C — confirm current availability on the product page, as the range may be updated. For Mini Indicators, the available range runs from 116–138°C through to 199–224°C in the current HVACShop listing. For lower-temperature applications — motor windings, refrigeration cabinets, or electronics — check whether the specific threshold you need is available before specifying.
Ambient heat is a factor in Australian conditions that is easy to underestimate. A label applied to a compressor housing in a Darwin plant room or a rooftop unit in western QLD during summer is already exposed to ambient temperatures that can approach 45–50°C on the surface in direct sun. If your selected threshold is 65°C, ambient heating alone may cause activation without any fault condition. Factor in ambient surface temperature when selecting thresholds for outdoor or poorly ventilated equipment.
Before applying a Testoterm label to outdoor equipment in northern Australia, check the surface temperature with a contact thermometer or non-contact IR gun during the hottest part of the day. If the surface already reaches 55°C in normal ambient conditions, a 65°C threshold label will activate without any fault — costing you a label and creating a false alarm in your maintenance records. Select a threshold with adequate margin above the measured ambient maximum.
Where HVAC and Refrigeration Techs Use Them
Testoterm indicators find their most consistent use in HVAC/R across five equipment categories, each with a slightly different application logic.
Compressors are the most common application. Discharge line temperature, compressor shell temperature, and motor winding temperature are all heat-event monitoring points where a label can catch an overheating event that occurs between service visits. A compressor that runs normally during every attended service call but trips on high-pressure protection three times between visits is telling you something — a Testoterm label on the discharge line or motor housing will show whether a temperature threshold was exceeded during those events.
Electric motors on air handlers, condensers, and cooling tower fans benefit from labels on the motor frame or bearing housings. Motors that are approaching bearing failure or operating in high-ambient conditions accumulate heat events. A label provides evidence of those events independently of any fault log or trip record.
Switchboards and control panels are an electrical application where labels near terminal blocks, relay clusters, and busbar connections can indicate localised overheating from loose connections or overloaded circuits. This is passive monitoring only — it does not replace thermal imaging or electrical testing, but it provides a simple, cost-effective indicator of heat events between formal inspections. Note that any corrective work on electrical systems must be performed by a qualified electrician.
Refrigeration cabinets and cold chain equipment use labels in a different direction — to monitor that temperatures stayed below a threshold, or in some cases, to confirm that equipment did not exceed safe operating temperatures on the refrigeration side during a fault. The industrial temperature strips guide covers cold chain and industrial refrigeration applications in more depth.
Pipework and heat exchangers benefit from strip-format labels where the wider surface makes a larger label practical. A label on a discharge line upstream of a service valve, or on a heat exchanger face, will record whether that section exceeded its normal operating temperature range between inspection intervals.
Application and Documentation Workflow
Getting accurate results from Testoterm indicators depends as much on application technique as on threshold selection. A label applied to a dirty, oily, or wet surface will have poor thermal contact — the adhesive layer between the label and the surface acts as an insulator, slowing or preventing the colour-change response. The result is a label that fails to activate even when the surface reaches the threshold temperature, which is the worst possible outcome: a false negative that gives you confidence a heat event did not occur when it actually did.

The workflow for reliable results:
Clean the surface with an appropriate solvent or degreaser and allow it to dry completely before applying. Any oil film, dust, or moisture residue between the label and the surface reduces thermal contact.
Apply by peeling the label carefully, positioning it with the sensing face fully against the surface, and pressing firmly from the centre outward to eliminate air pockets. Air gaps under the label insulate the sensing element from the surface temperature. On curved surfaces — compressor housings, pipe sections, motor frames — press the label edges down firmly and check that the entire sensing area is in contact.
Photograph the label immediately after application, alongside any visible asset tag, equipment nameplate, or location reference. This creates a baseline record that can be compared against post-inspection photographs to document any threshold activations clearly.
Log the threshold, location, asset ID, date of application, and inspection interval in your job management system, CMMS, or site maintenance record. A label that activates and is replaced without being documented provides no long-term value to the maintenance record.
Inspect and replace activated labels promptly. An activated label has served its purpose — it has recorded a heat event. Replace it with a fresh label of the same or revised threshold so monitoring continues. Do not leave activated labels in place indefinitely, as they provide no additional information once triggered.
Testoterm indicators are evidence tools, not calibrated data loggers. They confirm that a threshold was exceeded — they do not record how long the temperature was above threshold, how many times it occurred, or what the peak value was above the threshold point. For time-series temperature data or calibrated measurement, a data logger or live temperature measurement tools are required alongside the label.
Frequently Asked Questions
Can Testoterm indicators be reused after activation? No. The colour change is irreversible. Once a threshold indicator activates, it cannot be reset or reused. Replace activated labels with fresh stock after logging the heat event.
Are they live thermometers? No. Testoterm indicators show only that a rated threshold was reached at some point after application. They do not display the current temperature, do not update in real time, and do not show temperatures below the rated threshold. For live surface or air temperature readings, use a contact thermometer, non-contact IR thermometer, or data logger from the live temperature measurement tools range.
Where should unused stock be stored? Unused Testoterm indicators should be stored at or below +25°C in a clean, dry location away from heat sources. Storage above +25°C can cause premature colour change or degraded adhesive performance. Do not leave stock in a service vehicle parked in full sun — the interior of a closed vehicle in Queensland or NT summer can significantly exceed safe storage temperatures.
Do they work on all surface types? Testoterm labels are designed for clean, dry, relatively smooth surfaces. They perform best on metal surfaces — compressor housings, motor frames, pipe sections, panel doors — that are free of oil, dust, and moisture. Performance on painted, textured, or porous surfaces may vary; confirm suitability for non-standard surfaces before specifying for a formal monitoring programme.
What accuracy can I expect? The Testoterm Measuring Points are rated at ±1.5°C. Confirm accuracy specifications for other formats on the relevant product page or manufacturer documentation before use in a formal QA or compliance context.