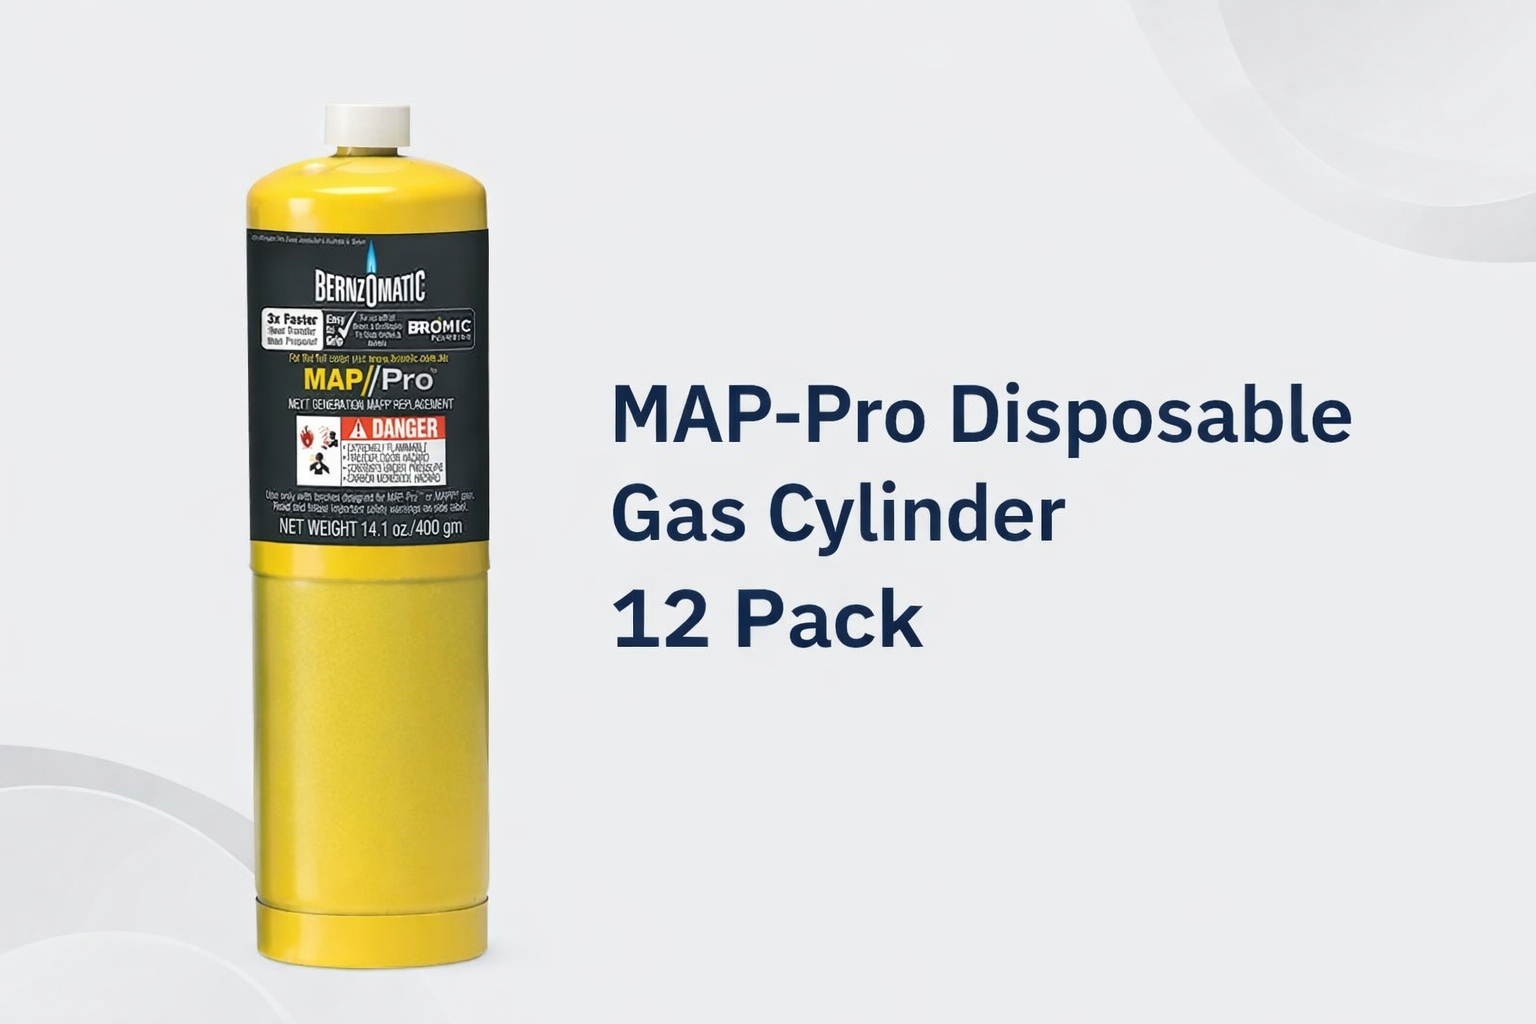
MAP-Pro Disposable Gas Cylinder 12 Pack: What It’s For
If you’re doing hot work on copper regularly, fuel becomes part of your workflow. This MAP-Pro disposable gas cylinder 12 pack is aimed at medium to heavy soldering and brazing tasks where you want steady heat and fewer “run to the supplier” moments.
On HVAC installs and repairs, that usually means repeat joints: brazing refrigerant lines, heating fittings, and finishing a day’s work without rushing the last connection because the bottle feels low. The big win of a 12 pack isn’t “more power”. It’s calm and consistency. You know you’ve got fuel ready, and you can stick to the same safe routine on every job.

One quick note on names. Most tradies still say “MAPP gas” because that’s what the older fuel was called. Today, what you commonly buy for hand torches is MAP-Pro style fuel. The safe approach is not to rely on a nickname. Always read the cylinder label and use it exactly as the supplier intends.
If you want the full “what is MAPP gas today?” explanation, start with our hub guide on understanding MAPP gas properties. It clears up naming, typical use cases, and what to confirm before you commit to a torch and cylinder setup.
This page is a practical guide for this 12 pack: what it’s best for, how to keep it safe in the van, how to check connections, and how to avoid the small mistakes that cause most gas and hot-work problems.
Why a 12 Pack Makes Sense on Real HVAC Jobs
Buying in a 12 pack makes sense when hot work is part of your normal week, not a once-a-month task. If you’re fitting split systems, doing ducted change-outs, or running commercial service calls where you might light the torch multiple times a day, having fuel ready saves time and removes pressure.
Time matters, but safety matters more. The riskiest hot work often happens when people feel rushed. Running low on gas is one of those “rush triggers”. You start thinking about stretching the bottle, you push heat harder, and you take shortcuts like skipping a leak check because you “just want to finish”. A simple stock habit can remove that risk.
There’s also a quality angle. When you’re calm, you heat the joint evenly, you watch the metal, and you let the filler flow properly. When you’re stressed, you blast the joint, you overheat the area, and you create messy work that is harder to inspect and more likely to fail under vibration.
For teams, a 12 pack helps standardise. Everyone knows what cylinder is in the van. Everyone knows what connection they’re using. You don’t end up with mixed bottles and torch heads, and you don’t waste time arguing over what fits what.
It’s also practical for job planning. If you’re doing a day on rooftops with Sydney coastal wind stripping heat, or you’re in Brisbane humidity where fatigue hits harder, you don’t want to be doing “fuel maths” in your head. You want to focus on safe work zones, tidy pipe runs, and clear site habits.
Pro Tip
Treat fuel like PPE: it lives in one spot, it gets checked often, and it gets replaced before it becomes a problem. That one habit stops a lot of rushed hot work.
What this pack is not: it’s not a shortcut for poor technique, and it’s not a reason to push hot work into unsafe spaces. A better fuel plan should make you slower where it matters, and faster where it’s safe.
If you’re stocking fuel because you’re doing more brazing work, it’s worth bookmarking our usage guide on brazing with MAPP gas. It’s the practical “how to run the torch and joint” side that makes your fuel choice pay off.
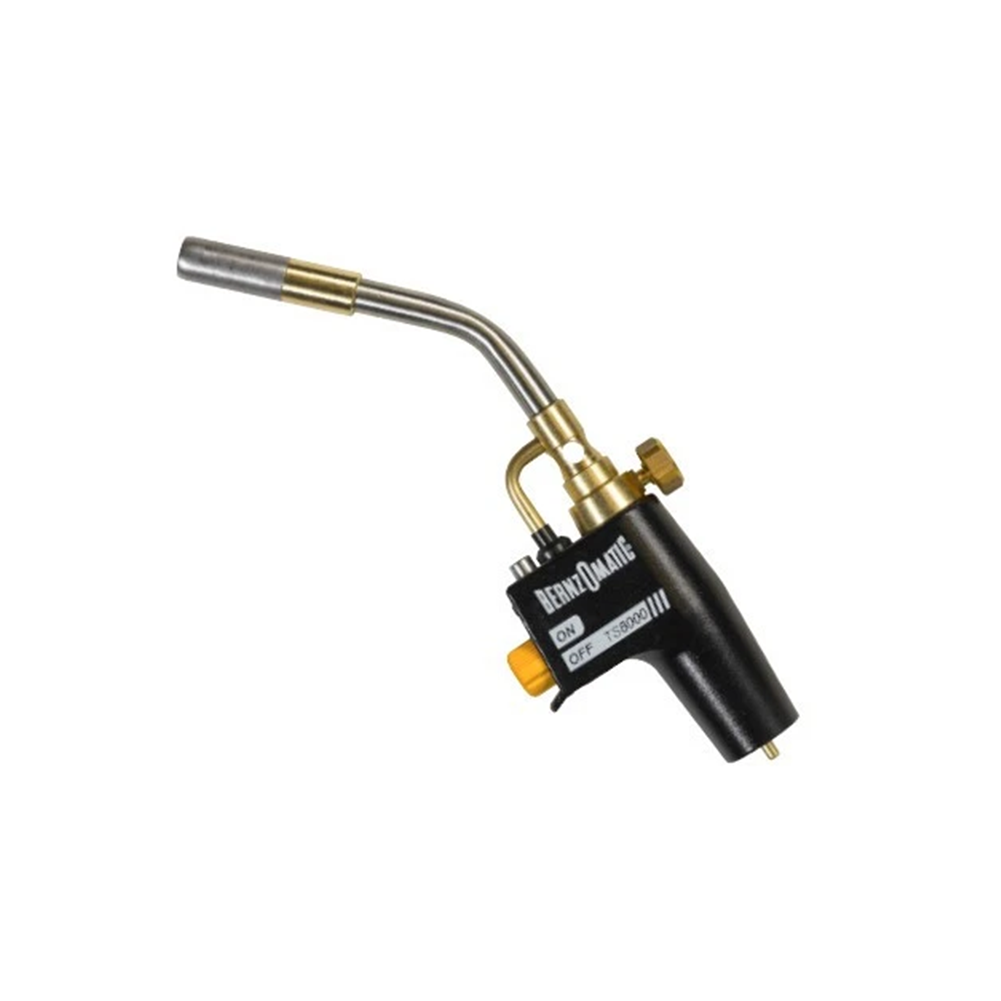
Torch Compatibility and Connection Checks
Compatibility is where most headaches start, and it’s also where a lot of safety problems begin. The safest rule is simple: match your cylinder connection to your torch head connection, and never force threads.
This pack is commonly supplied with the standard hand-torch connection used on many MAP-Pro style cylinders. In many listings you’ll see this described as a CGA 600 thread. That’s useful language to know, but don’t treat it as a guarantee for every torch. Always confirm the connection type in your torch manual and on the cylinder label.
When you connect a cylinder, the goal is a smooth, clean thread engagement. If it feels gritty, if it binds, or if it needs force, stop. Cross-threading damages the seal and can create a leak path. It also ruins your gear over time.
A good connection check starts before you even thread the bottle on. Wipe the threads. Look for dents, burrs, or damage. Check that the torch head isn’t bent or loose. If the valve control is sloppy or sticky, don’t ignore it. Small faults get bigger when the torch is hot.
Then connect the cylinder upright, on a stable surface. Don’t do it mid-air while you’re juggling tools. If you’re in a plant room or roof space, take 20 seconds to make the setup stable. That short pause is cheaper than any incident.
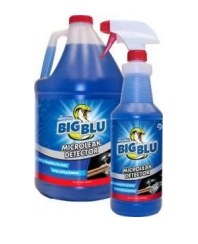
Once connected, do a leak check before ignition. That can be as simple as applying a proper leak detection solution to the connection and looking for bubbles. If you get bubbling, stop and fix it. Don’t “tighten and hope”. Don’t light a flame to “test it”.
If you want a broader guide on choosing torch head styles and building safer handling habits around ignition and shutdown, our page on safe MAPP torch operation is a good companion. It helps you line up the torch type with the job, which is often the difference between controlled heat and messy, risky heat.
One more Aussie job reality: corrosion. On coastal jobs, salty air can accelerate corrosion on threads and fittings. If you’re working around Sydney, Newcastle, or anywhere near the water, get into the habit of checking and cleaning torch threads more often. A connection that “used to be fine” can become rough over a season.
Did You Know?
Most gas incidents don’t start with the cylinder “failing”. They start with handling: a damaged valve, a rough connection, or a leak check that got skipped because everyone was in a hurry.
Finally, don’t mix-and-match “whatever is on the shelf” without thinking. If you’re standardising a crew, pick a torch and cylinder setup and keep it consistent. That makes training easier, makes checks faster, and reduces mistakes.
Safe Storage Basics for MAP-Pro Cylinders
MAPP gas safety starts long before ignition. It starts at the end of the day, when you’re tired, you want to pack up, and the cylinder gets tossed somewhere “for now”. “For now” is where most storage mistakes live.
Store cylinders upright where you can. Upright storage helps protect the valve and makes it easier to see labels and inspect condition. It also reduces the chance of cylinders rolling and getting damaged.
Ventilation matters. Fuel cylinders should be stored in a ventilated area where gas can’t build up if a valve weeps or a seal leaks. A sealed cupboard inside a building is not a “ventilated store”. A well-aired cage or a space with real airflow is safer.

Heat is the big Australian trap. The back of a van in summer, a shed corner in direct sun, or a roof space can turn into an oven. Many cylinders are commonly labelled with warnings to keep storage below about 50°C. Treat that as a serious line in the sand and always follow the cylinder label and supplier guidance for your exact product.
Keep cylinders away from ignition sources. That includes open flames, sparks, power tools, hot surfaces, and any electrical gear that can arc. It also includes “hidden” ignition sources like pilot lights and heaters.
Separate fuel from oxygen. If you use oxygen on some jobs, plan storage so fuel and oxygen are not sitting together casually. This isn’t about being dramatic. It’s about limiting the chance of one small problem escalating fast.
For worksites and workshops, storage and handling is often expected to align with recognised guidance. In Australia, AS 4332 is commonly referenced for storage and handling of gases in cylinders. You don’t need to memorise standards to work safely, but you do need a storage system that is stable, ventilated, protected from heat, and protected from impact.
If you want the full end-to-end safety playbook, our MAPP gas safety guide covers storage, transport, safe use, and what to do when something goes wrong. It’s a good page to share with apprentices because it explains the “why”, not just the “do this”.
For stock management, a practical move is keeping a “ready pack” and a “reserve pack”. Ready pack lives in the van in a safe rack. Reserve pack lives in the workshop in a safe store. That stops you from stacking cylinders loosely in the vehicle just because you have space.
And don’t ignore disposal. Don’t stockpile damaged cylinders “for later”. If a cylinder is rusted, dented, valve-damaged, or you can’t confirm it’s safe, treat it as a problem to solve now. For empty bottles, follow the label instructions and local waste rules. Don’t puncture. Don’t burn. Don’t toss unknown cylinders into general waste.
Tech Specs
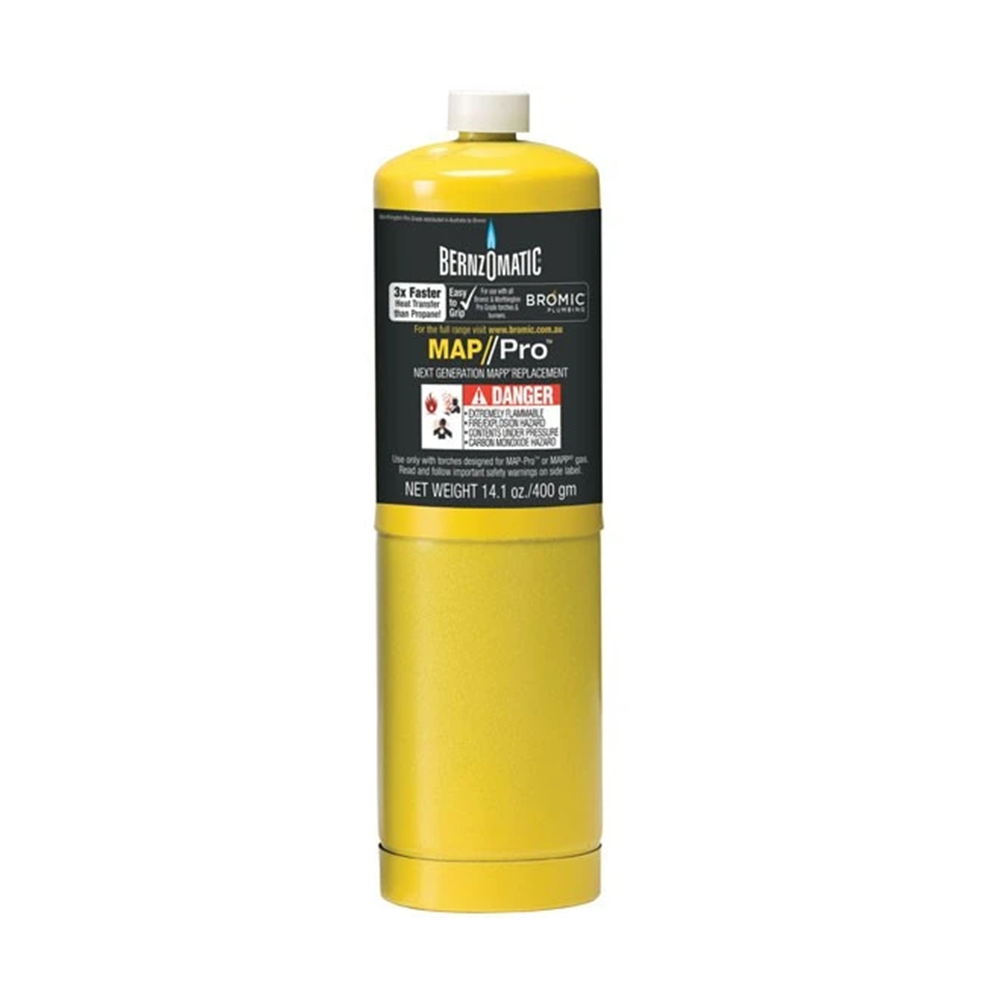
This product is commonly listed as MAP-Pro disposable cylinders for medium to heavy soldering and brazing use, using the standard hand-torch connection often called CGA 600. Flame behaviour and heat on the joint still depend on torch head, airflow, and your technique, so confirm your torch manual and cylinder label.
If you need single cylinders for topping up between bulk restocks, you can also keep a small “top-up” option on hand like proper MAP-Pro cylinder storage planning suggests, so the crew never gets caught short on a big day.
For one official reference on hazards and controls around flammable and combustible substances at work, SafeWork Australia’s guidance on flammable and combustible substances is a solid baseline. It’s not a “hot work manual”, but it helps explain why ventilation, ignition control, and good storage matter.
Van and Mobile Storage: Keep It Cool, Secure, and Ventilated
Transporting MAPP gas safely is a daily reality for fridgies and sparkies working around HVAC installs. Your van is both a workshop and a storage shed, which is convenient, but it’s also where heat, knocks, and clutter can turn a simple cylinder into a risk.
The safest mindset is this: the cylinder must not move, must not get hot, and must not leak into an enclosed space.
Securing is step one. A cylinder rolling around on the floor is a valve-damage risk. It’s also a “hard to inspect” risk, because you stop checking it properly when it’s buried under tools. A fixed rack or a strapped, dedicated bay makes safe habits easy.
Ventilation is step two. Vans are enclosed. If a cylinder leaks, gas can build up. You want airflow, and you want cylinders stored in a way that reduces the chance of leakage turning into a vapour pocket. “Ventilation” has to be real, not just a small gap that still traps gas.
Heat protection is step three. Australian summers are brutal. A cylinder left in direct sun behind glass can heat quickly. Pressure rises, and risk rises. Store cylinders low, shaded, and away from windows. If you park on site all day, think about where the sun hits your vehicle. Small choices make a big difference.
Separation from tools is step four. Keep cylinders away from sharp edges, heavy gear, and anything that can hit the valve. Also keep them away from oily rags and flammable liquids. Your van should not be “everything mixed together”.
Signage requirements vary by workplace and job type. Some fleets use simple “flammable gas” signage. Some sites require it. If you’re unsure, check company policy and site rules. The important part is that anyone opening your van knows there’s fuel inside and treats it with care.
| Van storage method | Safety and compliance (practical view) | Best use case | Watch-outs |
|---|---|---|---|
| Fixed cylinder rack (upright, strapped) | High safety when the rack protects the valve and the straps are used every time. | Daily work, multiple cylinders, crews that need repeatable habits. | Rack must suit the cylinder size and not expose the valve to impacts. |
| Ventilated rear compartment (secured) | Good safety if airflow is real and the cylinder cannot shift under braking. | When you want separation from tools and cleaner organisation. | “Ventilated” can be fake if the space still seals up most of the day. |
| Loose cylinder on van floor | Poor safety. High valve damage risk and easy to forget inspections. | Not recommended for any regular hot work. | Rolling, impacts, heat exposure, and “buried under gear” habits. |
| Sealed toolbox storage | Risky if the box can trap a leak and build gas concentration. | Only if designed with ventilation and proper securing. | Gas build-up risk if a valve weeps in a sealed compartment. |
| External canopy mount (shaded, secured) | Often good for ventilation when protected from sun and impact. | Utes and service bodies where airflow is easy to achieve. | Sun exposure and impact damage if the mount is exposed. |
Organisation supports safety. If the van is messy, safe habits get harder. If cylinders are always in the same place, checks become automatic. This is where general workflow thinking like HVAC van organization can pay off, because you’re building a system, not relying on memory.
Also think about the human side. Melbourne cold snaps can tempt you to light up in tighter spaces than you should because you “just want it done”. Brisbane humidity can make fatigue kick in earlier. WA dry dust can make everything gritty. Your storage system should reduce the mental load, not add to it.
Pre-Use Checks Before You Ignite
This is the simple routine that stops most problems. It’s not fancy. It just works.
Start with the cylinder itself. Look for dents, heavy rust, and valve damage. Check the label is readable so you know what you’re using. If anything looks off, don’t gamble. Swap it out. A cylinder is cheap compared to a fire or an injury.
Next, check the torch head. Look for bent parts, damaged threads, and a control knob that turns smoothly. If the torch has been dropped, treat it like it might be damaged even if it “still works”. Dropped gear is a common cause of small leaks.
Then connect carefully. Thread by hand. Don’t force. Keep the cylinder upright and stable. If the connection doesn’t feel right, stop and inspect both sides. Cross-threading is not a “try again later” issue. It’s a damage issue.
After connecting, do the leak check before ignition. Use a proper leak detection solution and watch for bubbles. If you have a leak, shut it down, disconnect safely, and fix the issue. Never use a flame to check for leaks.
Now prep the work area. Clear loose insulation and dust. Move flammable liquids. Protect nearby surfaces. Put your extinguisher where you can reach it without stepping over tools. If you’re working in a tight plant room, make sure you have a clear exit path. Hot work is not the time to be trapped behind stacked gear.
Ignite in a clear space, away from the cylinder valve and away from your face. Crack the gas, ignite smoothly, then adjust to a stable flame. If the torch flares, pulses, or behaves oddly, shut it down and re-check your setup.
Once you’re working, keep the cylinder upright and stable. Don’t hang it by the torch. Don’t rest it on hot surfaces. If you need to move position, shut down first, relocate, then re-ignite. Moving around with a lit torch is how people brush past insulation or wiring and start a fire.
If your work is brazing refrigerant lines, keep the safety thinking inside the technique. That means shielding, a clean work zone, and good control. Our guide on brazing with MAPP gas covers the practical steps that help you do hot work cleanly and predictably.
Finally, shutdown is part of the safety routine. Turn off the gas at the cylinder. Let the torch cool. Store the cylinder back in its safe spot. If you pack up fast and toss the cylinder in the wrong place, you undo all the good work you did while the torch was lit.
When You’re Building a Full Hot-Work Setup
Cylinders are only one part of doing hot work safely. Your torch head choice, your heat shielding, your fire-safe work area, and your storage habits all work together.
Start by choosing gear that supports consistency. That means a torch that ignites reliably, has stable flame control, and feels predictable in your hand. It also means heat shields and mats for jobs near walls, timber, paint, or insulation. Good gear doesn’t replace good habits, but it makes good habits easier.

Next, build a repeatable “hot work zone” routine. Even on domestic jobs, you can be methodical. Clear the area. Protect what can burn. Have water and an extinguisher within reach. Give yourself space to work. On commercial sites, follow hot work permit systems if they are required. They can feel like paperwork, but they exist because too many fires started the same way.
Then standardise training. If an apprentice can’t explain your connection check, your leak check, and your shutdown routine, that’s the gap to close. A fuel pack is only helpful when everyone uses it safely.
Finally, set your supply chain up so you never feel pressured. That’s what this 12 pack is really for: making safe work easier to repeat. If you’re building out your hot-work consumables and safety gear, browse our compliant welding equipment range to round out the basics like heat protection and site-ready accessories.
If you’re unsure whether this 12 pack suits your torch connection and the jobs you do most often, talk to our team to confirm compatibility. If you’re equipping a crew or restocking for repeat installs, contact us for a quote and we’ll help you standardise a safe, repeatable hot-work setup across Australia.