Why Flaring Tool Quality Matters in HVAC Work
If you work on refrigeration or air conditioning pipework, flaring is one of those basic skills that quickly stops feeling basic once you get a bad result. A flare that looks almost right can still leak, split, seat badly, or create a call-back that wastes time and refrigerant. That is why understanding flaring tools properly matters. It is not just about owning a tool. It is about using the right type, preparing the tube correctly, and producing a flare that seals cleanly under real job conditions.
This guide is written to make flaring tools easier to understand without dumbing the job down. Whether you are new to HVAC work or you already know your way around copper tube, the goal is the same: make better flares, avoid common mistakes, and choose tools that suit how you actually work on site.
If you want to compare the main buying options while you read, the approved place to start is the flaring and swaging kits collection at HVACShop.com.au. That collection is the cleanest reference point for both a spin flaring tool set and an eccentric flaring tool.
Table of Contents
- What is a flaring tool?
- How does a flaring tool work?
- How to use a flaring tool
- Common types of flaring tools
- Spin flaring tool set vs eccentric flaring tool
- Common flaring mistakes
- Buying guidance
What Is a Flaring Tool?
A flaring tool is used to form the end of tubing so it can seat correctly against a flare fitting. In HVAC work, that usually means creating a clean, even flare on soft copper tubing so the joint seals without relying on thread tape, sealant, or guesswork. Done properly, the flare becomes the sealing surface. Done badly, it becomes the weak point in the system.
This is why flaring tools matter so much in air conditioning and refrigeration work. The flare connection has to handle pressure, vibration, temperature changes, and long-term service conditions. Even if the fitting is good quality, a poor flare can still cause leaks, performance issues, and repeat visits.
Flaring and swaging tools are often discussed together because they both prepare tubing ends, but they do different jobs. A flare tool creates a flared sealing face for a flare fitting. A swaging tool expands the tube so another tube can fit inside it. Both are useful, and that is why many technicians end up comparing the full flaring and swaging kits range instead of treating them as completely separate purchases.
Many flare leaks are blamed on the fitting, but the real cause is often poor tube prep, uneven clamping, or an overdriven flare that looked fine at first glance.
How Does a Flaring Tool Work?
The basic idea is simple. The tool holds the tubing securely, then shapes the tube end outward into a flare. The finished flare needs to be even, smooth, and correctly sized so it seats properly against the mating fitting.
Different tools create that flare in different ways. Traditional bar-style tools clamp the tube in a flaring bar and drive a cone into the tube end. Eccentric flaring tools use an off-centre rolling action to form the flare more progressively. Spin-style tools use a different process again and are popular for fast, repeatable work in the right copper applications.
That design difference matters because it changes how much effort is needed, how forgiving the tool is, and how clean the final flare looks. A better-designed tool does not replace good technique, but it usually makes good technique easier to repeat.
How to Use a Flaring Tool
Good flaring starts before the tool even touches the tube. A strong result depends on clean prep, correct tube positioning, and not rushing the forming stage. This is where many flare problems begin.
- Cut the tube cleanly with a proper tube cutter, not a rough cutting method that leaves the end out of square.
- Deburr the inside edge and clean the outside of the tube end. Burrs damage flare quality and can affect sealing.
- Put the flare nut on before you flare the end. This sounds obvious, but everyone forgets it at least once.
- Clamp the tube in the correct opening of the flaring block or tool body, with the correct amount protruding above the surface according to the tool design.
- Tighten the clamp evenly so the tube does not slip during forming.
- Bring the cone or forming head down squarely and start forming the flare without forcing it aggressively.
- Complete the flare until the tool reaches its proper stop or resistance point. Do not keep cranking for the sake of it.
- Remove the tube and inspect the flare face carefully. It should be smooth, even, and centred.
- Check the flare against the fitting to make sure it seats properly and does not sit crooked or touch threads incorrectly.
- Only assemble once you are happy with the flare quality.
That is the simple version, but the important part is the inspection. A flare that is split, off-centre, too thin, or visibly rough should not be “good enough.” It should be cut off and redone before it causes a leak later.
Do not judge a flare only by how shiny it looks. Check whether it is even all the way around, whether the face is smooth, and whether it sits correctly against the fitting body.
Why Tube Preparation Matters So Much
A lot of technicians talk about flaring tool quality, and that matters, but tube preparation is just as important. If the tube is not cut square, if the inside edge is left burred, or if dirt is left on the end, the flare quality suffers before the tool even starts working.
Preparation also matters because HVAC copper is soft enough to form cleanly but also soft enough to distort if the tube is mishandled. A rushed cut, bad deburring, or sloppy clamping will show up in the final flare. That is why a better tool helps, but it still cannot rescue poor prep every time.
What Are the Common Types of Flaring Tools?
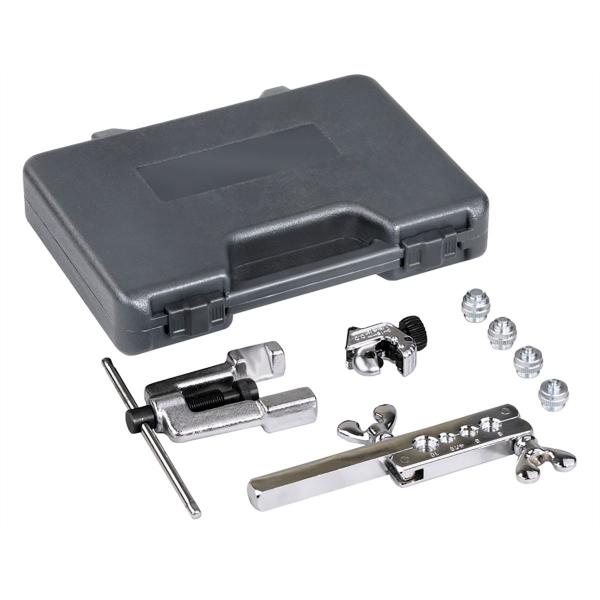
Bar-type flaring tools
Bar-type flaring tools are the traditional style many technicians know first. They use a clamping bar and a cone/yoke arrangement. They are common, proven, and still useful, especially when someone wants a straightforward tool and understands how to use it properly.
The main trade-off is consistency. A basic bar tool can produce a good flare, but it tends to be less forgiving than better modern designs. If the tube slips, if the protrusion is wrong, or if the cone is driven unevenly, flare quality drops fast.
Hydraulic flaring tools
Hydraulic flaring tools are used more in specialised applications where controlled force and repeatability matter. They are useful where the tubing and flare style justify a more advanced setup, but they are not the everyday starting point for most standard HVAC flare work.
They can produce excellent results, but they also bring extra kit, setup time, and cost, which is why many field technicians still prefer high-quality manual eccentric or spin-style tools for everyday work.
Eccentric flaring tools
An eccentric flaring tool forms the flare using a rolling, off-centre action. This usually produces a smoother, more even flare and reduces marking on the copper. That is why eccentric tools are so popular in HVAC and refrigeration work where copper flare quality matters every day.
They are especially useful when you want cleaner, more repeatable results without fighting a traditional bar-style tool on every second flare.
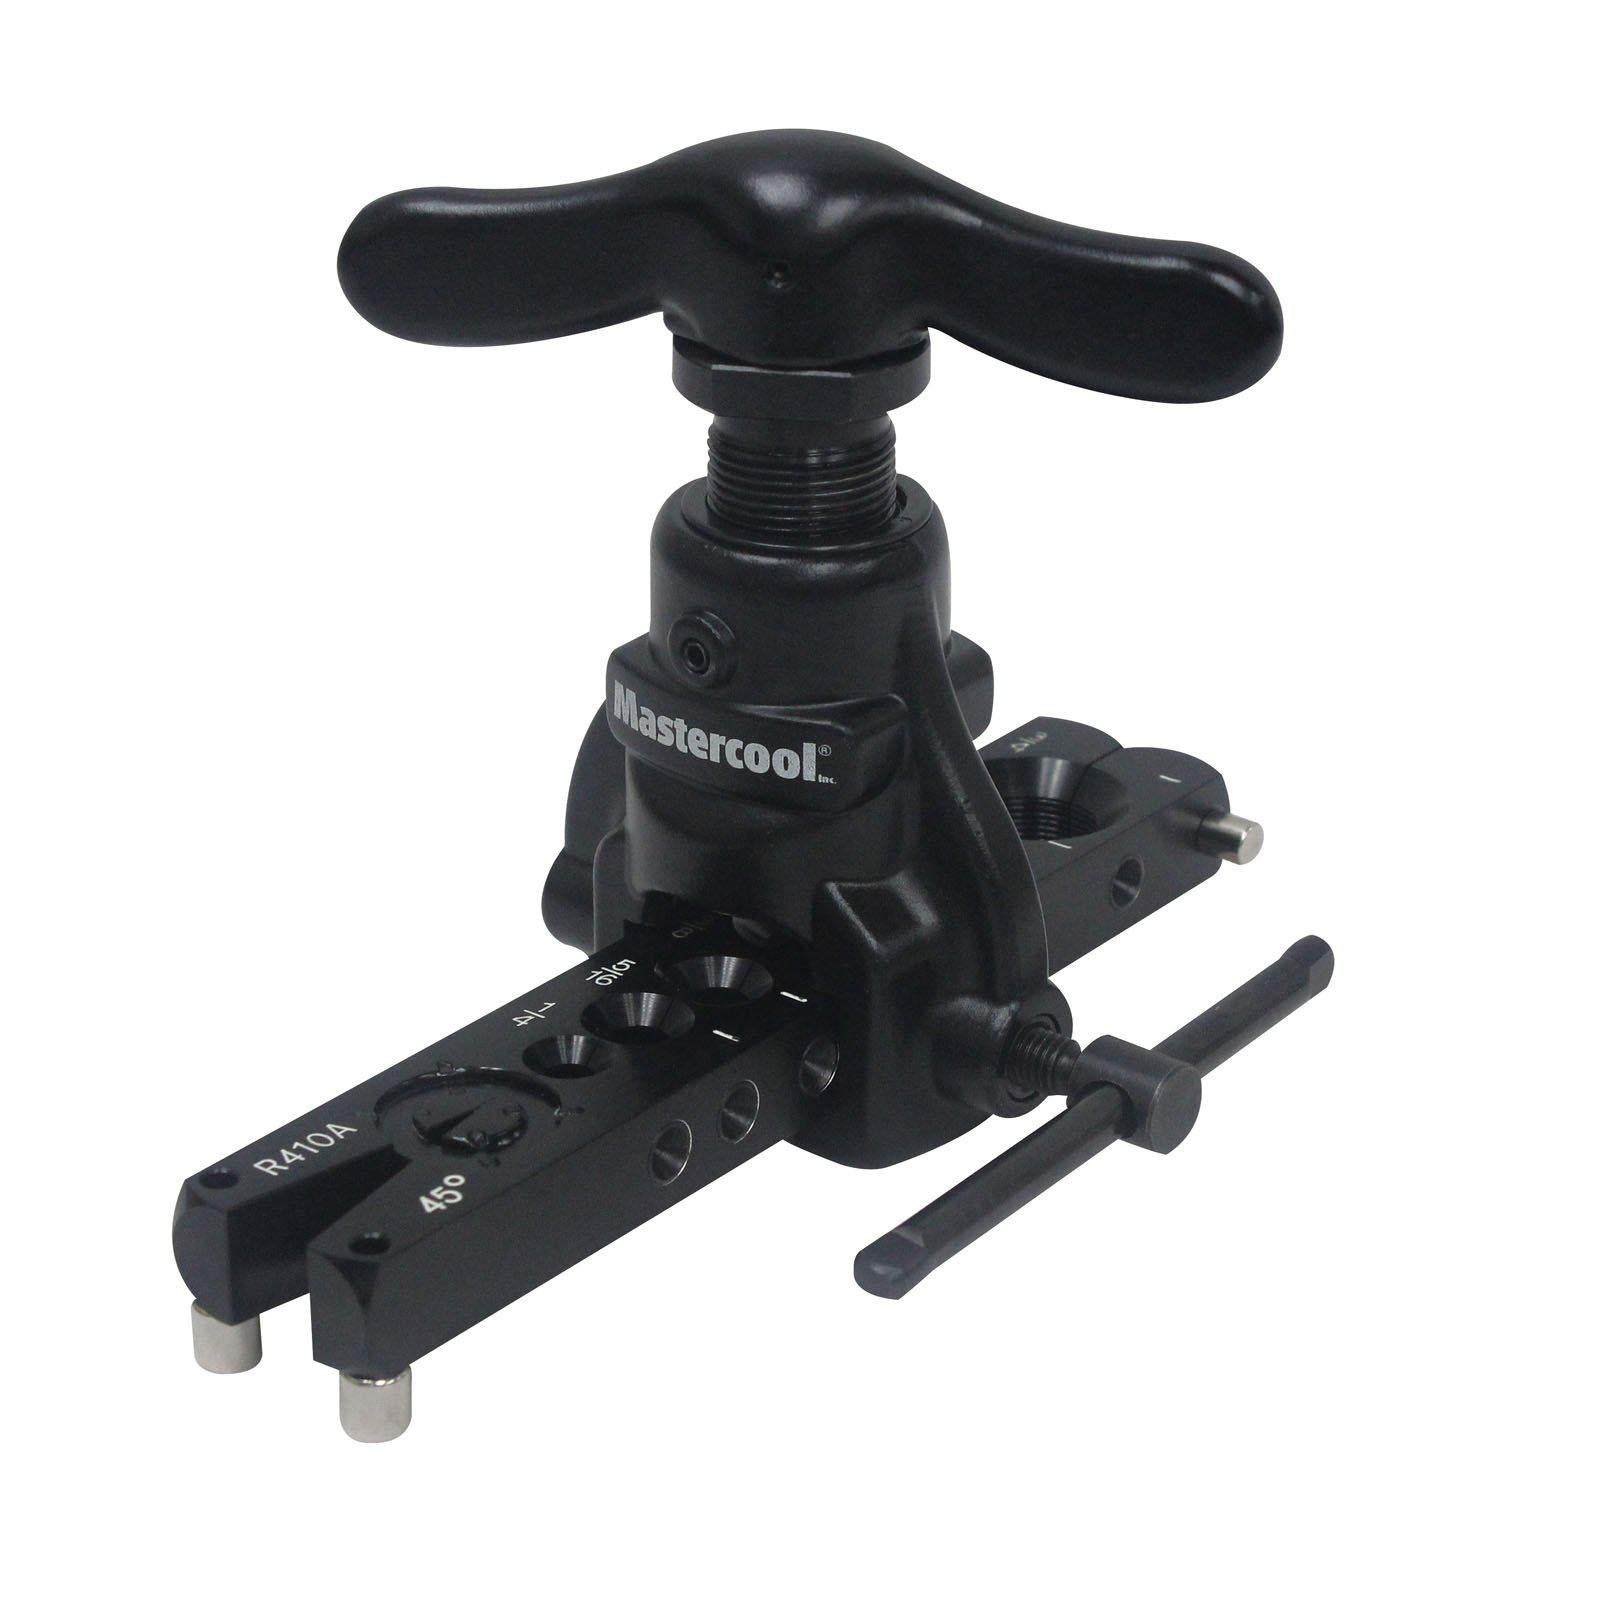
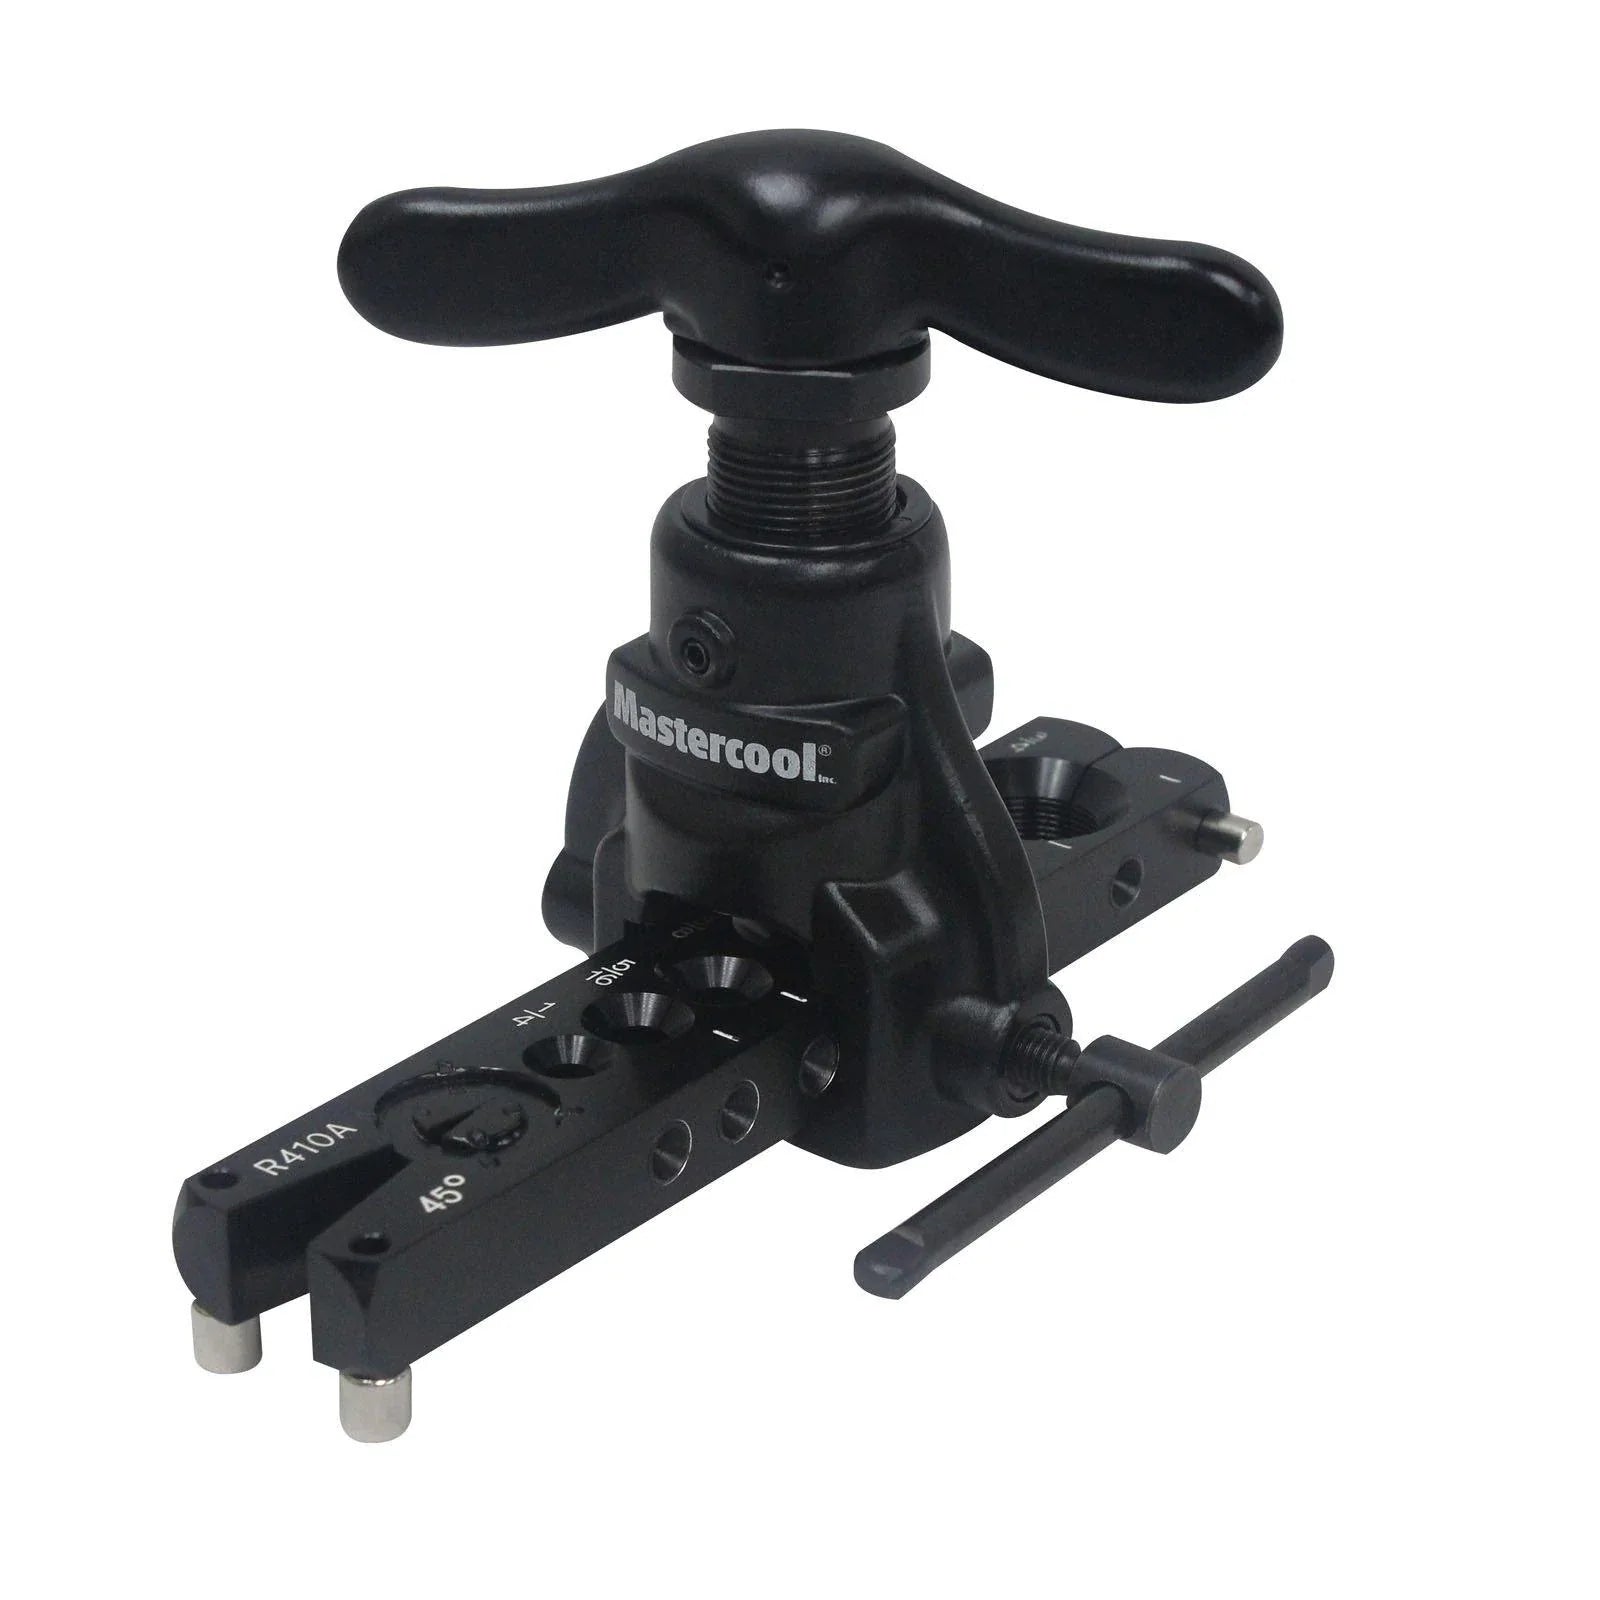
Spin flaring tools
A spin flaring tool set is typically chosen for speed and workflow. These tools are popular where technicians want fast, repeatable copper prep in the field and are already set up to work that way. They are especially attractive to people who do repeated installation work and want to save time without turning every flare into a slow manual process.
They are not automatically the answer for every job, but they are a strong option when speed, consistency, and workflow matter.
Spin Flaring Tool Set vs Eccentric Flaring Tool
This is the most useful buying comparison in the context of your brief, because these are the two product paths the article is meant to support. Both can be excellent, but they suit slightly different priorities.
| Factor | Spin Flaring Tool Set | Eccentric Flaring Tool |
|---|---|---|
| Main strength | Speed and repeat workflow | Smooth, controlled flare quality |
| Best for | Installers and fast copper prep | Techs who want clean, repeatable flares |
| Learning feel | Workflow-focused | Technique-focused but forgiving |
| Why people buy it | Faster turnaround on repeated jobs | Better flare finish with less fight |
If you want a quick buying shortcut, a spin flaring tool set generally suits technicians focused on speed and repeated copper prep. An eccentric flaring tool generally suits technicians who care most about clean, controlled flare quality on day-to-day service and install work.
Inline Demo Walkthrough: What Better Flaring Looks Like
Since no actual video embed or approved video URL was supplied, the next best thing is to explain what a good side-by-side demo would show. On a basic or poorly handled tool, the flare may come out marked, slightly off-centre, or thin at the edge. On a better eccentric tool, the flare usually looks smoother and more even. On a well-used spin setup, the workflow feels faster and more repeatable on repeated jobs.
In other words, the difference is not just theory. It shows up in flare finish, tool effort, and how often you have to redo the joint before tightening it up.
Inline Demo Buying Path
If you want to compare the two most relevant upgrade paths for this article, start with a spin flaring tool set for workflow speed and an eccentric flaring tool for cleaner, more controlled flare quality.
Common Flaring Mistakes That Cause Leaks
Most flare failures come back to the same handful of problems. The tube was not cut square. The tube was not deburred. The tube slipped in the clamp. The flare was overdriven. The flare nut was forgotten. Or the flare looked good from one angle and was never actually checked against the fitting.
Another common mistake is blaming the tool too early. Sometimes the tool really is the problem. But just as often, the issue is tube prep, clamp pressure, or rushing the job because the flare “looks close enough.” In HVAC work, close enough is often where leaks begin.
If you keep getting split or uneven flares, check the tube prep, protrusion, and clamping method before assuming the copper or fitting is at fault.
What Makes a Good Flare on the First Attempt?
A good flare is smooth, centred, even all the way around, and correctly seated against the fitting body without touching threads. It should not look torn, paper-thin, cracked, or folded unevenly. It should also feel consistent from job to job, which is where better tool design starts to matter more.
This is why tool choice and technique go together. A better tool helps create better repeatability, but the person using it still needs to cut, deburr, clamp, and inspect properly.
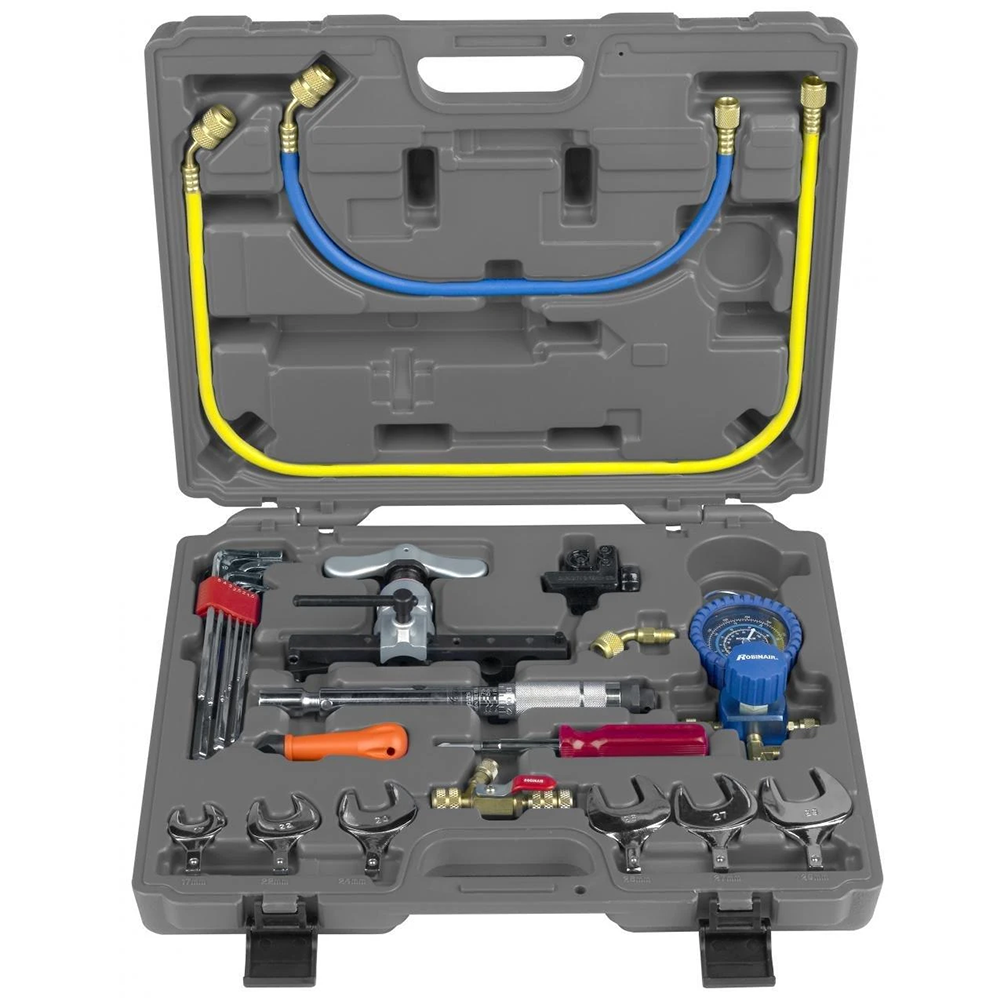
Building a Better Flaring Kit
For most HVAC technicians, the smartest buying logic is not to buy random pieces one at a time without a plan. It is to think in terms of workflow. If you want to improve flare quality, an eccentric flaring tool is usually the cleaner upgrade. If you want faster repeated prep, a spin flaring tool set is often the more workflow-focused option.
That is why browsing the full flaring and swaging kits collection makes sense. It lets you compare the main approaches instead of buying too narrowly and realising later that the kit does not match how you work.
Buying Guidance: What Should You Choose?
If you are only doing occasional flare joints and already have decent technique, a traditional flaring tool may still get the job done. But if you want cleaner results, fewer remakes, and a more reliable finish under site pressure, moving into either an eccentric or spin-style path makes more sense.
Choose a eccentric flaring tool if your priority is consistent flare quality and cleaner seating on soft copper. Choose a spin flaring tool set if your priority is speed, repeated install workflow, and reducing time spent on copper prep.
The good news is that both sit naturally inside the same buying path here, because the approved internal destination is the flaring and swaging kits collection. That keeps the article conversion-friendly without forcing random product links that were not approved.
Final Thoughts
Flaring tools are one of those HVAC categories that look simple until the job depends on them. A good flare saves time, avoids leaks, and makes the connection feel right straight away. A bad flare wastes time, risks refrigerant loss, and creates the kind of issue nobody wants to come back to later.
The best upgrade path depends on how you work. If you want controlled, consistent flare quality, start by comparing an eccentric flaring tool. If you want faster copper prep and smoother repeated workflow, compare a spin flaring tool set. If you want to keep the decision simple, browse the full flaring and swaging kits range and match the tool to the type of work you actually do.