Step-by-Step Guide for Aussie HVAC Tradies: Copper Brazing with MAPP Gas
A good braze joint is quiet. It doesn’t leak, it doesn’t crack later, and it sure as hell doesn’t bring you back to the same job two weeks after commissioning.
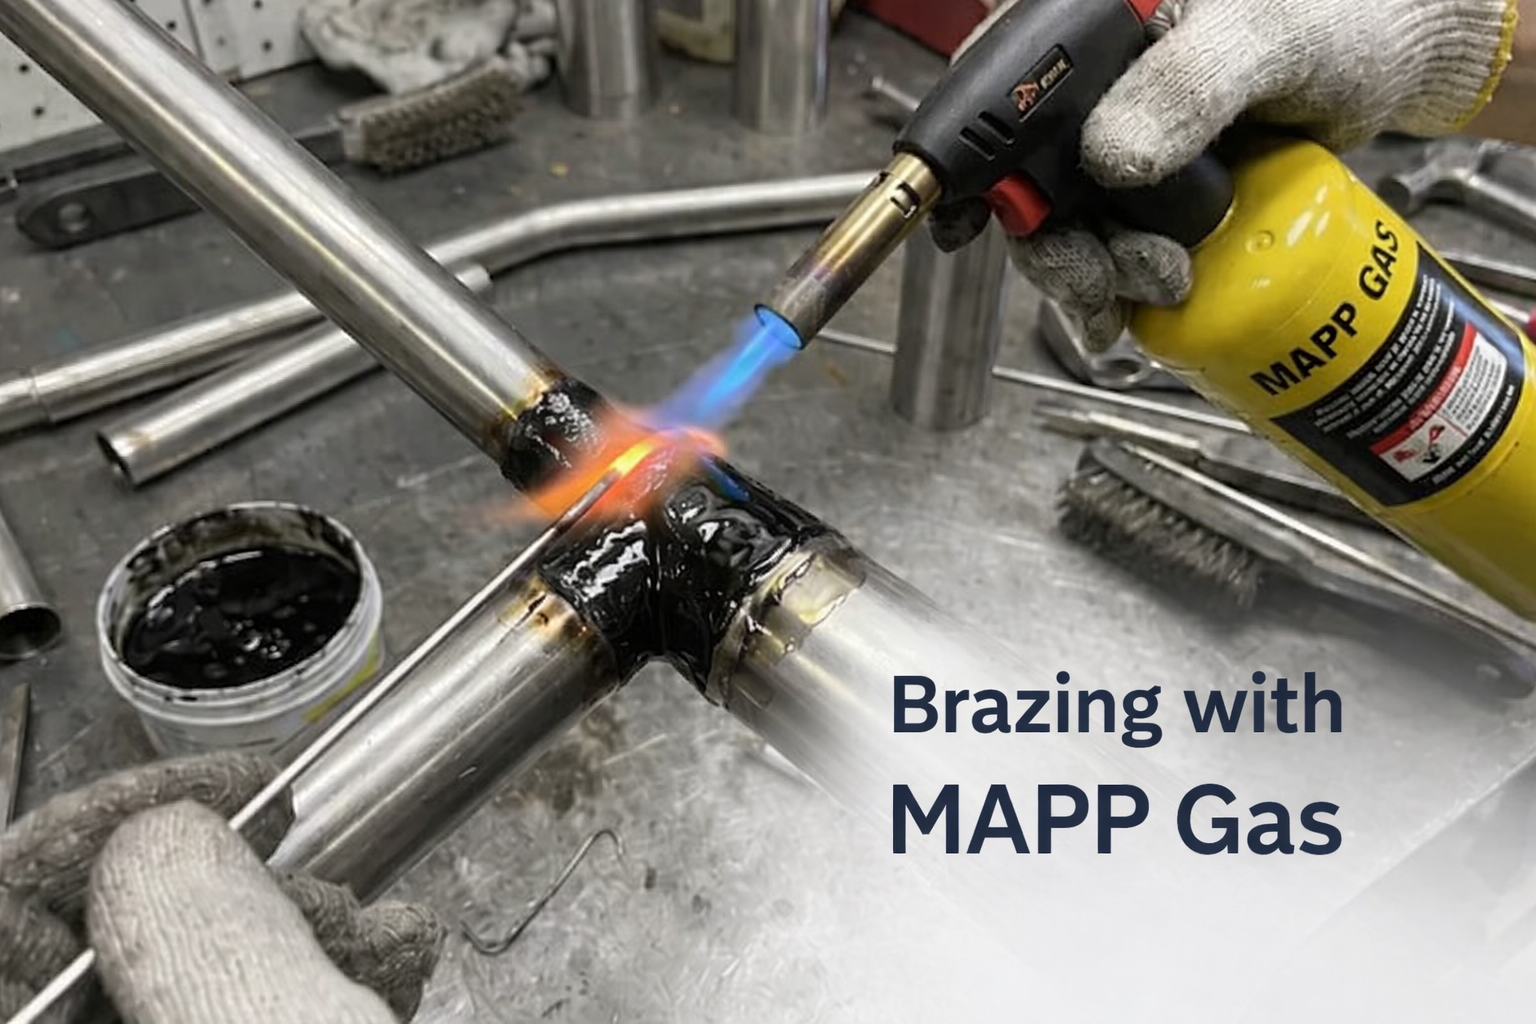
On Aussie HVAC jobs, brazing is everywhere—from split system line sets and ducted installs to commercial plant rooms and rooftop package units. MAPP gas (often sold today as MAP-Pro) is the go-to fuel because it delivers fast, consistent heat on copper. But fuel alone won’t save a sloppy process. You need the right torch, bulletproof prep, heat control, and a solid nitrogen purge habit.
This guide is built for the Australian tradie. We cover why MAP-Pro is used, the essential gear, step-by-step techniques, and how to bulletproof your joints.
Why MAPP Gas for Copper Brazing?
To braze copper properly, the joint has to reach a working temperature (roughly 650°C to 870°C, depending on the filler alloy) where the filler metal can melt and flow via capillary action. The heat needs to soak into the copper so the rod gets sucked into the gap, rather than just blobbing on the outside.
So, where does MAP-Pro step up?
- Faster Heat Transfer: MAP-Pro gives a steadier feel and faster heat-up than propane, which is crucial for thicker copper, larger valve bodies, or windy rooftop work.
- Less "Hovering": Getting the joint to temp faster means less time holding the flame on the pipe, which reduces oxidation risk and stops heat from melting nearby insulation or paint.
- Better Control: Consistent heat allows you to focus on the flow of the silver-bearing rod rather than fighting to keep the pipe hot.
Did You Know? A "hotter" flame doesn’t automatically mean a stronger braze. Real strength comes from clean prep, even heating, correct filler flow, and letting the joint cool naturally without knocking it.
For a deeper dive into fuel choices, check out our guide on MAPP vs Propane for HVAC Brazing.
Essential Brazing Equipment
Good brazing is a system. Missing one piece means you'll be fighting the job all day. Here’s the kit you need:
1. Torch and Fuel
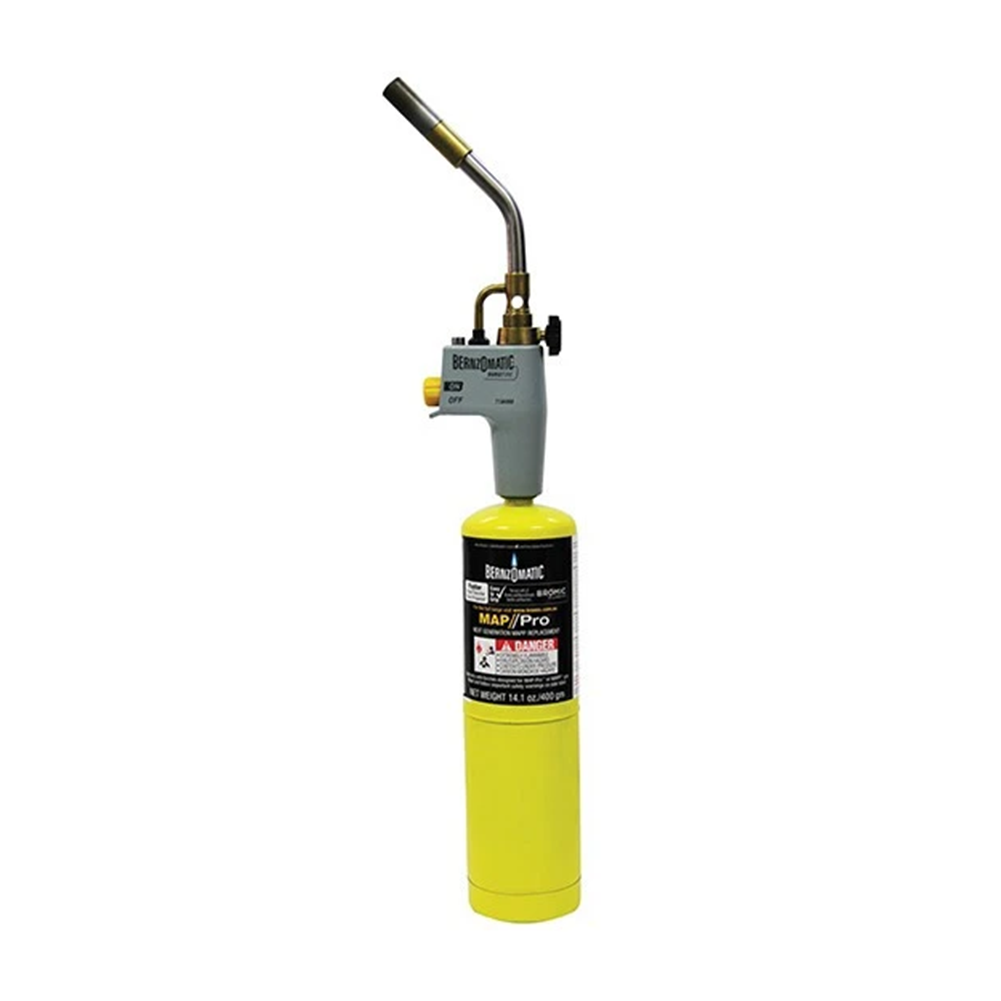
You need a torch head compatible with your cylinders. A proven setup like this Professional MAPP Gas Torch Kit gives quick ignition and stable flame control. Pair it with genuine MAP-Pro Gas Cylinders so you don't run dry mid-install.
2. Prep Tools (Non-Negotiable)
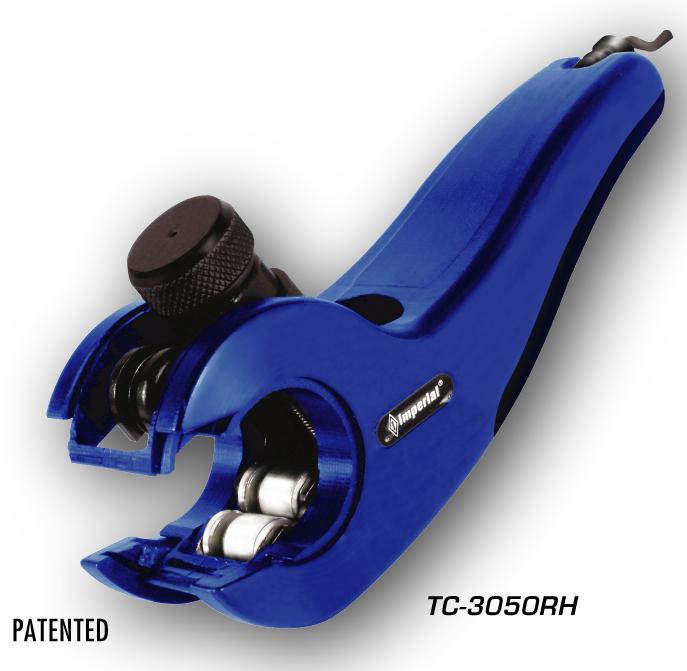
A sharp tube cutter, a deburring tool, and a wire brush or abrasive pad. Brazing over dirty or burred copper guarantees weak flow and future leakers.
3. Heat Shields & Protection
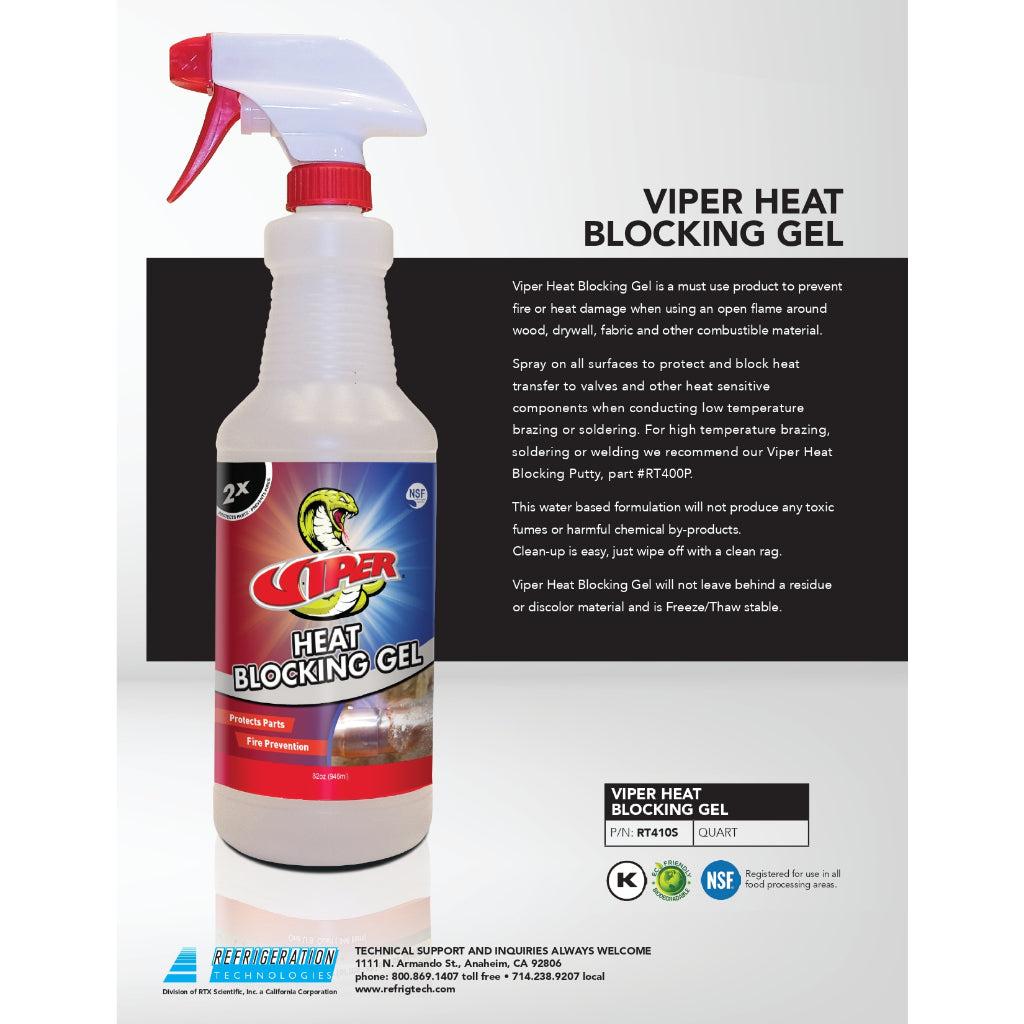
When brazing near insulation, timber, or wiring, a heat shield or blocking gel is essential to protect the property and keep you focused on the joint.
Step-by-Step Brazing Process
Keep this workflow consistent, and your brazing will become reliably boring—which is exactly what you want.
| Step | Procedure | Common Mistakes to Avoid |
|---|---|---|
| 1. Cut & Deburr | Cut square. Deburr inside and out so the tube seats perfectly. | Leaving ragged edges that restrict refrigerant flow. |
| 2. Clean the Joint | Scrub tube and fitting until bright. No oil, grime, or oxidation. | Brazing over dull copper or greasy fingerprints. |
| 3. Dry Fit & Support | Fit fully. Support the line so it won’t move while heating. | Pipes shifting under heat, breaking the bond before it sets. |
| 4. Heat Evenly | Heat the base copper, not the rod. Move the flame steadily. | Camping on one spot or melting the rod directly with the flame. |
| 5. Feed the Rod | Touch rod to the joint gap; let capillary action pull it in. | "Painting" the outside with blobby filler metal. |
| 6. Cool & Inspect | Let it cool naturally. Visually inspect for a full, clean fillet. | Shock cooling with wet rags too early, causing micro-cracks. |
Pro Tip: If you’re melting the rod with the flame, you’re rushing. Heat the copper first. When the copper is at temp, the rod will flow like water right into the joint.
The Nitrogen Purge Technique (Crucial)
If you want to braze like a pro, nitrogen purging is what separates a hack job from a system that stays clean long-term. Heating copper in the air causes internal oxidation (black scale). That scale flakes off, clogging TXVs, EEVs, and strainers.
You don’t want a roaring flow; you want a gentle "whisper" (a few litres per minute) just to displace the oxygen without cooling the joint or blowing out your flame. Hook up your nitrogen regulator, set a low flow, and braze as normal. Your compressors will thank you.
Quality Inspection and Testing
The job isn't done when the torch goes out. A solid visual check should show an even fillet around the whole circumference with no gaps or "balling." If it looks ugly, rework it now before the wall gets sheeted over.
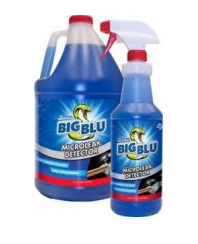
Follow up with a proper nitrogen pressure test to your company's procedures, and always hit the joints with a quality bubble leak detector before moving to evacuation.
Frequently Asked Questions (FAQ)
Is propane still okay for small copper lines?
Yes. For smaller line sizes (like 1/4" or 3/8") and lighter brazing, propane can absolutely do the job. However, MAP-Pro provides a distinct advantage when you step into thicker copper, larger fittings, or windy outdoor conditions where heat-up time becomes a bottleneck.
What’s the quickest sign I’m overheating a joint?
Overheating usually shows up as excessive discolouration spreading far beyond the joint, burnt flux (if you're using it), and a "chased" look where the filler rod doesn’t wet or flow smoothly. If this happens, back the torch off, re-centre your flame, and focus on heating the mass evenly.
Do I need nitrogen purge on every refrigerant line braze?
As an Australian best-practice habit, yes. Flowing a gentle trickle of nitrogen through the pipe while brazing displaces oxygen, preventing internal black scale from forming. This scale is notorious for clogging TXVs and destroying compressors later down the track.