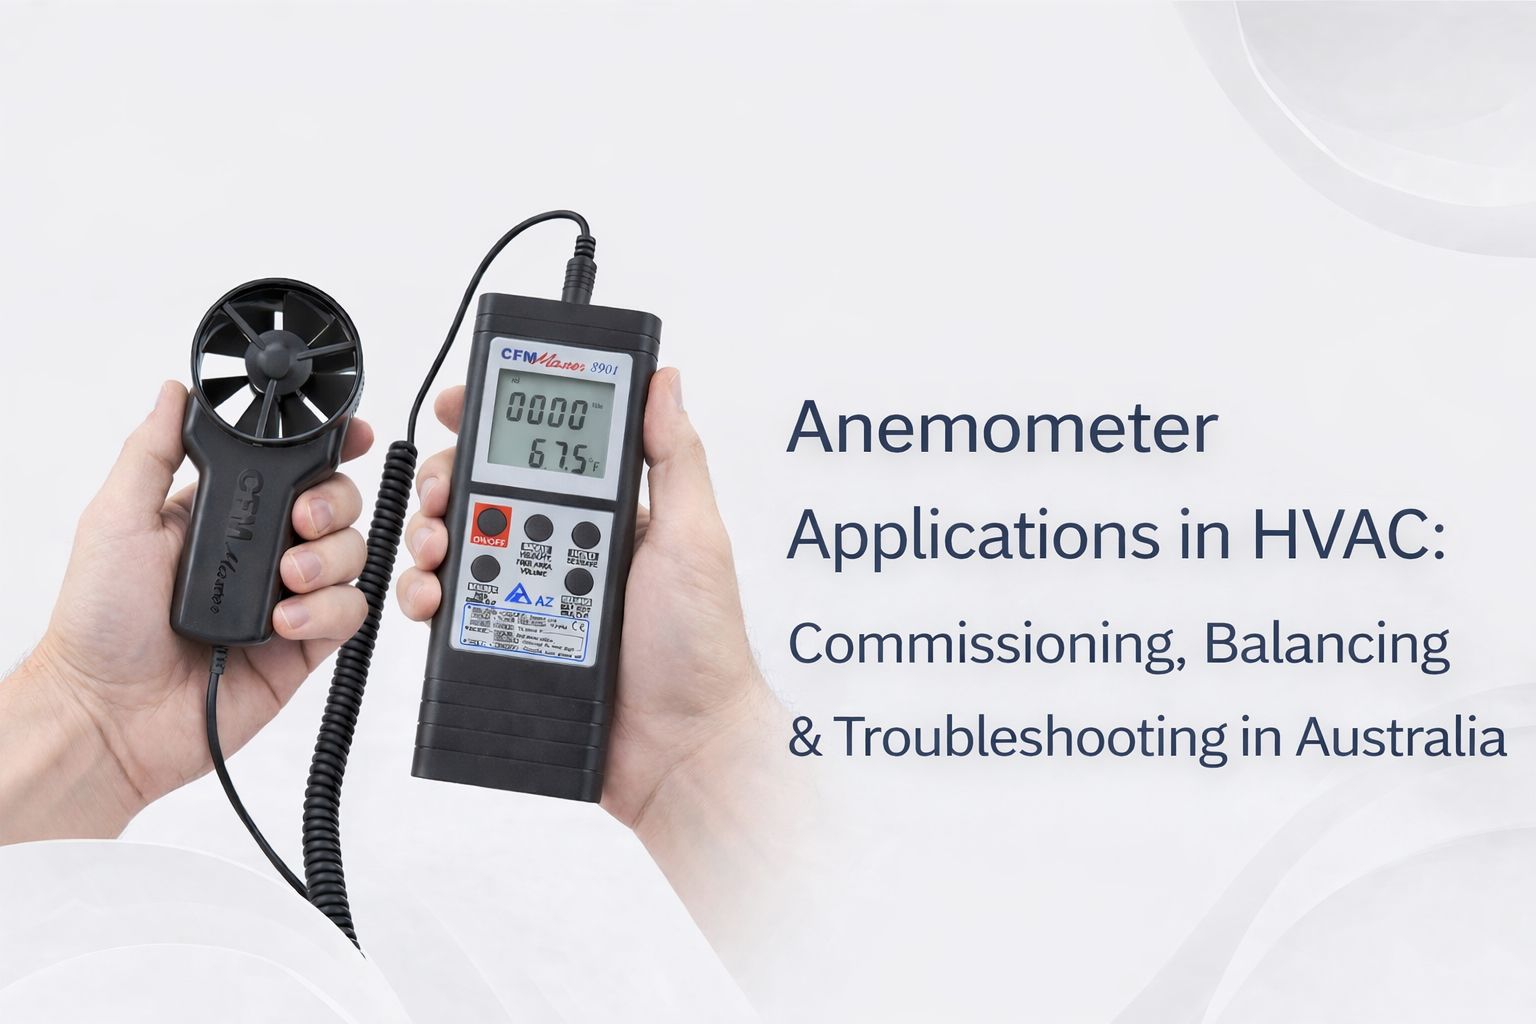
Get More from Your Anemometer
Most techs own an anemometer for one reason: airflow checks.
You hold it at a grille, get a number, and move on. Job done.

But that’s only the start. The real value is in anemometer applications that help you diagnose faster, prove your work, and stop call-backs.
Airflow sits under almost every comfort complaint. Weak cooling. Noisy ducts. Hot rooms. Damp, sticky air in Brisbane. Dry, dusty systems out west. Heating not coping in Melbourne cold snaps. A lot of those problems are airflow problems in disguise.
The common issue is underuse. A powerful tool becomes a “quick check” tool. Then you miss the deeper story the airflow numbers are trying to tell you.
This guide is built to fix that. It shows where an anemometer fits in real HVAC work, how to use it for commissioning and balancing, and how to troubleshoot common faults with simple tests you can repeat.
We’ll also cover specialised jobs you may run into in Australia, like cleanrooms, fume hoods, labs, and VAV systems in commercial buildings.
And we’ll keep it practical. No fluff. No magic numbers. Just what to test, what the results usually mean, and what to check next when the reading doesn’t match the complaint.
Essential HVAC Applications
When you think about anemometer applications in HVAC, think “proof and pattern”.
Proof means you can show what the system is doing, not just what it “feels like”. Pattern means you can spot the same fault signs across different jobs and fix them faster.
In plain terms, these are the core anemometer applications HVAC technicians use to turn “it feels off” into something you can measure and act on.
Below are the core applications most Australian techs will use, from day-to-day service work through to formal commissioning.
System commissioning and balancing
Commissioning is where airflow should be treated like a deliverable, not a guess.
Your job is to confirm the system is moving the right air to the right places, and that it stays stable when zones open and close.
An anemometer helps you verify supply delivery, compare rooms, and see whether balancing changes actually improved the outcome.
If you do commissioning work or you want cleaner reporting, it can help to use a complete testing tool range that supports repeatable readings and tidy documentation.
Split system performance testing
Split systems are often treated as “simple”, but airflow is still a big deal.
Low airflow can make cooling feel weak, make heating feel patchy, and push coils into poor operating conditions.
Anemometer readings help you confirm whether the indoor head is actually moving air the way it should, especially after cleaning filters, fan wheels, and coils.
This is also where “before and after” airflow checks make your work easy to explain. If the customer asks what changed, you can show it.
Ducted system optimisation
Ducted systems can hide problems. A room feels bad, but the unit seems fine. Or one branch is loud, while another is dead.
Airflow testing helps you identify restriction, imbalance, and poor distribution.
It also helps you prove improvement after duct repairs, damper tweaks, or filter changes, without relying on “should be better now”.
One handy habit is comparing a “good” room to a “bad” room with the same method. You learn fast whether it’s a system-wide issue or a branch issue.
Filter pressure drop measurement
An anemometer does not measure pressure. But it can still help you spot filter-related airflow loss.
If supply airflow is low across multiple outlets and the return feels starved, you can measure before and after a filter change to confirm the impact.
On some sites, this becomes part of a basic maintenance story: “Here’s what the airflow was. Here’s what it is now. Here’s why the system will run better.”
If airflow improves a lot after a filter swap, you’ve saved yourself from chasing the wrong fault path.
Ventilation compliance testing
Not every job is a compliance job. But a lot of commercial work expects evidence.
That can be as simple as proving air is moving where it should, or confirming a space is not starved of ventilation due to blocked returns, dirty grilles, or poor balancing.
When results matter, the method matters too. Use the same approach each time so your readings are comparable.
If you’re unsure what gear best suits the type of airflow work you do, talk to our team to confirm compatibility and get a quote based on your normal jobs and reporting needs.
Commissioning: Getting Systems Right First Time
Commissioning is where a lot of problems are either prevented or locked in.
If airflow is wrong at handover, you often get the same story later: comfort complaints, noisy ducts, uneven rooms, and a system that “never felt right”.
Good commissioning makes the system easier to live with and easier to service later.
In practice, commissioning with an anemometer is about two things: repeatable checks, and clear notes so someone else can understand what you did.
Design airflow verification
The first goal is simple: does the system deliver what it was meant to deliver?
You’re not trying to chase a perfect lab number. You’re checking if the delivery is in the right ballpark and consistent with what the design intends.
If the delivered airflow is low everywhere, look for big restrictions first. Filter loading. Return path issues. Undersized ducts. Crushed flex. Closed dampers. Dirty coils.
If the delivered airflow is fine in some rooms and poor in others, you’re looking at distribution problems. Branch restrictions. Balancing. Poor take-off design. Leaks.
Balancing multiple zones
Multi-zone ducted systems can lie to you if you only measure one point.
When one zone opens, airflow can rise. When another closes, airflow can spike in the remaining open runs and create noise.
A practical approach is to measure key outlets across the zones while the system is in normal operating mode. Then repeat with different zone states where possible.
This helps you see whether one zone is stealing air from another, or whether the fan is reacting in a way that changes comfort.
Damper adjustment procedures
Balancing dampers are simple in theory. In practice, they create two common mistakes.
The first mistake is over-adjusting. A small change can have a big effect, especially on short runs. Move slowly, and measure after each change.
The second mistake is changing too many things at once. If you move three dampers, you won’t know which change caused the improvement or the new problem.
Use the anemometer as your feedback loop. Adjust one damper, wait for the system to settle, then measure again at the same spot with the same method.
This is the practical version of balancing dampers using an anemometer. One change. One check. One note. Repeat until the distribution makes sense.
Pro Tip
When balancing, measure the same outlet the same way every time. Same distance, same grille position, same fan mode. Consistency beats “perfect”.
Documentation requirements
Commissioning paperwork does not need to be painful. It just needs to be clear.
Record the location, the system mode, and what you measured. If you change a damper, note it. If you changed filters or cleaned a coil, note it.
This protects you later. It also helps the next tech who services the system, because they can see what “normal” looked like at handover.
Australian handover standards
Different sites have different expectations.
A small residential job may only need a simple explanation of what changed and why it now performs better. A commercial site may expect a handover pack, including test results and maintenance notes.
The safest habit is to treat commissioning as a “prove it” moment. If the client asks why you believe the system meets intent, you should be able to show your airflow checks and your method.
If you want support choosing a setup that fits commissioning work, start with our complete testing tool range and talk to our team to confirm what best suits your workflow.
Troubleshooting Common Issues
This section is where anemometer applications pay for themselves.
Airflow complaints can waste time if you chase the wrong thing. An anemometer helps you turn a vague symptom into a measured clue.
The key is to match the symptom to a simple airflow test, then let the result guide your next check.
If you want a simple anemometer troubleshooting guide you can use on repeat, this is it: test one thing, confirm it, then move to the next logical check.
| Problem symptom | What the customer notices | Anemometer test | Likely diagnosis | Next practical check |
|---|---|---|---|---|
| Weak cooling | “It runs, but the room never gets comfortable” | Compare supply airflow before and after filter check or basic clean | Insufficient airflow due to restriction or dirty indoor coil | Check filter, coil cleanliness, fan wheel loading, return path blockage |
| Noisy system | Whistling grilles, loud returns, rushing air sound | Measure high outlet velocity at the noisy grille and compare to other outlets | High velocity from undersized outlet, over-open damper, or imbalance | Check damper positions, outlet sizing, duct restrictions creating “jet” flow |
| Comfort complaints | Hot spots, cold spots, “one room always bad” | Measure each supply point and compare distribution room-to-room | Poor distribution from imbalance, leaks, or crushed branch ducting | Inspect branch runs, check dampers, look for leaks and crushed flex |
| Sticky, humid comfort | “It’s cool but still feels damp” (common in Brisbane and Darwin) | Confirm airflow is not low across multiple outlets during normal cooling | Low airflow reducing dehumidification and coil performance | Check filters, coil, fan speed settings, return restriction, duct losses |
| Heating not coping | “It blows warm but the house stays cold” (often noticed in Melbourne cold snaps) | Compare airflow at key outlets on heating mode and confirm it is steady | Borderline airflow or distribution issue making heat delivery patchy | Check zoning, dampers, indoor fan performance, return path and duct leakage |
The big takeaway is this. An anemometer does not “diagnose” on its own. It points you to the most likely path.
If airflow is low, fix airflow first. If airflow is high but comfort is still poor, look at distribution and mixing. If one room is bad, prove it with room-to-room measurements before you start guessing.
And keep your method stable. A lot of anemometer reading errors come from changing distance from the grille, angling the sensor, or blocking airflow with your body.
Specialized Applications in Australia
Some of the most important anemometer applications are the ones you don’t do every day.
These are the jobs where “pretty close” can become a safety issue, a compliance issue, or a high-cost failure if results are not reliable.
In Australia, you’ll often see these needs in healthcare, labs, commercial towers, and sites with strong quality systems.
Cleanroom classification testing
Cleanrooms are about control. Particles, pressure, and airflow patterns matter.
Anemometer readings are used to check whether air is moving in the right way, at the right points, and with enough stability to support the space purpose.
This is the practical side of cleanroom airflow testing. You’re not just chasing numbers. You’re proving the space behaves the way it should, every time you test it.
On these jobs, your method and documentation matter as much as your tool. You need clear test points, repeatable technique, and results that can be explained later.
Fume hood verification
Fume hoods are a safety system, not just a ventilation box.
Airflow is part of how the hood protects people. If face velocity is off, the hood may not contain fumes the way it should.
Anemometers can be used to verify face velocity and identify weak zones across the opening, especially if the sash position changes or the duct system is unstable.
This is not the place for guesswork. If you are asked to verify performance, confirm the site procedure, confirm the measurement locations, and record the conditions.
Laboratory ventilation
Labs often have strict expectations around ventilation performance.
Air changes, exhaust balance, and pressure relationships between rooms may be part of the site design intent.
Anemometer testing can help identify whether supply and exhaust are balanced, and whether a room is drifting into an unsafe pressure condition due to blocked filters, dampers, or changes to equipment loads.
Did You Know?
On cleanroom and lab jobs, the biggest failures are often simple: a changed damper position, a loaded filter, or a duct restriction that slowly became “normal”. Airflow trend checks can catch that early.
VAV system troubleshooting
VAV systems are common in commercial buildings. They are also common sources of weird comfort complaints.
One zone hunts. Another runs cold. One office is always stale. The numbers on the BMS look fine, but people are not happy.
Anemometer testing helps you confirm what air is actually being delivered at diffusers, and whether VAV boxes are behaving as expected when loads change.
The practical trick is timing. VAV systems change flow as loads and setpoints change. So you want to measure when the system is stable, then repeat when the zone command changes, so you can see whether the delivered airflow follows the control signal.
Commercial building compliance
Many commercial buildings have maintenance contracts and site rules that expect evidence.
That might be evidence that ventilation is not restricted, or proof that balancing adjustments were completed and checked.
This is where advanced setups can help, especially when you need clean logs and less manual note taking. Many techs use advanced measurement systems to support faster reporting and steadier readings in tricky areas like ceiling spaces and plant rooms.
If you’re stepping into these specialised applications more often, talk to our team to confirm compatibility and get a quote for a setup that matches the level of documentation your sites expect.
Anemometer Problems and Solutions
Sometimes the problem is not the system. It’s the meter, the setup, or the method.
If you want reliable results from all these anemometer applications, you need to know the common tool problems and how to fix them fast.
Inconsistent readings
Inconsistent readings are usually caused by one of three things.
The first is turbulent airflow. Grilles swirl. Duct bends create uneven profiles. Returns can pull air from odd angles.
The second is technique. If you change distance, angle, or location between readings, you create your own noise.
The third is contamination or damage. Dust, lint, and debris can affect sensors and moving vanes.
The fix starts with method. Measure the same way each time. Use a simple grid approach across the grille face. Hold steady long enough for the reading to stabilise. Then average the results in a consistent way.
Zero drift issues
Some tools can drift over time. Others can look like they drift because they are being tested in a place that is not actually still air.
If you suspect drift, do a calm check away from vents, fans, and breezeways. If the tool still behaves oddly, treat it as a warning. Compare against another known-good unit if you can.
This is how you catch anemometer accuracy problems early, before they turn into wrong calls on site.
If the readings matter for formal reporting, it may be time for service checks and proper documentation.
Vane damage from debris
Vane-style tools can be knocked by debris, especially on dusty sites or where grilles are loaded with lint.
If the vane feels rough, sticks, or makes noise, stop trusting the reading. Clean and inspect the tool. If damage is present, repair or replace before you rely on it for diagnosis.
Battery problems in heat
Australia is hard on batteries.
A meter left in a hot ute can lose battery performance faster. A meter used in roof spaces in summer can chew through power and behave inconsistently when the battery is low.
The fix is boring but effective. Keep spares. Store tools out of direct heat where possible. Don’t leave them cooking on a dashboard.
Bluetooth connection drops
If you use app-connected gear, dropouts can happen.
Metal ductwork, plant room doors, concrete cores, and crowded wireless environments can all reduce range.
The practical fix is to reduce obstacles and keep the phone positioned with a clear path to the probe as much as possible. Also, capture your key readings while you have a stable link, then move on.
If you rely on wireless tools often, it’s worth building your setup around advanced measurement systems that are designed for jobsite use and consistent reporting.
Tech Specs
If your readings keep changing, don’t blame the system first. Check your method, check for turbulence, then check tool condition. A “bad reading” is often a setup problem, not a fault.
Maintenance tips
Clean tools last longer and read better.
Wipe down housings. Keep sensors clear. Store the tool in a case. Don’t toss it loose in the toolbox where it gets knocked around all week.
If you’re doing a lot of diagnostics, consider building a consistent kit from the complete testing tool range so your tools, spares, and methods stay aligned across jobs and across techs.
Australian Climate Considerations
Australia’s climate can change how airflow problems show up, and how your testing needs to be done.
It can also change how your tools behave and how you should protect them.
High humidity effects (Darwin Brisbane)
High humidity can make low airflow feel worse than it looks on paper.
In Darwin and Brisbane, poor airflow can mean poor moisture control. People feel sticky even when the air feels cool.
Humidity also increases contamination risk. Filters load faster. Coils can stay damp. Dust sticks. That can create gradual airflow loss that becomes “normal” if nobody measures it.
Coastal salt corrosion
Coastal Sydney air can bring salt into plant rooms and roof spaces.
That can lead to corrosion on grilles, dampers, and hardware. Over time, free area can reduce and airflow can drop without an obvious “break”.
On coastal jobs, airflow testing is a great way to catch slow performance loss early, before it becomes a bigger comfort or noise complaint.
Extreme heat storage (WA mines)
Extreme heat is hard on tools.
In WA mining areas and hot inland regions, tools stored in vehicles can be exposed to harsh temperatures for long periods. Batteries suffer. Plastics age faster. Electronics can behave oddly when overheated.
Practical protection matters. Store tools out of direct sun where possible, and let them cool before doing critical measurements.
Rooftop testing safety
A lot of airflow testing happens on rooftops, in plant rooms, and in ceiling spaces.
Those spaces add risk. Heat stress. Trip hazards. Ladder access. Wind. Wet surfaces. Tight spaces.
Keep your method safe. Don’t rush. Don’t lean into awkward positions just to “get a number”. Plan your access, keep your stance stable, and use a setup that lets you read without putting yourself in a bad spot.
For general guidance on safe work practices in Australia, align your approach with WorkSafe-style workplace safety guidance and the site rules in front of you.
Weather protection
Rain and dust can ruin a tool fast.
If you’re testing in bad weather, protect the instrument. Keep it dry. Avoid exposing sensors to water. Clean and dry the tool after the job.
This matters for accuracy and lifespan, and it matters for trust. You can’t sell a “professional diagnosis” if your test gear looks like it has been dragged through a roof space for two years with no care.
If you want help selecting equipment that suits harsh Australian conditions, talk to our team to confirm compatibility and get a quote for the right setup for your normal environments.
Master Anemometer Applications
Once you know how to use it properly, an anemometer becomes more than a quick airflow check.
It becomes a tool for commissioning, balancing, troubleshooting, and specialised compliance-style work.
It helps you move from guesswork to proof. That means faster diagnosis, better explanations to customers, and fewer repeat visits caused by missed airflow faults.
Here’s a simple way to apply this on your next job. Start with the complaint. Choose a basic airflow test that matches it. Compare rooms or compare before and after a change. Then let the results guide your next inspection step.
If the number is low everywhere, chase restriction and return path issues first. If one room is low, chase branch issues and balancing next. If velocity is high and noise is the complaint, look at outlet sizing and damper settings. If readings keep bouncing, slow down and fix your method before you blame the system.
If you’re working in Melbourne, this approach becomes even more useful in winter. Heating complaints can expose borderline airflow fast, and a quick room-to-room airflow check can save hours of trial-and-error.
If you want to step up your airflow diagnostics and have a kit that supports repeatable testing across different job types, start with the complete testing tool range and build a setup that fits your real workload.
And if you’re doing more advanced or documentation-heavy work like VAV troubleshooting, labs, or compliance-style reporting, it may be worth adding advanced measurement systems that support cleaner logging and easier communication.
If you’re unsure what suits your workflow, talk to our team to confirm compatibility and get a quote. We can also help with support and training on a simple, repeatable method so the whole crew tests airflow the same way.
The goal is simple: get reliable airflow results, fix the right problem faster, and leave every job with a result you can stand behind. These tools and workflows are available nationwide through HVACShop.com.au.