Refrigerant recovery is one of a service technician's most typical jobs when maintaining or repairing HVAC systems.
That's why you should invest in a good recovery unit. Understanding the various recovery strategies will aid you in completing this crucial duty as quickly as possible. Furthermore, following proper techniques can protect both you and the equipment while ensuring operation efficiency.
View Product: Robinair Portable Refrigerant Recovery Machine

In this guide:
SAFETY FIRST!
Safety is critical. You'll need the right equipment for the refrigerant you're trying to recover. R-410A systems, for example, run at much higher pressures than R-22 systems, requiring equipment designed to manage those greater pressures.
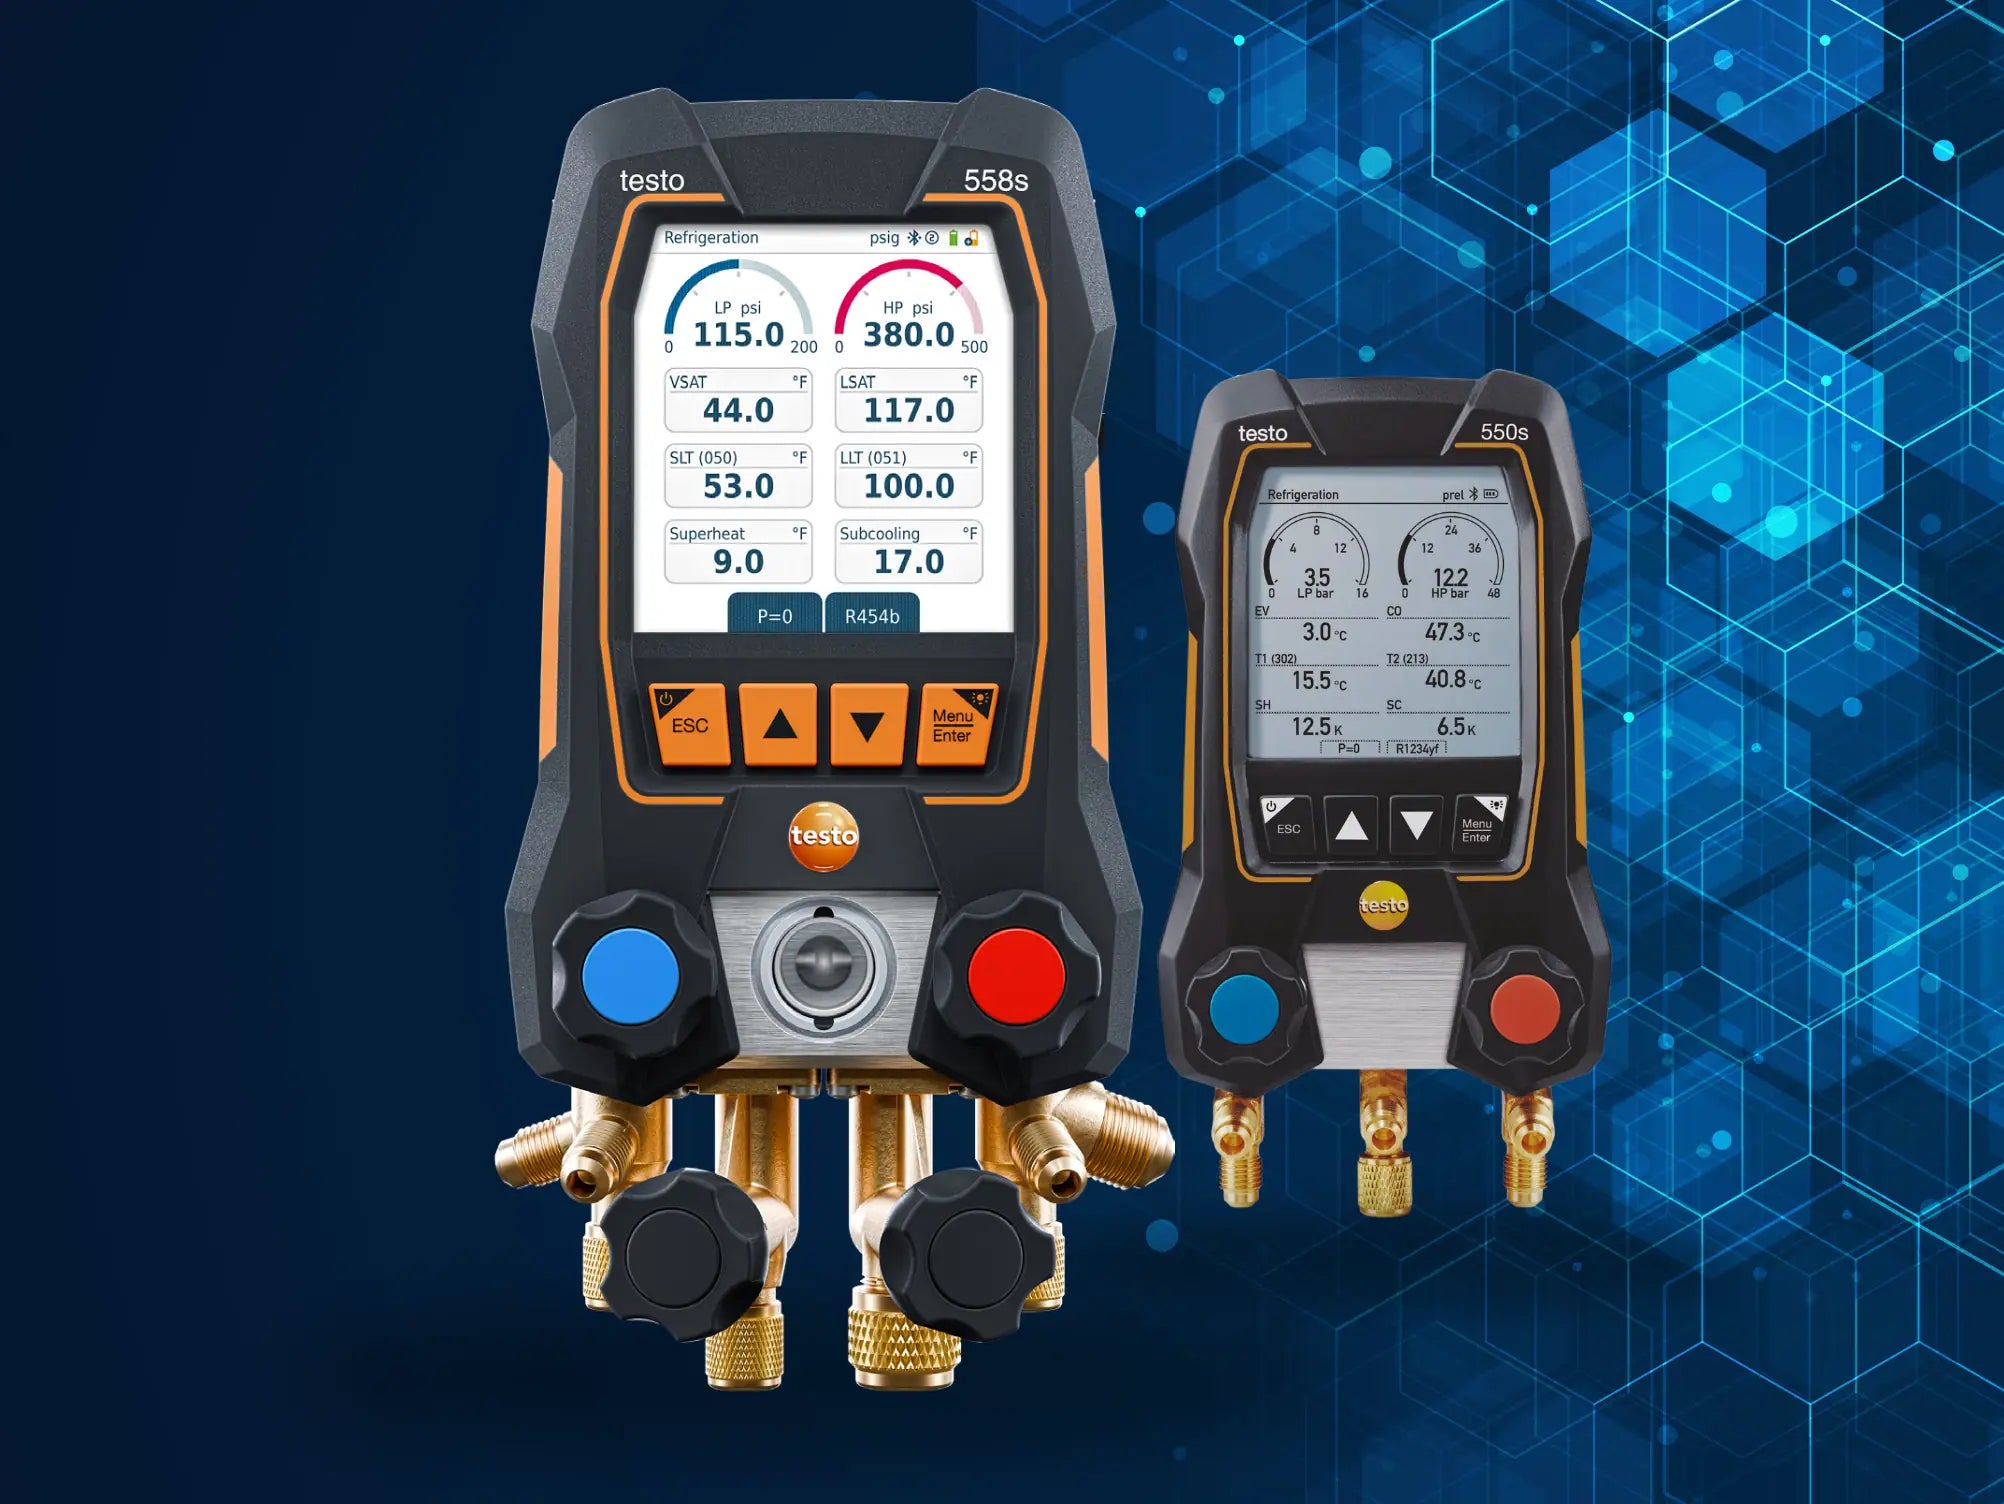
Most technicians employ a manifold set with two centre utility ports — 1/4-in for recovery and 3/8-in for vacuum. Check to see if the manifold gauges are suitable for the refrigerant pressure you'll be using.
You also need a set of charging hoses with ball valve ends. Both the hoses and the assemblies must be UL approved. Ideally, use the shortest hoses possible for a given project to allow for more effective recovery and less environmental damage.
Equipment Requirements
You'll need a good Recovery Unit. Desirable features include:
- A big condenser
- A compressor protection regulator (CPR) valve
- A high-pressure cutout switch rated at least 510 psi
Tank Safety: When recovering R-410A, you'll need a DOT 400 recovery tank. The high pressures of R-410A are too much for a typical DOT 350 tank. Ensure you have the correct tank and do not overfill it. Tanks must be recertified every five years, so check the date on your tank.
Different Recovery Methods

There are three fundamental methods for recovering refrigerants:
- Liquid Recovery: The quickest method. Transfers refrigerant while it's still in a liquid state. Ideal for moving refrigerant from one container to another.
- Vapour Recovery: Slower than liquid but the most common method. Used when you cannot withdraw liquid (e.g., from the vapour side of the system).
- Push-Pull Recovery: A two-step process used for bulk liquid removal (over 4.5kg / 10 lbs).
Method 1: Liquid Recovery
- Ensure the system and recovery machine are turned off. Close all manifold valves.
- Connect the high side of the manifold to the liquid port and the low side to the vapour port of the system.
- Connect a 1/4-in utility pipe from your manifold to the recovery machine's suction port.
- Attach a hose from the recovery cylinder's liquid side to the discharge port. Use hose ends with shut-offs.
- Purge any non-condensables from all hoses before starting.
- Open the liquid valve on the recovery tank.
- Turn on the recovery unit and set the selector valve to "liquid."
- On the manifold, open the high-side valve and the utility port.
- Run until the unit shuts off (low-pressure switch) and indicates "recovery complete."
- Turn off the system switch and selector valve.
Method 2: Vapour Recovery

In this method, the recovery unit condenses the vapour into a liquid before sending it to the cylinder.
- Ensure system, recovery machine, and valves are off/closed.
- Connect the high side of the manifold to the liquid port and low side to the vapour port.
- Connect the 1/4-in utility hose from the manifold to the recovery machine's suction port.
- Connect a hose from the recovery cylinder's liquid side to the discharge port.
- Purge all hoses.
- Switch on the recovery unit and set the selector valve to "vapour."
- On the manifold, open the utility port and the low-side valve.
- Run until the unit shuts off and indicates "recovery complete."
- Turn off the system switch and selector valve.
- Perform the mandatory purge cycle.
Method 3: Push/Pull Recovery
This method uses vapour from the cylinder to create high pressure that "pushes" liquid out of the system. Do NOT use this method if:
- The system contains less than 4.5kg (10 lbs) of refrigerant.
- The system is a heat pump with a reversing valve.
- The system has an accumulator between the service ports.
Setup: You need an extra hose, a sight glass (rated for the pressure), and a recovery cylinder with no more than 5 lbs of refrigerant in it.
- Connect a hose from the recovery unit's discharge port to the HVAC system's vapour side.
- Run a pipe from the HVAC system's liquid side to the sight glass, and then to the recovery tank's liquid side.
- Link a hose from the recovery tank's vapour side to the recovery unit's suction port.
- Purge hoses.
- Open the recovery tank valves.
- Set recovery unit to "vapour" and turn on.
- Monitor the sight glass. When liquid stops passing, the push-pull mode is complete.
- Close the vapour valve on the recovery tank. Let the machine run until "recovery complete."
- Perform the purge cycle.
- Step 2 (Vapour): Reconfigure your hoses for standard vapour recovery (Method 2 above) to remove the remaining refrigerant in the lines.

HVAC Shop Refrigerant Recovery Unit
Quality equipment makes the difference. HVAC Shop gathers great brands to offer you the best in Australia, including refrigerant scales, vacuum gauges, and more.
Browse our collection today or contact our customer support for queries!