
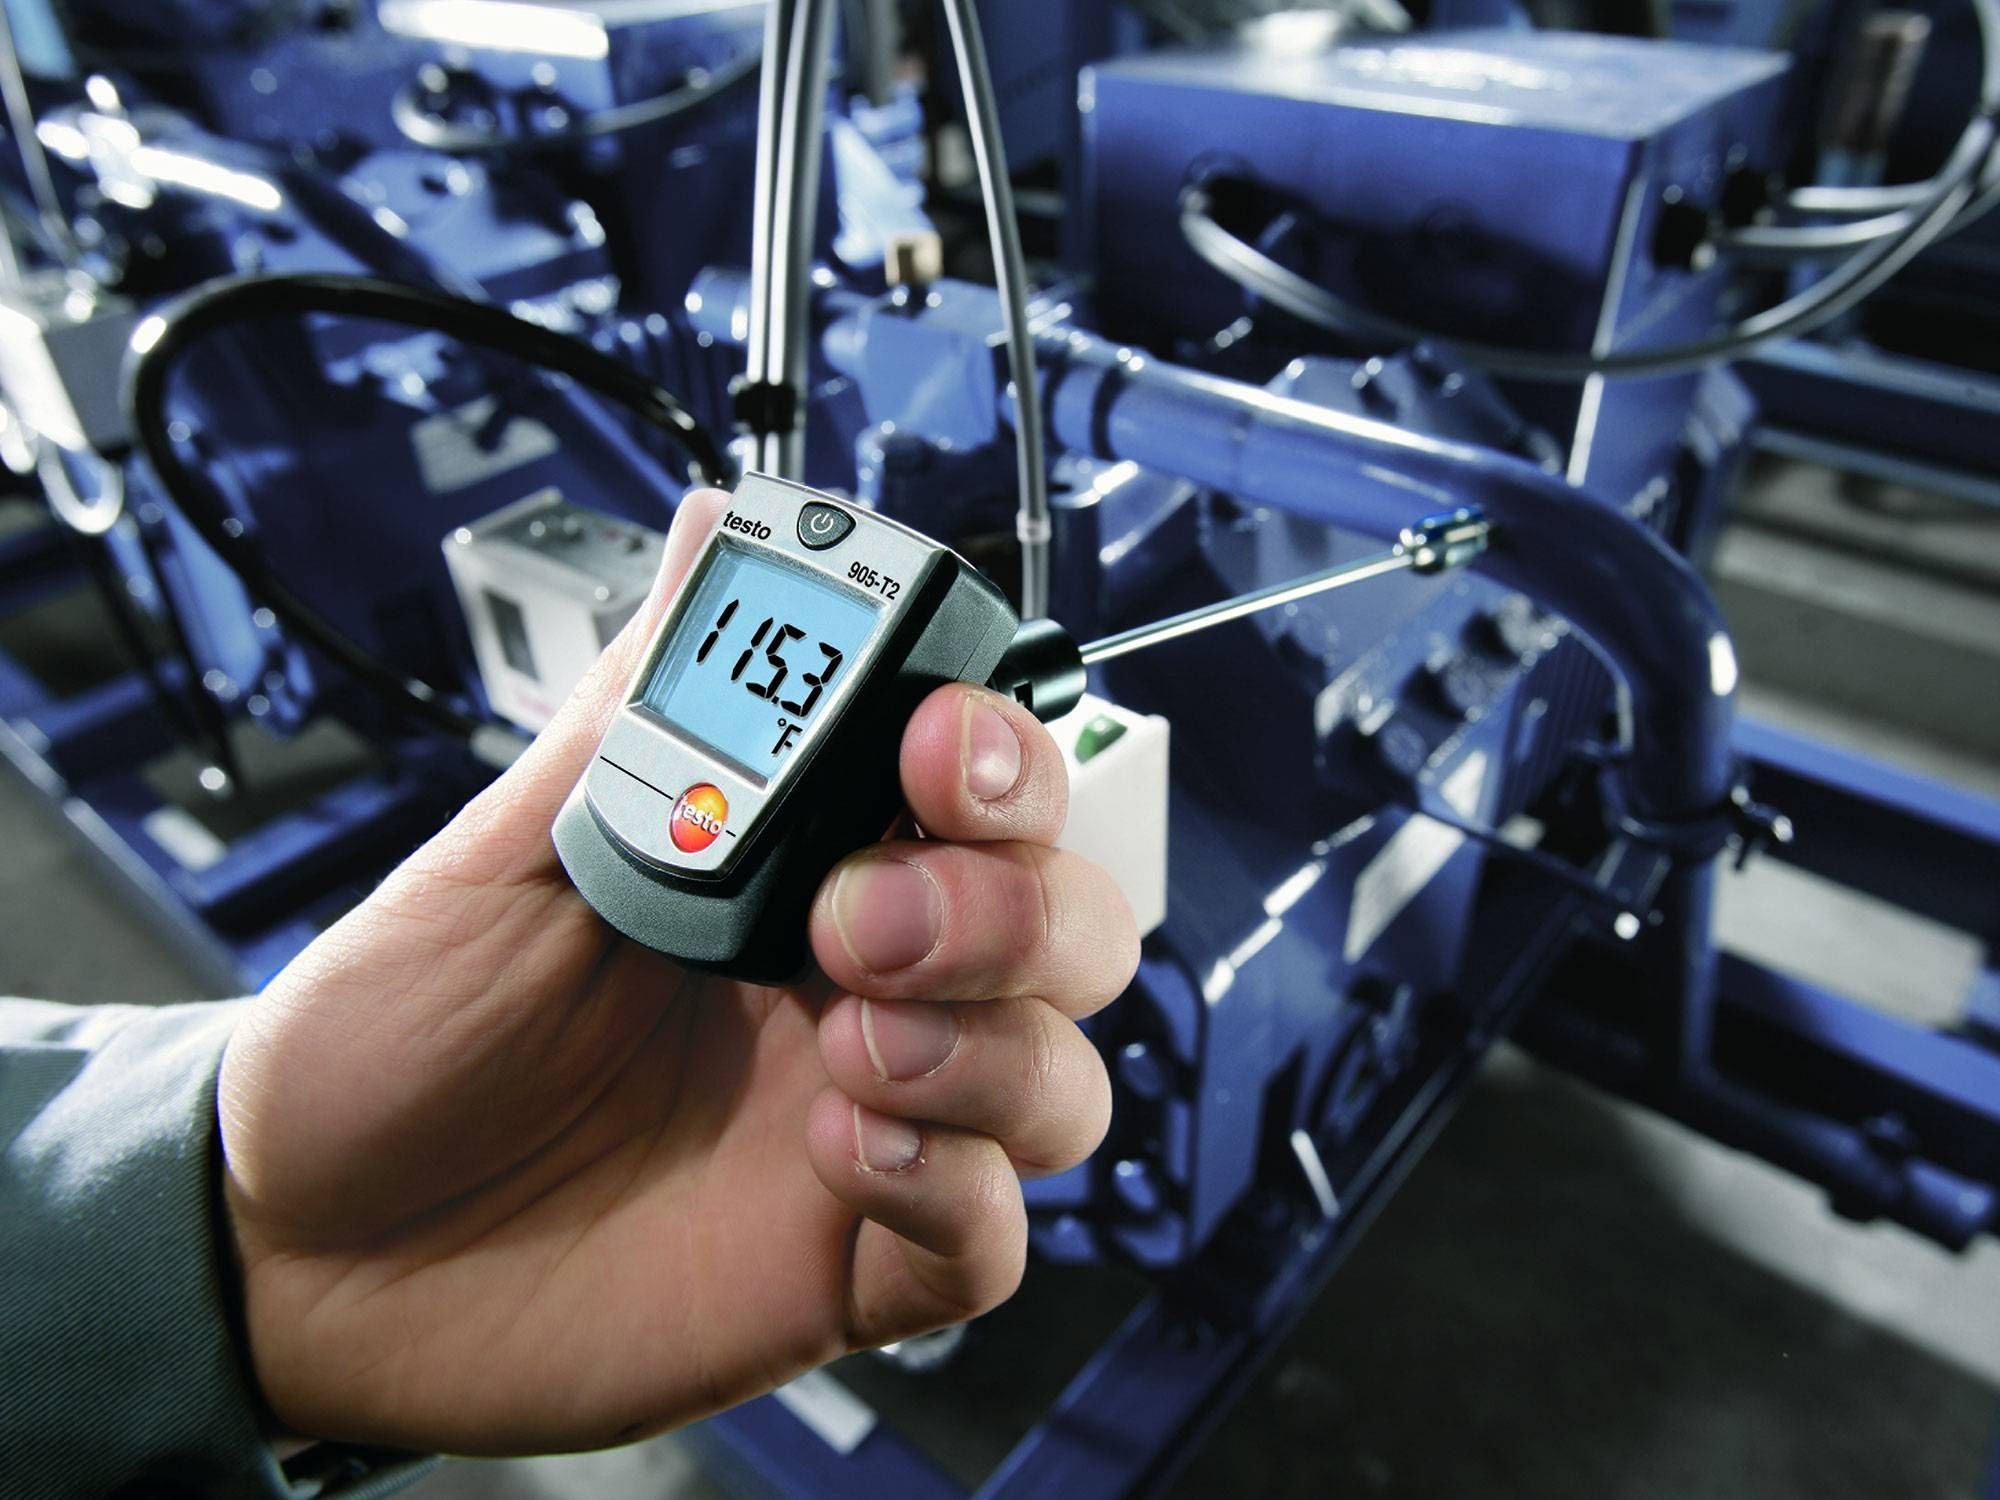
How to Use Surface Temperature Probes Correctly
Getting accurate surface temperature readings in the field comes down to technique. Whether you are checking suction line temperatures on a rooftop pack in Brisbane, measuring pipe surfaces in a cold room plant room, or diagnosing heat exchanger performance on a Melbourne commercial site, a surface probe is only as reliable as the method behind it. The Testo surface probe range gives you the hardware, and this guide gives you the field method.
Surface temperature measurement is one of the most common diagnostic tasks in HVAC and refrigeration, and it is also one of the easiest to get wrong. Poor prep, weak contact, missing insulation, and readings taken before stabilisation account for many inaccurate results that come back from site. This guide walks through each step of correct technique so your readings are defensible, repeatable, and useful when diagnosing plant.
Written by Rica Francia Macaspac, HVAC Shop content writer, in consultation with Aussie HVAC tradies and industry experts. Published: May 2026. Last reviewed: May 2026.
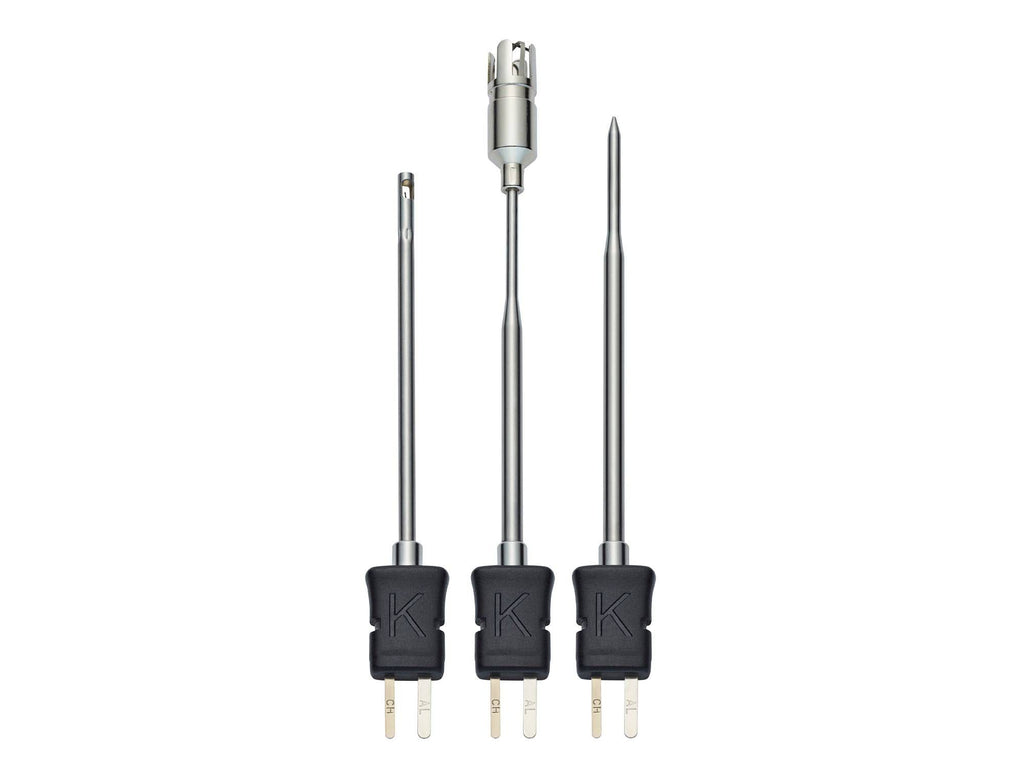
Preparing the Surface for Measurement
Before your probe tip touches anything, the surface needs to be ready. This step is skipped more often than almost any other, and it can ruin the reading before the test has properly started. A dirty, painted, or oxidised surface creates an insulating barrier between the material you are measuring and the probe sensing tip. Even a thin layer of corrosion on copper pipe can add enough thermal resistance to push the reading out by several degrees.
Start by choosing the best contact point. On copper refrigerant lines, use a straight section of pipe away from elbows, joints, and fittings. Bends and fittings can create local temperature variation that does not represent the bulk pipe temperature you need to capture. On square duct sections or flat metal surfaces, the centre of a panel usually gives a more stable reading than corners or edges because those areas conduct and lose heat differently.
Once you have picked your spot, clean it. For copper and steel pipes, a quick wipe with a dry cloth will remove dust and light grease, which is enough for many indoor plant room jobs. If you see oxidation on coastal sites in Sydney or the Gold Coast, where salt air speeds up surface corrosion, use fine emery cloth or a scotch brite pad to expose clean metal. Do not remove more material than needed. You only need a small contact area that is shiny and bare. For aluminium surfaces, oxidation forms a tighter and less conductive layer, so clean the area thoroughly. Always dry the surface completely before placing the probe because moisture can act as an insulator and may also cause reading drift as it evaporates.
If the pipe has existing insulation, which is common on suction lines, decide whether to pull the insulation back or work through a small access gap. Pulling it back gives you direct surface access and a better reading, but it adds time and means you need to re-tape the area afterwards. For a quick diagnostic check, you can cut a small slit in the foam and slide the probe through, as long as the insulation closes around the probe body and limits ambient air getting in. The insulation section below covers this in more detail.
Tradie Pro Tip: On jobs with heavy pipe insulation, carry a small piece of self adhesive foam tape. After sliding your probe in, seal the gap around the probe body to block ambient air. It takes about 30 seconds and can significantly reduce stabilisation time, especially in QLD plant rooms where the air temperature and pipe temperature can be 20°C apart.
Paint is another common surface issue. Painted pipework and ductwork are routine on commercial mechanical jobs, and the thermal conductivity of paint varies with colour, thickness, and composition. Direct metal contact is preferred. If removing paint is not practical, note in your documentation that the measurement was taken through a painted surface. This can affect accuracy by a degree or two depending on paint thickness. For critical diagnostic work, bare metal contact is always the better choice.
Probe Contact Methods
How you hold or mount the probe determines the quality of thermal contact, and thermal contact is what makes the reading useful. A probe that sits even slightly away from the surface because of poor contact technique may show air temperature rather than pipe temperature. Different probe designs are built for different contact methods, so match the probe to the job before taking the reading.
Spring loaded probes are the most common option for general HVAC and refrigeration surface work. The spring mechanism maintains consistent pressure against the surface, which keeps the thermal junction in firm contact even on slightly uneven or curved surfaces. When using a spring loaded probe by hand, apply the tip to the cleaned contact point and hold it with enough pressure to compress the spring slightly. You should feel it engage. Avoid pressing so hard that you deform the tip or scrape the surface, but do not rest it lightly either. The spring needs to be compressed to work correctly. For copper pipe work, angle the probe slightly so the tip sits against the pipe surface rather than balancing on the lowest point of the curve.
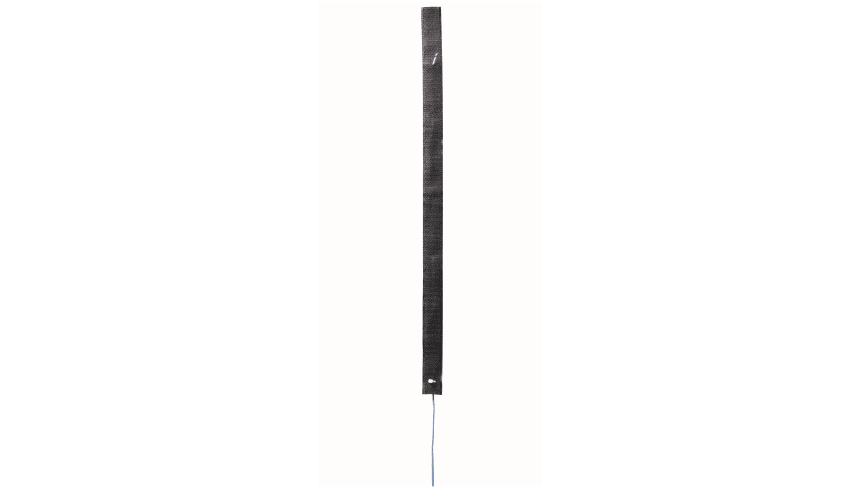
Strap mounted probes use an adjustable band or cable tie to hold the probe body against the pipe surface, which leaves your hands free. This is the right method when the reading needs several minutes to stabilise, when you are logging temperature over time, or when the measurement point is awkward to access continuously by hand. The Testo Velcro strap surface probe is designed for this type of work. The loop and hook strap wraps around the pipe body and holds the probe tip in firm, consistent contact without forcing you to stand beside it. It is a practical choice for plant room commissioning where you may want to leave probes on several pipes at the same time.
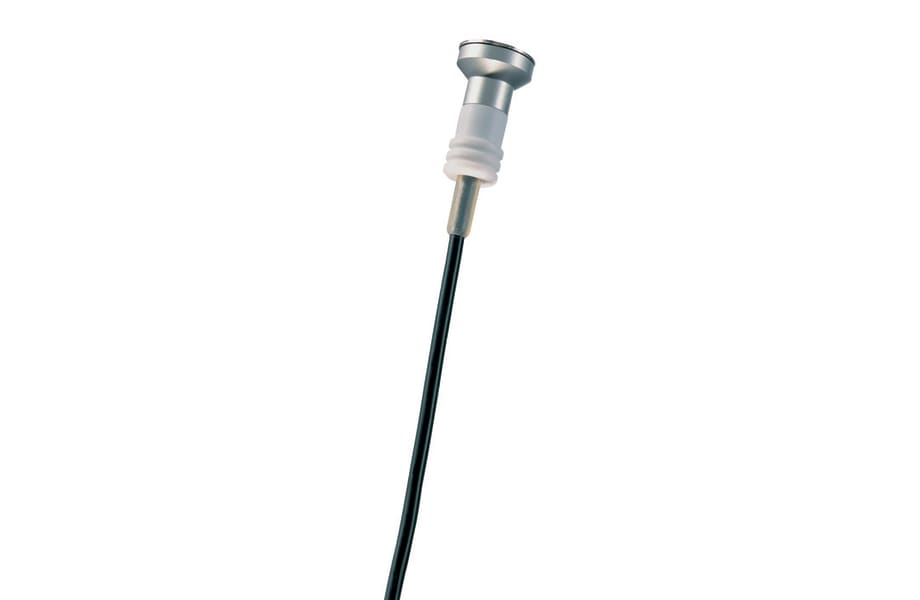
A magnetic probe for hands free continuous monitoring works well on ferrous metal surfaces such as steel ductwork, steel pipe, and equipment housings. The magnet holds the probe face flat against the surface, making it quick to deploy and reliable on flat or lightly curved steel. It will not work on copper, aluminium, or plastic, so check the surface material before choosing a magnetic mount.
Thermal paste can improve thermal coupling on rough or slightly uneven surfaces where air pockets could sit between the probe tip and the material. It is the same type of heat transfer compound used in electronics. Use only a tiny amount, roughly the size of a grain of rice on the contact tip. Wipe it off after each measurement and replace it when needed. Not every job requires it, but on critical measurements where accuracy matters, such as checking condensing temperature during a tight diagnostic job, thermal paste gives you more confidence that the reading reflects what the equipment can achieve.
For pipe surface work, the surface probe with widened measuring tip increases the contact area between the sensing element and a curved surface. This helps when working on larger diameter pipe where a standard small tip sits in a narrow contact zone and can be affected by slight changes in angle. The widened tip gives you more forgiveness in placement.
Insulation and Ambient Heat Compensation
Ambient temperature is the enemy of an accurate surface measurement. When you place a probe on a cold suction line in a warm plant room, heat from the surrounding air starts moving through the probe body and tip. Without compensation, the reading can trend warmer than the real pipe surface. In environments where the gap between ambient temperature and surface temperature is large, the effect can be significant enough to affect diagnosis.
The fix is to insulate around the probe. This is why strap mount probes such as the Velcro strap TC Type K probe are designed to sit flush against the pipe with the probe body supported at the measurement point. When you are working on an uninsulated pipe, wrap a small piece of foam or a folded cloth around the probe body after it is placed. This shields the measurement from moving ambient air. It is a simple field habit, and it works.
Outdoor measurements bring another challenge: solar radiation. A probe sitting on exposed copper pipework in direct Queensland sunlight is not simply measuring pipe temperature. It is measuring pipe temperature plus added solar heat, which can make the result useless for refrigeration diagnostics. Always shade both the probe and the measurement surface before taking outdoor readings. A piece of cardboard, a clipboard, or even a cap can block radiant heat during measurement. This applies to hot rooftop condenser units in Perth, exposed plant on Darwin warehouse jobs, and any outdoor mechanical equipment during the Australian summer.
Did You Know? On a hot day in Western Australia, direct solar radiation can add 10 to 15°C to the surface temperature of exposed copper pipework compared with shaded pipework at the same ambient temperature. That is enough to misrepresent discharge line temperature on a rooftop condenser diagnostic. Shade first, then measure.
Probe insulation varies by design. Some probes have an extended body or overmoulded handle that limits conductive heat transfer from your hand into the measurement tip. Others have a smaller body and rely more on user technique. When choosing probes, check whether the design includes a thermal break between the handle and the sensing tip. It is a worthwhile feature on probes used in high differential environments such as cold room compressor rooms, server room cooling, or refrigerated transport diagnostics.
For wet or outdoor environments, probe protection matters as much as insulation. A waterproof surface probe with widened tip is designed to handle condensation, rain exposure, and the moisture often found around outdoor units, cooling towers, and plant rooms with active condensate. A standard probe used in wet conditions risks moisture entering the body. At best, this can affect calibration. At worst, it can damage the sensor permanently. If the job is outdoors or in a wet plant room, use a probe rated for that environment.
Reading Stabilisation and Timing
One of the most common mistakes in surface temperature measurement is recording the reading too early. The probe tip needs time to reach thermal equilibrium with the surface. Until that happens, the display is partly showing the probe own thermal mass from its previous condition rather than the true surface temperature. The technical term is T90 response time, which means the time it takes for the probe to reach 90% of the actual surface temperature. Response times vary by probe type and design, so understanding them helps you decide when the reading can be trusted.
| Probe Type | Typical T90 Response Time | Best Application | Stabilisation Notes |
|---|---|---|---|
| Fast action surface probe (TC Type K) | About 3 to 8 seconds. Confirm the exact figure for your model in the Testo datasheet. | Quick scanning and multiple readings across a large job | Excellent for rapid diagnostics. Watch for ambient interference. |
| Widened tip surface probe (TC Type K) | About 10 to 20 seconds. Confirm the exact figure in the datasheet. | Larger diameter pipe and improved contact on curved surfaces | Wait for the reading to stop climbing or dropping before logging. |
| Velcro or strap mount probe (TC Type K) | Longer initial stabilisation, usually about 30 to 60 seconds, followed by a stable reading | Extended logging, commissioning, and plant monitoring | Set the probe and leave it in place. Log after the full stabilisation period. |
| Waterproof surface probe (PT100) | Moderate response time. Check the manufacturer datasheet. | Wet environments, outdoor plant, and cooling towers | PT100 sensors typically offer higher accuracy once the reading is stable. |
| Magnetic surface probe (TC Type K) | Moderate response time, depending on contact area and the temperature difference between surface and ambient air | Ferrous surfaces, steel duct, and equipment housings | Secure the magnetic contact before timing. Recheck the reading if the probe shifts. |
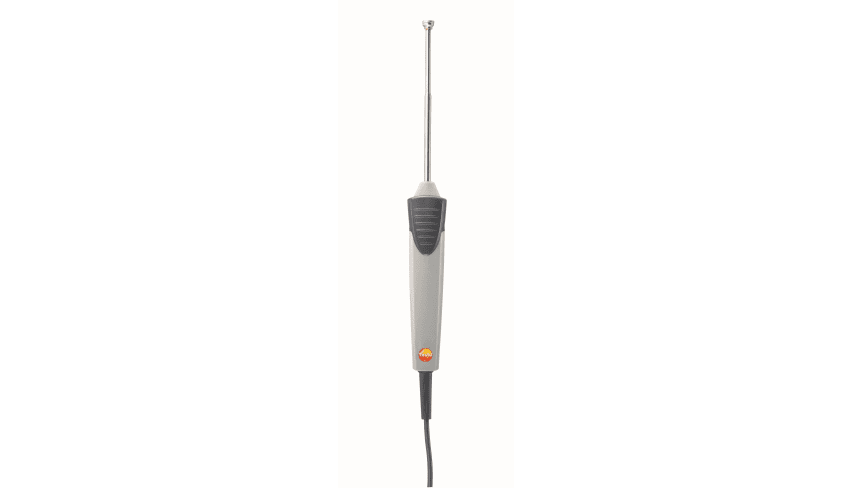
For rapid scanning across a large job, such as checking several supply and return air duct surfaces across a commercial floor, the fast action surface probe for rapid stabilisation is the right tool. Its short T90 time lets you move through measurement points quickly without waiting half a minute at each location. For critical single point measurements where confidence matters, such as commissioning documentation, fault diagnosis, or refrigerant system performance verification, a slower and more thermally stable probe left in contact for the full stabilisation period gives the most defensible result.
How do you know when a reading has stabilised? Most digital meters connected to a surface probe will show the temperature climbing or dropping toward the surface temperature before it levels off. Wait for the number to stop changing, or for it to change by less than 0.1 to 0.2°C over 10 seconds. That is your stabilised reading. Some Testo meters include MIN/MAX hold or a stability indicator that shows when the reading has stopped drifting. Check the meter manual for your specific model. Do not record a display that is still moving.
Temperature drift after stabilisation can also happen because the system itself is changing. A compressor might cycle, or a valve might open and shift pipe temperature during the measurement. If the reading drifts after it appeared stable, pause and check whether the system is changing state. In some diagnostic scenarios, such as watching suction pressure and suction line temperature together during a capacity test, that drift is part of the story and should be observed rather than ignored.
Recording and Documenting Measurements
A temperature reading that is not documented has limited value for service history, warranty claims, commissioning records, and future diagnostic comparisons. Professional documentation of surface temperature measurements separates a tradie who leaves a usable paper trail from one who has to explain missing context later.
The simplest and fastest documentation method is photographic. Take a photo of the probe in contact with the surface, with the meter display clearly visible. This gives you a timestamped record of where the measurement was taken, what the reading was, and when it was captured. Smartphone cameras are more than adequate. Store images in the job folder with a naming convention that includes the site, date, and measurement point. A file name such as SydneyGoldCoast_ColdStore_SuctionLine_North_15May26.jpg will still make sense six months later. A generic camera file name will not.
For formal commissioning or service reports, record measurements in a structured log. Include the time, location, surface description, ambient temperature at the time of measurement, and the stabilised reading. A useful surface description might be 25mm suction line, 300mm before accumulator, north compressor. Ambient temperature matters because it helps anyone reviewing the log evaluate the delta T between pipe and ambient conditions. Often, that difference is the diagnostic number that matters more than the surface temperature on its own.
The full Testo surface probe and logging meter range includes meters with onboard data logging capability. Some can store hundreds of measurement sets with timestamps. For long duration plant monitoring, commissioning runs, or trend analysis on ageing equipment, logging meters remove the manual recording step and export data directly into reporting workflows. This is increasingly expected on commercial mechanical work, and it is the documentation level that stands up in building management and facilities maintenance environments.
Probe placement photos deserve special attention. A photo that shows the probe in context, including the pipe, nearby fittings, and its position in relation to the unit, is far more useful in a future service record than a number written on a sheet with no spatial reference. Future technicians working on the same plant will know exactly where the reading was taken, which makes comparative measurements genuinely comparable. Get into the habit of taking a wide shot that shows the probe location, then a close shot that shows the meter display.
Tech Specs Note: When logging surface temperatures for refrigerant system performance verification, always record the system operating conditions at the time of measurement. Include suction and discharge pressures, compressor amps, ambient temperature, and load condition. A surface temperature reading without system context is just a number. With context, it becomes a diagnostic data point that explains system performance.
Troubleshooting Inaccurate Readings
Even with correct technique, surface temperature readings can still go wrong. Understanding what causes erratic, drifting, or clearly incorrect readings helps you diagnose the problem instead of repeating the same measurement and hoping for a different result.
Erratic readings, where the display jumps by several degrees with no clear settling point, usually point to one of three causes. The probe connector may have poor electrical contact, the thermocouple junction may be damaged, or nearby equipment may be creating electrical interference. Start with the connector. Pull the probe out of the meter, inspect the pins for corrosion or bent contacts, and reseat it firmly. A loose or corroded thermocouple connector is one of the most common causes of erratic field readings. If reseating does not fix it, swap to a known good probe and see whether the problem follows the probe or stays with the meter. That tells you whether the fault sits in the probe or the meter.
Electrical interference from inverters, VSD drives, fluorescent ballasts, and other electrical equipment can create noise on thermocouple measurement circuits, especially with long leads or low quality probes that lack shielding. If you see erratic readings near switchboards or plant rooms full of inverter drives, shorten the lead length where possible, move the meter away from the interference source, or switch to a probe with a shielded lead. Probe construction quality, including lead shielding, makes a real difference in electrically noisy environments.
Slow response time, where the probe takes much longer than expected to approach the surface temperature, is almost always a contact issue. The tip may not be seated firmly enough, the surface may be contaminated with grease, paint, or oxidation, or the probe tip may be worn or damaged and no longer making the right contact shape. Check the tip under a light. Deformation, gouging, or flat spots on a tip designed for curved surfaces will reduce contact quality. Probe tips wear over time, and replacing them is much cheaper than misdiagnosing jobs because of bad readings.
Readings that look stable but are consistently offset from what you expect can indicate calibration drift in the probe. For example, a reading that is always 3°C warmer than the calculated saturation temperature may not be a system fault. Thermocouple probes can drift over time, particularly after exposure to temperatures outside their rated range, physical shock, or moisture ingress. Calibration checks against a known reference can confirm whether the probe is offset. A precision thermometer in an ice bath at 0°C is a common field check. If calibration is out, do not adjust the readings mentally. Replace the probe or send it for calibration. Working around a known bad instrument in your head is how measurement errors multiply.
Ambient interference that pulls readings toward room temperature can be the hardest problem to spot. If the reading stabilises at a value that seems oddly close to ambient conditions, such as 18°C on a suction line that should be around 5°C based on operating conditions, suspect that ambient air is reaching the probe tip through a gap in the insulation. Rewrap the probe body, seal any gaps around the probe entry point, and wait for a full new stabilisation cycle. The reading should move closer to the actual pipe surface temperature.
Replace a probe rather than keep troubleshooting when the tip is visibly damaged, when it fails an ice bath calibration check by more than the rated accuracy, when the lead is cracked or the sheathing is compromised, or when persistent erratic behaviour continues after connector reseating and probe swap testing. Quality probes should not be pushed past their service life on critical diagnostic work. A bad probe can cost far more in wasted time and incorrect diagnosis than a replacement. The waterproof surface probe with widened tip is built for harsh environments, but even robust probes need regular condition checks as part of your tool maintenance routine.
Frequently Asked Questions
If you are building a surface temperature measurement kit or upgrading to probes suited to specific applications, such as fast action scanning, secure strap mounting, or waterproof field use, talk to the team at HVAC Shop. We can help confirm compatibility with your existing meters and match the probe to the job. View the full Testo surface probe collection or get in touch for trade pricing and stock availability.