Manual Bending Mastery
Manual pipe benders still dominate HVAC work in Australia, and for good reason. They’re quick, they’re portable, and they give you great control when you’re working with copper lines on split systems and day-to-day service jobs.
The catch is simple: a manual bender is only as good as the setup and technique behind it. Poor seating, rushed pulls, or bending in the wrong spot can ruin copper fast. A kinked bend, a flat spot, or a twisted offset can turn into restriction, vibration wear, and line sets that don’t sit right behind covers. And once copper is stressed, you can’t “un-stress” it. Most of the time you cut it out and start again.
This guide focuses on real field skills, not fluff. You’ll learn the main types of manual benders, how each one behaves, how to choose the right style for your access, and the repeatable technique that prevents kinks and ugly bends. If you’re an apprentice trying to stop kinking 3/8" on installs, or a busy fridgie who wants cleaner bends in tight ceilings, the goal is the same: clean bends, less rework, and installs that look professional.

Most “bad bends” start before the handle moves. If the tube isn’t fully seated in the former and held square, the copper can twist as it bends — and that twist is what turns a neat curve into a flat spot.
Types of Manual Pipe Benders Explained
When people say “manual pipe bender”, they often mean a lever-style tube bender. But in HVAC, manual bending covers a few tool types. Each one solves a different problem: speed, tight access, portability, or small-tube work. The right tool depends on where you bend and how much room you’ve got.
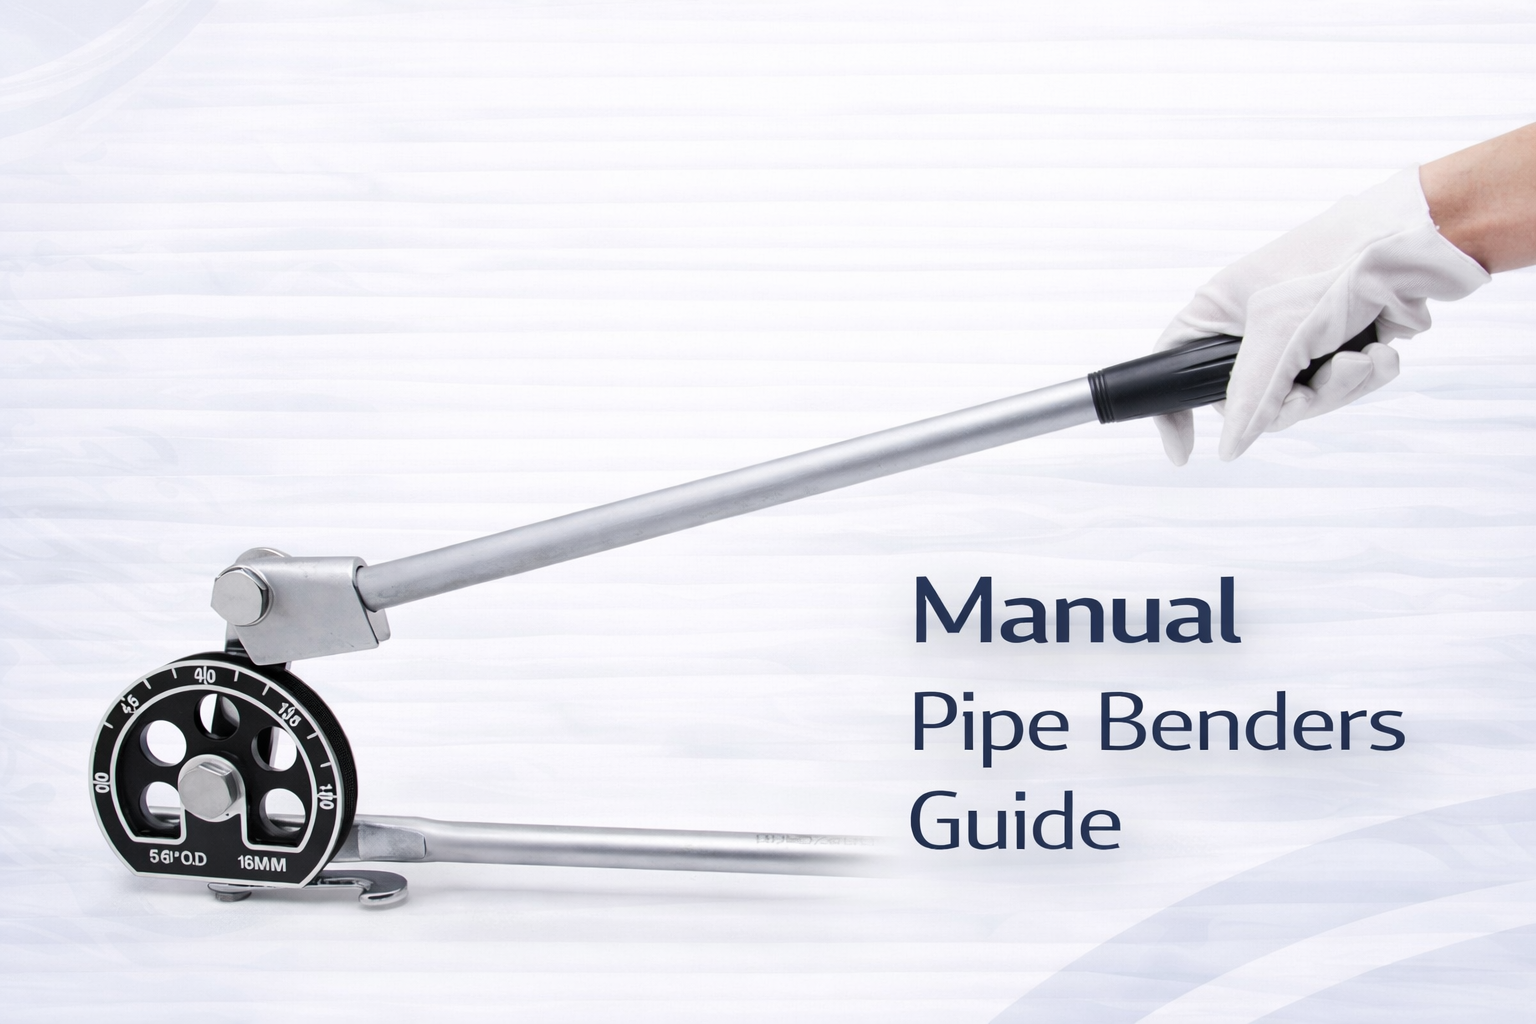
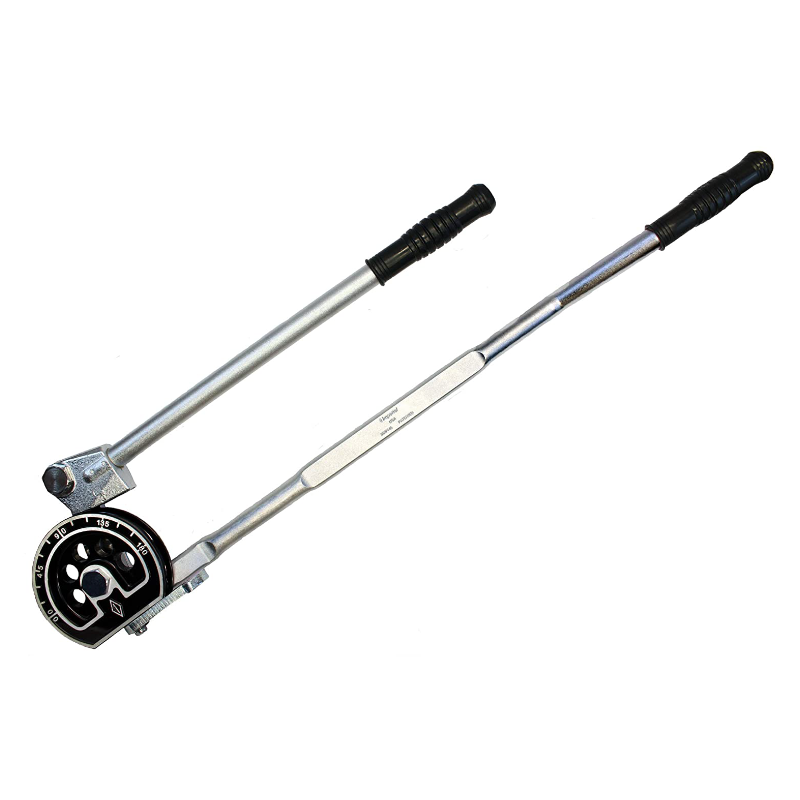
Lever-type benders and how they work
A lever-type bender is the classic. You seat the tube into a shaped former, then pull a handle to wrap the tube around that former. The tool supports the outside of the tube as it bends, which helps prevent flattening. Done properly, you get a smooth radius and a bend that stays round.
If you want a known-live example to compare, here’s a lever-style option on HVACShop: Imperial lever type tube bender. Always confirm the tube size range matches what you actually bend most.
Ratchet mechanism advantages
Ratchet benders are still manual, but they’re designed for tight spaces and controlled bending. Instead of one big swing of a long handle, you ratchet the bend around in smaller steps. That’s handy in ceiling spaces, plant rooms, service corridors, and compact apartment balconies where you simply can’t swing a lever bender properly.
They also help when you want to creep up on an angle without overshooting. A practical example on HVACShop is this style of kit: Ratchet tube bender kit.
Spring benders for small tubing
Spring benders are the simple option. You slide a spring over the tube and bend by hand. The spring supports the wall so the tube is less likely to kink. They’re common for small copper tubing and quick on-the-fly tweaks.
They’re not as precise as lever or ratchet tools, but they’re light and easy to carry. If you want a reference point, here’s a spring set on HVACShop: Spring tube bender set. Springs reward slow, steady bends — rush it and you can still mark or flatten copper.
Compact vs full-size options
“Compact pipe bender” searches usually come from techs doing tight access work. Compact tools shine when you’re bending near a wall penetration, behind an indoor unit, or inside a crowded plant room. Full-size tools give you more leverage and often feel smoother, but they need room to swing.
There’s no point owning a full-size lever bender if you can’t physically use it in the spaces you work in. On the other hand, a tiny bender that takes ages on every bend can slow you down on installs. Match the tool to your reality.
Weight and portability factors
Portability matters more than most people admit. If you’re carrying gear up stairs, onto rooftops, or across big sites, weight adds up. A manual bender is meant to be “grab-and-go”. If it’s too heavy or awkward, it stays in the van — and then you end up hand-bending copper, which is when kinks and ugly offsets happen.
How Manual Pipe Benders Work
Manual pipe benders work by turning your hand force into controlled bending force. The reason they feel “easy” compared to hand-bending is leverage. A longer handle gives you more bending force with less strain, and a shaped former guides the tube into a consistent radius.
The heart of the tool is the former (sometimes called a shoe or die) and the guide. The former sets the bend radius. The guide holds the tube in the right position as it wraps around. When both parts match the tube size properly, the tube stays supported and keeps its round shape.
Kink prevention comes from support and alignment. A kink usually happens when the tube wall collapses on the inside of the bend, or when the tube twists and doesn’t track the former cleanly. A well-designed bender reduces this by keeping the tube seated and supported as the bend forms.
Before you bend, do a quick “path check” with the tube held where it will run. Look for rub points, insulation clearance, and bracket locations. One small tweak to bend location can prevent future vibration wear.
Choosing the Right Manual Bender
Choosing the right manual pipe bender comes down to three job questions: what tube sizes do you bend most, how much space do you have where you bend, and how often are you bending each week?
If you mostly do residential split installs and service, you’ll usually want a lever-type bender that covers your common copper sizes and gives quick, clean bends. If you’re often in tight ceilings and plant rooms, a ratchet tool can be the difference between a neat bend and a forced kink. If you only need occasional small bends and want a light backup, spring benders can fill that gap.
| Feature | Lever bender | Ratchet bender | Spring bender |
|---|---|---|---|
| Best use | Fast, repeatable bends on common HVAC copper sizes | Tight access bending with controlled, step-by-step movement | Small tubing and light bends where portability matters |
| Precision | High when seated correctly and pulled smoothly | High for “creeping up” on the final angle in tight spaces | Moderate, relies heavily on consistent hand pressure |
| Speed | Fast once set up | Slower, but often faster than fighting a lever in cramped access | Fast for gentle bends, slower for perfectly matched bends |
| Space needed | More space to swing the handle | Less space, designed for cramped areas | Very little tool space, but needs room to move the tube by hand |
| What to watch out for | Twisting the tube, over-bending then pulling back | Misalignment during ratcheting if the tube isn’t held square | Marking tube, inconsistent bends, spring sticking on tight bends |
Manual benders are sized to tube outside diameter (O.D.). Before you buy, confirm the tube size you bend most, then match the former size to that tube. If the former is “close but not exact”, bend quality drops quickly.
Expert Manual Bending Techniques
Most kinks and flat spots don’t happen because the tool is “bad”. They happen because the tube wasn’t seated properly, the bend started from the wrong mark, or the pull was rushed and twisted.
Measure and mark first. Mark your start point and bend direction. For paired lines, mark both tubes the same way so the bends line up. If you’re doing an offset, mark both bends before you start, then double-check insulation and clamp clearance.
Pull smoothly. Smooth is strong. A steady pull helps the tube track the former evenly. Jerky pulls make the tube jump, which is when you get flat spots and twist.
Watch for twist. If the tube starts to twist, stop and reset. Twisting while bending is one of the fastest ways to ruin copper.
Check the bend like a pro. Look from different angles. Is it still round? Any obvious flattening? Feel for a sharp crease point. If it looks wrong, it’s usually better to remake the section than hide it behind insulation and hope.
When you’re aiming for a clean 90°, stop slightly short and let spring-back land you on the mark. If you overshoot and “pull it back”, you work-harden the bend and increase cracking risk later.
Manual bending can also put you into awkward posture in ceilings and tight access areas. For safe technique habits on site, refer to SafeWork Australia’s manual tasks guidance.
Best Manual Benders for Different Jobs
The best manual bender depends on the work you do most. A tool that’s perfect for residential splits can be frustrating on a tight commercial service call, and a tool that’s great on a bench can be annoying to carry up stairs all day.
Residential split installs: lever-style benders are usually the go-to because they’re fast and consistent for common bend types.
Tight access commercial/service: ratchet tools shine when you can’t swing a handle safely.
Small quick tweaks: spring benders can be a light backup when you need a gentle bend without hauling bigger gear.
Heavier tube / repeated bending: a more stable frame can help with consistency and reduce strain. If you’re comparing heavier-duty setups, here’s a known-live example to reference: Hilmor CM35 A-frame bender.
Care and Maintenance for Manual Benders
A manual bender is a precision tool, even if it looks simple. Dirt, grit, and damage to the former are what slowly ruin bend quality. Then one day you notice more marking, more flattening, or more effort than you used to.
Clean the former and guide surfaces after dusty jobs and rooftop work. Grit can scratch copper during bends and leave weak points under vibration.
Keep pivots moving smoothly (follow the manufacturer’s guidance). Stiff action makes you pull harder, which increases twist and overshoot.
Store it properly. Loose in a van, the former edges can get dinged. Small damage can mark tube and drag your bends off-line.
A worn former can “look fine” but still cause flattening because the tube isn’t supported evenly through the bend. If your bends start going oval and your technique hasn’t changed, inspect the former and guides first.
Perfect Your Bending Skills
Manual bending mastery comes from two things: the right tool for the job and repeatable technique. When you measure and mark properly, seat the tube correctly, apply smooth pressure, and check your bend quality, you get results that look professional and last.
If you want to compare manual bender styles and tube size ranges on HVACShop, start here: Tube and Pipe Benders. If you want compatibility help, share the tube sizes you bend most (e.g., 1/4", 3/8", 1/2", 5/8") and the kind of access you deal with, and you’ll narrow down faster.