
The sizzling Australian summers can be a brutal reminder of just how much we rely on our air conditioners.
As the temperatures climb, our AC units are put to the test and expected to keep us cool and comfortable. But are we doing enough to ensure they're up to the task? The answer lies in proper air conditioner maintenance, specifically in using an air conditioner cleaner.
In this blog post, we'll help you beat the heat with our comprehensive DIY guide to using an air conditioner cleaner. We'll walk you through the importance of keeping your air conditioner clean, the problems you might face if you neglect it, and, of course, how to clean it yourself.
Why Clean Your Air Conditioner?

Before we dive into the nitty-gritty of air conditioner cleaning, let's talk about why it's important. The main reasons include:
- Increased Efficiency: A clean air conditioner functions more efficiently, cools your home more effectively, and uses less energy.
- Extended Lifespan: Regular cleaning and maintenance can prolong the lifespan of your AC unit, saving you money in the long run.
- Improved Air Quality: A dirty AC unit can circulate dust, pollen, and other allergens throughout your home. By keeping it clean, you can improve the air quality in your home.
What Happens if You Neglect Cleaning?
Neglecting to clean your air conditioner can lead to several problems:
- Reduced Cooling: Dust and grime can reduce your unit's cooling capability. The harder your system has to work to cool your home, the more energy it consumes.
- Higher Energy Bills: An inefficient AC unit will run for longer periods, increasing your energy bills.
- Frequent Breakdowns: Without regular cleaning, your air conditioner can wear down more quickly, leading to frequent and costly breakdowns.
Now that we've covered the why, let's move on to the how.
DIY Guide to Using an Air Conditioner Cleaner
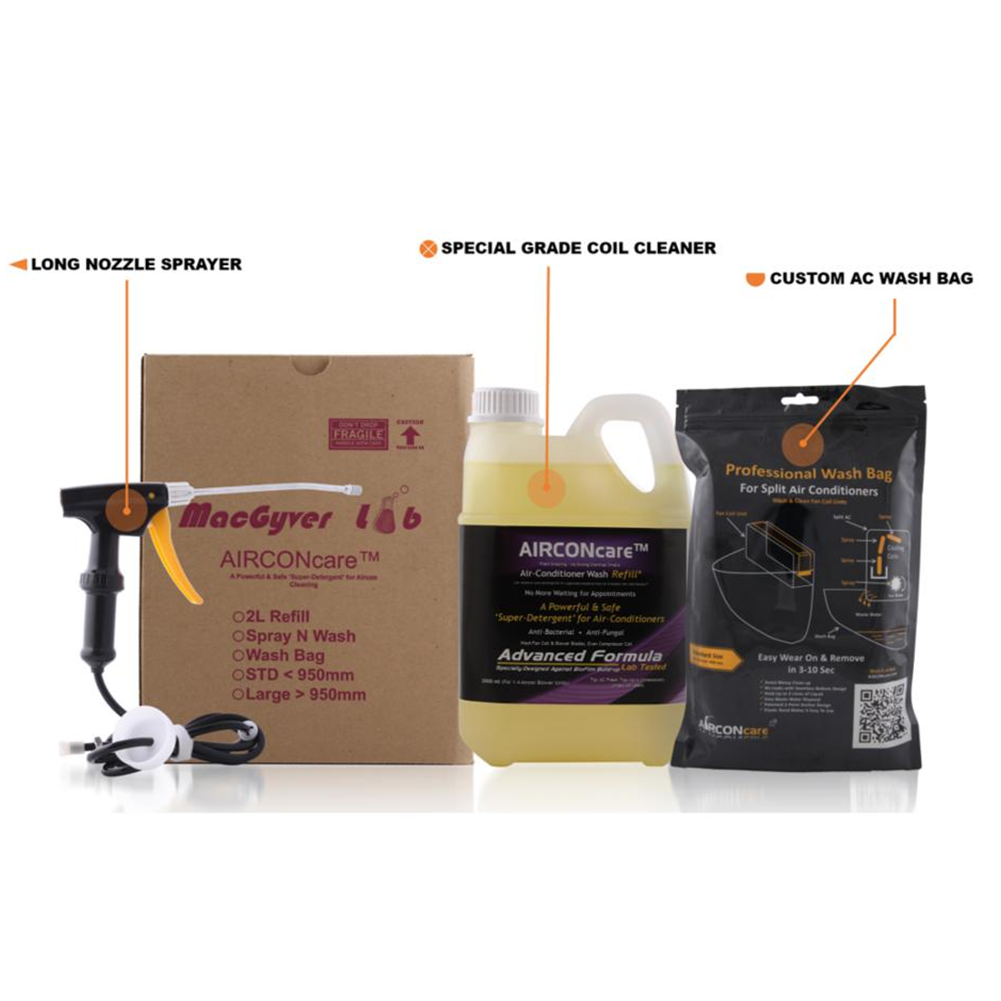
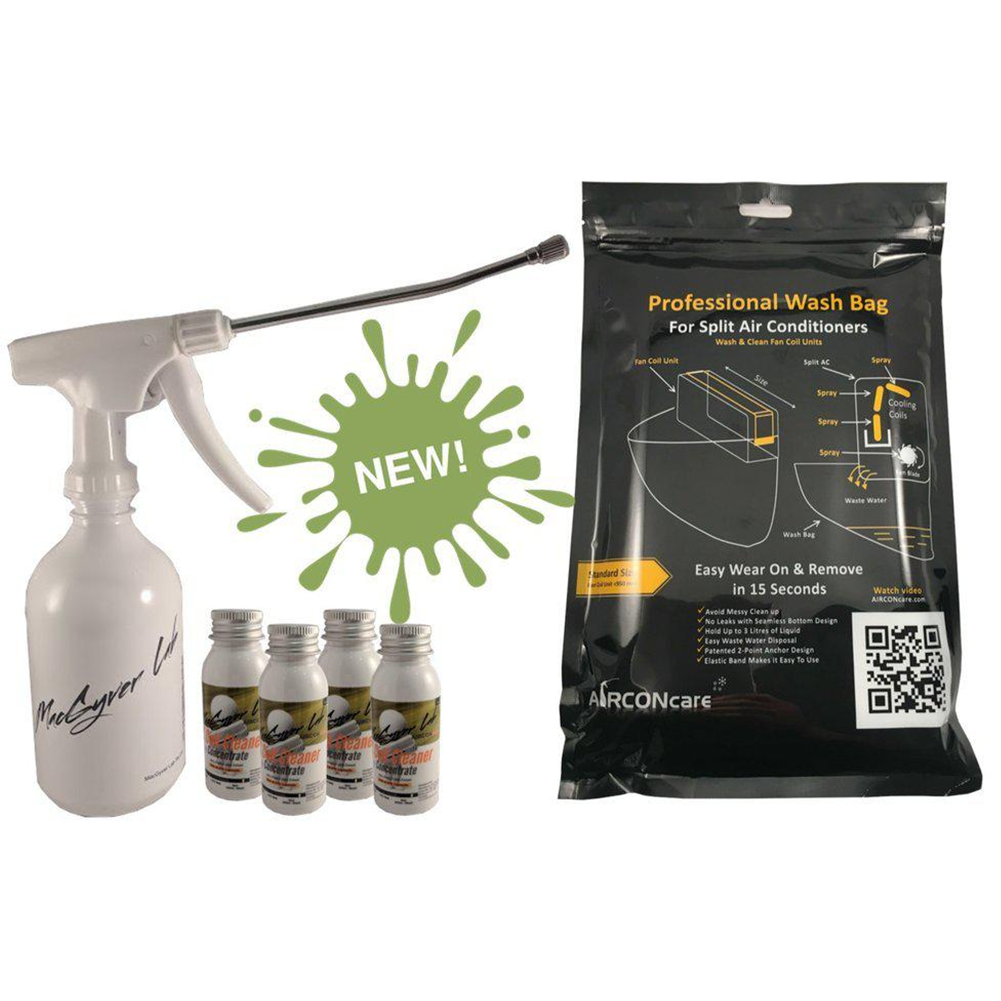
Before you start, it's important to choose the right air conditioner cleaner. At HVAC Shop, we recommend using a specially designed AC cleaning solution that's both safe and effective.
Here's a step-by-step guide:
-
Switch Off and Unplug: Start by switching off and unplugging your air conditioner. Safety first!
-
Remove the Filter: Carefully remove the air filter. Check the user manual if you're not sure how to do this.
-
Clean the Filter: Use a vacuum cleaner to remove any loose dust from the filter. If it's very dirty, you might want to rinse it under warm running water. Make sure to let it dry completely before reinserting it.
-
Apply the Cleaner: Next, apply your air conditioner cleaner to the cooling fins according to the instructions on the bottle. Usually, you'll need to let it sit for a few minutes to break down the grime.
-
Rinse Off the Cleaner: After letting the cleaner sit, rinse it off thoroughly with water. Be careful not to wet any electrical components!
-
Clean the Exterior: While you're at it, wipe down the exterior of your unit with a damp cloth to keep it looking its best.
-
Let It Dry: This is a crucial step. Before reassembling and plugging in your air conditioner, make sure all the parts are completely dry.
-
Reassemble and Test: Finally, reassemble your air conditioner and test it out. You should notice a difference in its performance immediately.
Remember, consistency is key when it comes to air conditioner maintenance. We recommend cleaning your air conditioner at least once every cooling season, or more frequently if you use your AC unit heavily.
Maintaining Your Air Conditioner for Optimal Performance
Besides cleaning, there are a few other steps you can take to maintain your air conditioner and ensure it's running at its best.
-
Regularly Replace the Filter: Even with regular cleaning, air conditioner filters can wear out over time. Replace them at least twice a year, or more frequently if recommended by the manufacturer.
-
Keep the Area Around Your AC Clear: Make sure there's plenty of space around your outdoor unit. Remove any debris or vegetation that might obstruct airflow.
-
Get a Professional Check-Up: While a DIY clean can do wonders for your AC's performance, it's a good idea to have a professional HVAC technician check your system at least once a year. They can spot potential issues that might not be visible to the untrained eye and ensure your system is running optimally.
When to Call a Professional
While using an air conditioner cleaner can be a great DIY project, there are situations where it's best to call a professional. If your air conditioner is not cooling properly, making strange noises, or emitting unpleasant odours even after a thorough clean, it's time to call in the pros.
Also, if you're not comfortable cleaning your AC unit yourself or if your air conditioner is part of a complex HVAC system, it's better to seek professional help.
Conclusion
A clean air conditioner is an efficient air conditioner. By regularly using an air conditioner cleaner, you can beat the Australian heat, keep your home cool and comfortable, and ensure your AC unit runs efficiently. Whether you're an experienced DIYer or a novice, this guide will help you keep your air conditioner in top shape, prolong its lifespan, and save on energy bills.
With our DIY guide and the right tools from HVAC Shop, cleaning your air conditioner has never been easier. Not only will you get the satisfaction of a job well done, but you'll also enjoy the cool, clean air that your well-maintained AC unit provides.
Remember, HVAC Shop is your partner in all things HVAC. We provide high-quality air conditioner cleaners and other maintenance products to ensure your air conditioner serves you well, summer after summer.
Don't let the summer heat get the better of you. With a clean, well-maintained air conditioner, you can enjoy a cool, comfortable summer no matter how high the temperatures climb. Beat the heat and maintain your cool with a clean air conditioner today. After all, the best time to clean your air conditioner is now!