There’s nothing worse than hopping into your car on a hot day and getting a blast of lukewarm air from the vents. If your car’s air conditioning isn’t cooling like it used to, you might be low on refrigerant—and the good news is, you can fix that yourself. Yes, really.
Recharging your car AC at home might sound intimidating, but with the right tools and a little patience, it’s totally doable. This guide breaks it all down in plain English, so even if you're not a seasoned car buff, you can get the job done and feel pretty proud about it.
Why Recharging Your Car AC Matters
Your car’s air conditioner doesn’t just blow air—it relies on a special refrigerant (usually R-134a or R-1234yf) that cycles through a closed-loop system. Over time, tiny leaks or general wear can cause this refrigerant to run low. When that happens, your AC can't cool the air properly, and you’re left sweating through your commute.
Recharging the system restores the pressure and helps your compressor do its job, delivering crisp, cool air once again.
Signs Your Car AC Needs a Recharge
Before you dive into the DIY process, make sure your AC issue actually stems from low refrigerant. Here are the usual signs:
- Warm air blowing from vents
-
AC clutch not engaging when you turn on the system
-
Hissing or bubbling noise under the hood
- Visible refrigerant leaks
-
Low-pressure readings (if you’ve checked with a gauge)
⚠️ Important: If your system is leaking refrigerant quickly or not holding a charge, that’s a bigger issue. In that case, you’ll need to visit a mechanic.
What You’ll Need to Recharge Your Car AC at Home
Before starting, gather the following tools and materials:
-
AC Recharge Kit (with gauge and refrigerant canister)
- Protective gloves and eyewear
-
Vehicle owner’s manual (for refrigerant type and system capacity)
-
Thermometer (optional, for before-and-after testing)
👉 Tip: Most DIY recharge kits are designed for R-134a systems. If your vehicle uses R-1234yf (common in newer cars), you'll need a different kit and extra care—these systems are more sensitive.
Step-by-Step Guide: Recharging Your Car AC at Home
Let’s walk through the process step by step.
Step 1: Park Safely and Prep
- Park your vehicle on a flat surface.
- Turn the engine off and let it cool for a few minutes.
- Open the hood and locate the low-pressure AC port (usually marked with an “L”). Your car’s manual will help if you’re not sure.
🧠 Pro Tip: Don’t confuse the high-pressure and low-pressure ports—they’re different sizes and using the wrong one can be dangerous.
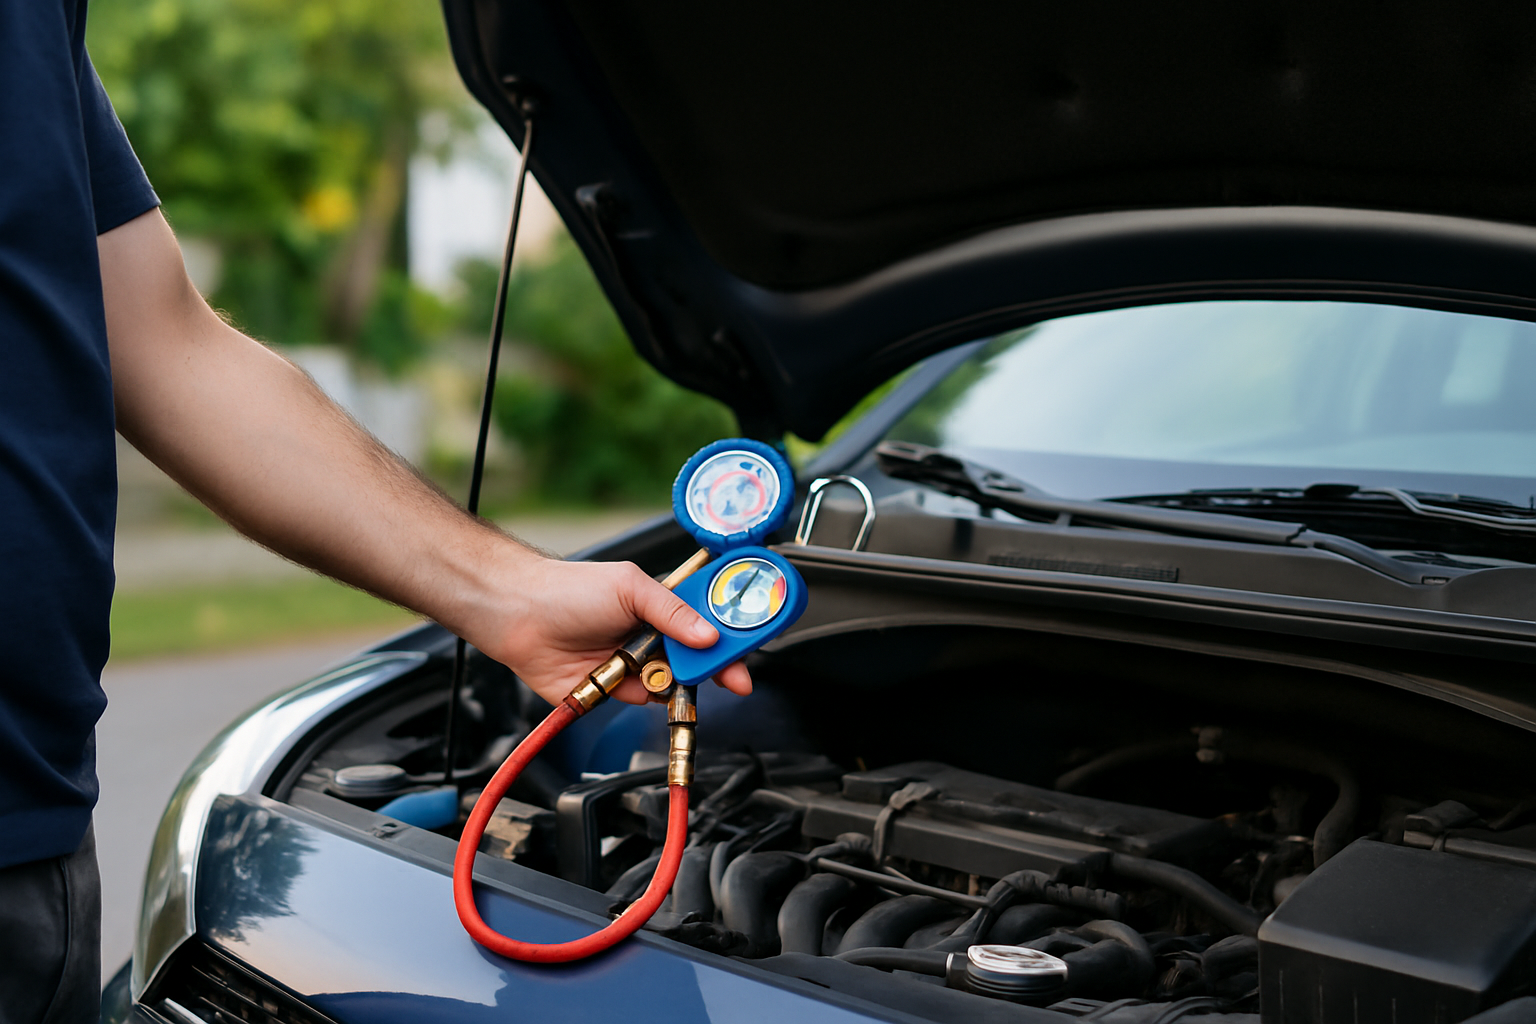
Step 2: Attach the Recharge Hose and Gauge
- Start your engine and set the AC to max cool with the fan on high.
- Shake the refrigerant can for a few seconds.
- Attach the recharge hose to the low-pressure port only.
- You’ll hear a click when it’s locked in.
Check the gauge. If the needle is in the low (white or blue) zone, you’re safe to proceed. If it’s in the red zone, stop—you may be overpressurized or have another issue.
Step 3: Begin Charging the System
- While holding the can upright, press the trigger on the recharge hose.
- Alternate between pressing the trigger and checking the gauge reading.
- Do this in short bursts—don’t just empty the can in one go.
- As refrigerant flows in, you’ll notice the pressure gauge rising.
⚠️ Important: Never overcharge the system. Too much refrigerant can damage the compressor and lead to expensive repairs.
Step 4: Monitor Vent Temperature
- Use a thermometer at your dashboard vent to monitor temperature.
- Ideal cold air temp should drop below 10°C (50°F).
- Once the air gets cold and the gauge reading is in the green zone, you’re done.
Step 5: Detach, Clean Up, and Test Drive
- Turn off the engine.
- Carefully remove the recharge hose.
- Store any remaining refrigerant and dispose of empty cans properly.
- Go for a short drive and see how your AC performs.
How Long Does a Recharge Last?
A properly functioning AC system should hold a charge for years. If you find yourself recharging every few months, it’s likely you have a leak. At that point, professional help is the way to go.
Is Recharging Your Car AC at Home Safe?
Yes, as long as you follow instructions carefully. Most kits are designed with built-in safety features, and refrigerant cans include clear guidelines. Always wear protective gear and work in a well-ventilated area.
Avoid the temptation to “top off” if the system is already working. Overcharging does more harm than good.
Common Mistakes to Avoid
🚫 Skipping the gauge reading: You must know the pressure before adding refrigerant.
🚫 Overcharging the system: This can damage the compressor.
🚫 Adding refrigerant to a leaking system: You’re just masking a bigger problem.
🚫 Using the wrong refrigerant type: Double-check your car’s manual.
When to Call a Professional
DIY is great, but here’s when you should hand it over to the pros:
- Your AC blows warm air even after a recharge
- Strange noises from the compressor
- The refrigerant level drops quickly
- Visible signs of leaks or oily residue
- You’re unsure about handling pressurized chemicals
A licensed technician can do a full vacuum and recharge, detect leaks with UV dye, and ensure your system is running at peak efficiency.
Estimated Cost of DIY vs Professional Recharge
| Task | DIY Recharge at Home | Mechanic/Auto Shop |
|---|---|---|
| AC Recharge Kit | $50–$90 | - |
| Total Cost | ~$70 (max) | $150–$300+ |
| Time Required | ~30–45 minutes | 1–2 hours |
| Skill Level | Beginner | Expert |
Doing it yourself can save a lot, especially if your system just needs a small top-up.
Final Thoughts
If your car’s AC is struggling to beat the heat, a simple recharge at home can bring it back to life. With the right tools and some patience, you’ll be saving money, learning a handy skill, and staying cool all summer long.
Just remember to recharge responsibly—don’t ignore leaks, don’t overfill, and know when it’s time to call in the pros.
Looking for a quality AC Recharge Kit in Australia?
Check out HVACShop.com.au for refrigerants, gauge sets, and pro-grade tools trusted by tradies and DIYers alike.