
Learn How to Read Digital HVAC Gauges
If you are working in HVAC across Australia, knowing how to read digital HVAC gauges is not optional. It is one of the core skills that separates a quick diagnosis from a costly mistake. Whether you are servicing a split system in Brisbane humidity, diagnosing pressure issues in Sydney coastal air, or commissioning a system during a Melbourne cold snap, your gauge readings tell the real story of what is happening inside the system.
A modern digital HVAC gauge removes guesswork and gives you clear data you can trust. The key is understanding what that data actually means and how to apply it on the job.

Why Digital HVAC Gauges Matter on Real Jobs
Digital gauges have changed how technicians work. Instead of interpreting needle positions, you get exact pressure readings, live saturation temperatures, and automatic calculations like superheat and subcool.
On real jobs, this means faster diagnostics, fewer mistakes, and better system performance. In Australian conditions where systems are often pushed hard, accurate readings make a noticeable difference in how quickly you can identify faults and complete work.
Digital manifolds can calculate superheat and subcool automatically when paired with temperature clamps, saving time and reducing human error on every job.
Understanding High Side and Low Side Readings
Before reading any gauge, you need to understand the two sides of the system. The high side, also called the liquid or discharge side, carries refrigerant at high pressure after it leaves the compressor. The low side, also called the suction side, carries refrigerant back to the compressor at lower pressure.
These two readings work together. Looking at one without the other will not give you a complete picture of system performance.
In practice, abnormal high side pressure might indicate airflow issues, dirty coils, or overcharge, while abnormal low side readings could point to restrictions, undercharge, or evaporator problems.
How to Read Digital HVAC Gauges Step by Step
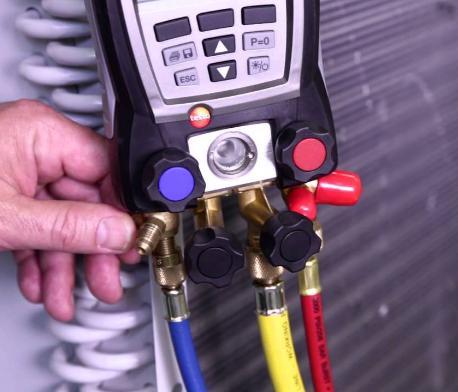
Start by connecting your manifold correctly. The red hose connects to the high-pressure port, and the blue hose connects to the low-pressure port. Always confirm your connections are tight and leak-free before taking readings.
Once connected, purge your hoses to remove any air. This step is critical, especially when working with modern refrigerants like R32, where contamination can affect system performance.
After the system is running, your digital gauge will display pressure readings, saturation temperatures, and calculated values such as superheat and subcool. These readings do not tell you the fault directly, but they provide the data you need to diagnose the issue.
Always let the system stabilise before taking final readings. Quick readings right after startup can lead to incorrect diagnosis.
Reading Superheat and Subcool Correctly
Superheat tells you how much heat the refrigerant has absorbed after it has fully evaporated. Subcool tells you how much the refrigerant has cooled below its condensation point.
Correct superheat ensures the evaporator is being used efficiently without flooding the compressor. Correct subcool ensures the condenser is delivering a solid column of liquid refrigerant.
Digital manifolds calculate these values automatically, but you still need to understand what normal ranges look like for the system you are working on.
Vacuum Readings and Micron Levels Explained
When opening a system, pulling a proper vacuum is essential. A good evacuation target is below 500 microns, and ideally lower depending on the system.
Using a reliable vacuum gauge ensures you are not relying on guesswork.
Vacuum readings that rise quickly after isolation often indicate moisture or leaks in the system. Stable readings confirm a clean and properly evacuated system.
Typical evacuation targets: below 500 microns for standard systems, with lower targets for critical or large systems.
Common Gauge Readings and What They Mean
| Reading Pattern | Possible Issue |
|---|---|
| High pressure too high | Dirty condenser, poor airflow, overcharge |
| Low pressure too low | Undercharge, restriction, evaporator issue |
| High superheat | Low refrigerant, airflow problems |
| Low subcool | Undercharge or flashing refrigerant |
Choosing the Right Digital Gauge for the Job
Not all gauges are the same. Some are better suited for residential work, while others are designed for commercial systems and larger installations.
A quality digital manifold gauge should provide accurate readings, reliable sensors, and a durable build that can handle Australian job site conditions.
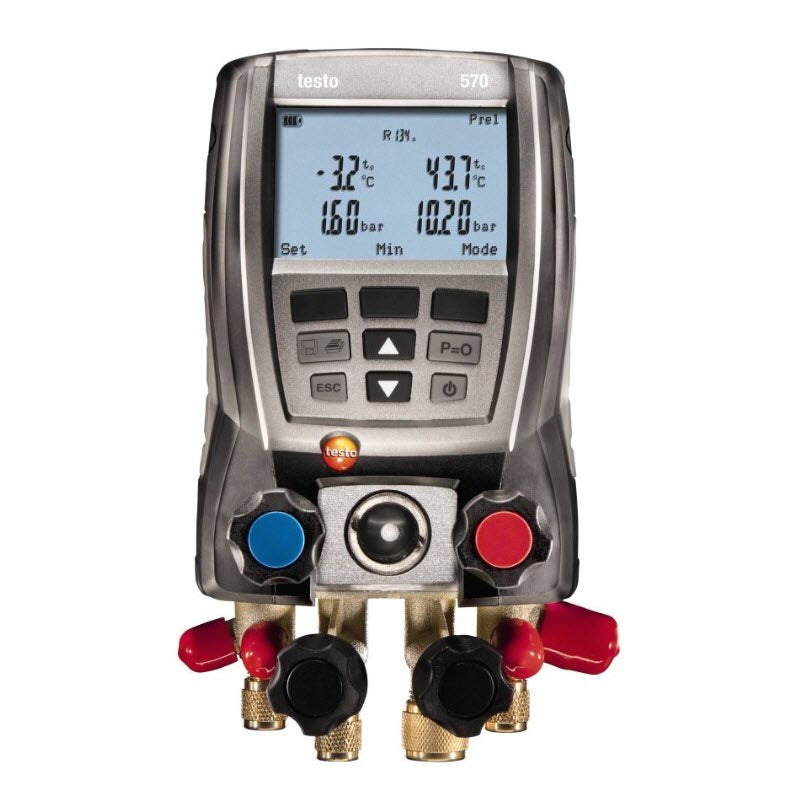
Features like Bluetooth connectivity, data logging, and multi-refrigerant support are becoming standard, especially for technicians who want faster workflows and better job documentation.
Common Mistakes When Reading HVAC Gauges
One of the most common mistakes is relying on pressure readings alone without considering temperature and airflow conditions. HVAC systems are dynamic, and readings must always be interpreted in context.
Another mistake is taking readings too quickly. Systems need time to stabilise before meaningful data can be collected.
Incorrect hose connections, poor sealing, and contaminated hoses can also lead to misleading readings.
Safety and Compliance in Australia
Working with refrigerants in Australia requires proper licensing and compliance. Always ensure you follow safe handling procedures and use approved tools.
For official guidance, refer to ARCtick, which outlines licensing requirements and safe refrigerant handling practices.
Final Thoughts
Learning how to read digital HVAC gauges properly is one of the most valuable skills you can develop as a technician. It improves your diagnostics, reduces call-backs, and helps you deliver better results on every job.
With the right tools and a solid understanding of system behaviour, you can confidently diagnose and service HVAC systems across any Australian condition.
If you are upgrading your setup, start with a reliable digital HVAC gauge and build your workflow from there.