learn how to use a pipe bender effectively


Hey there, DIYers and pros! Ever found yourself scratching your head trying to bend a pipe just right, but instead, it turns into an oddly shaped spaghetti noodle? Fear not! Pipe bending doesn't have to be rocket science (although it might feel like it sometimes). With the right tools and a little know-how, you can master the art of pipe bending like a true pro. Ready to dive in?

Table of Contents

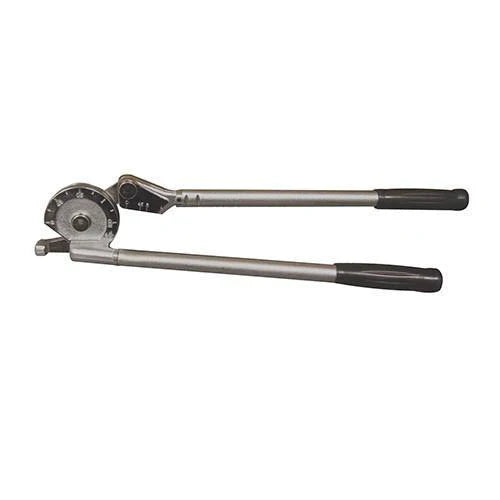
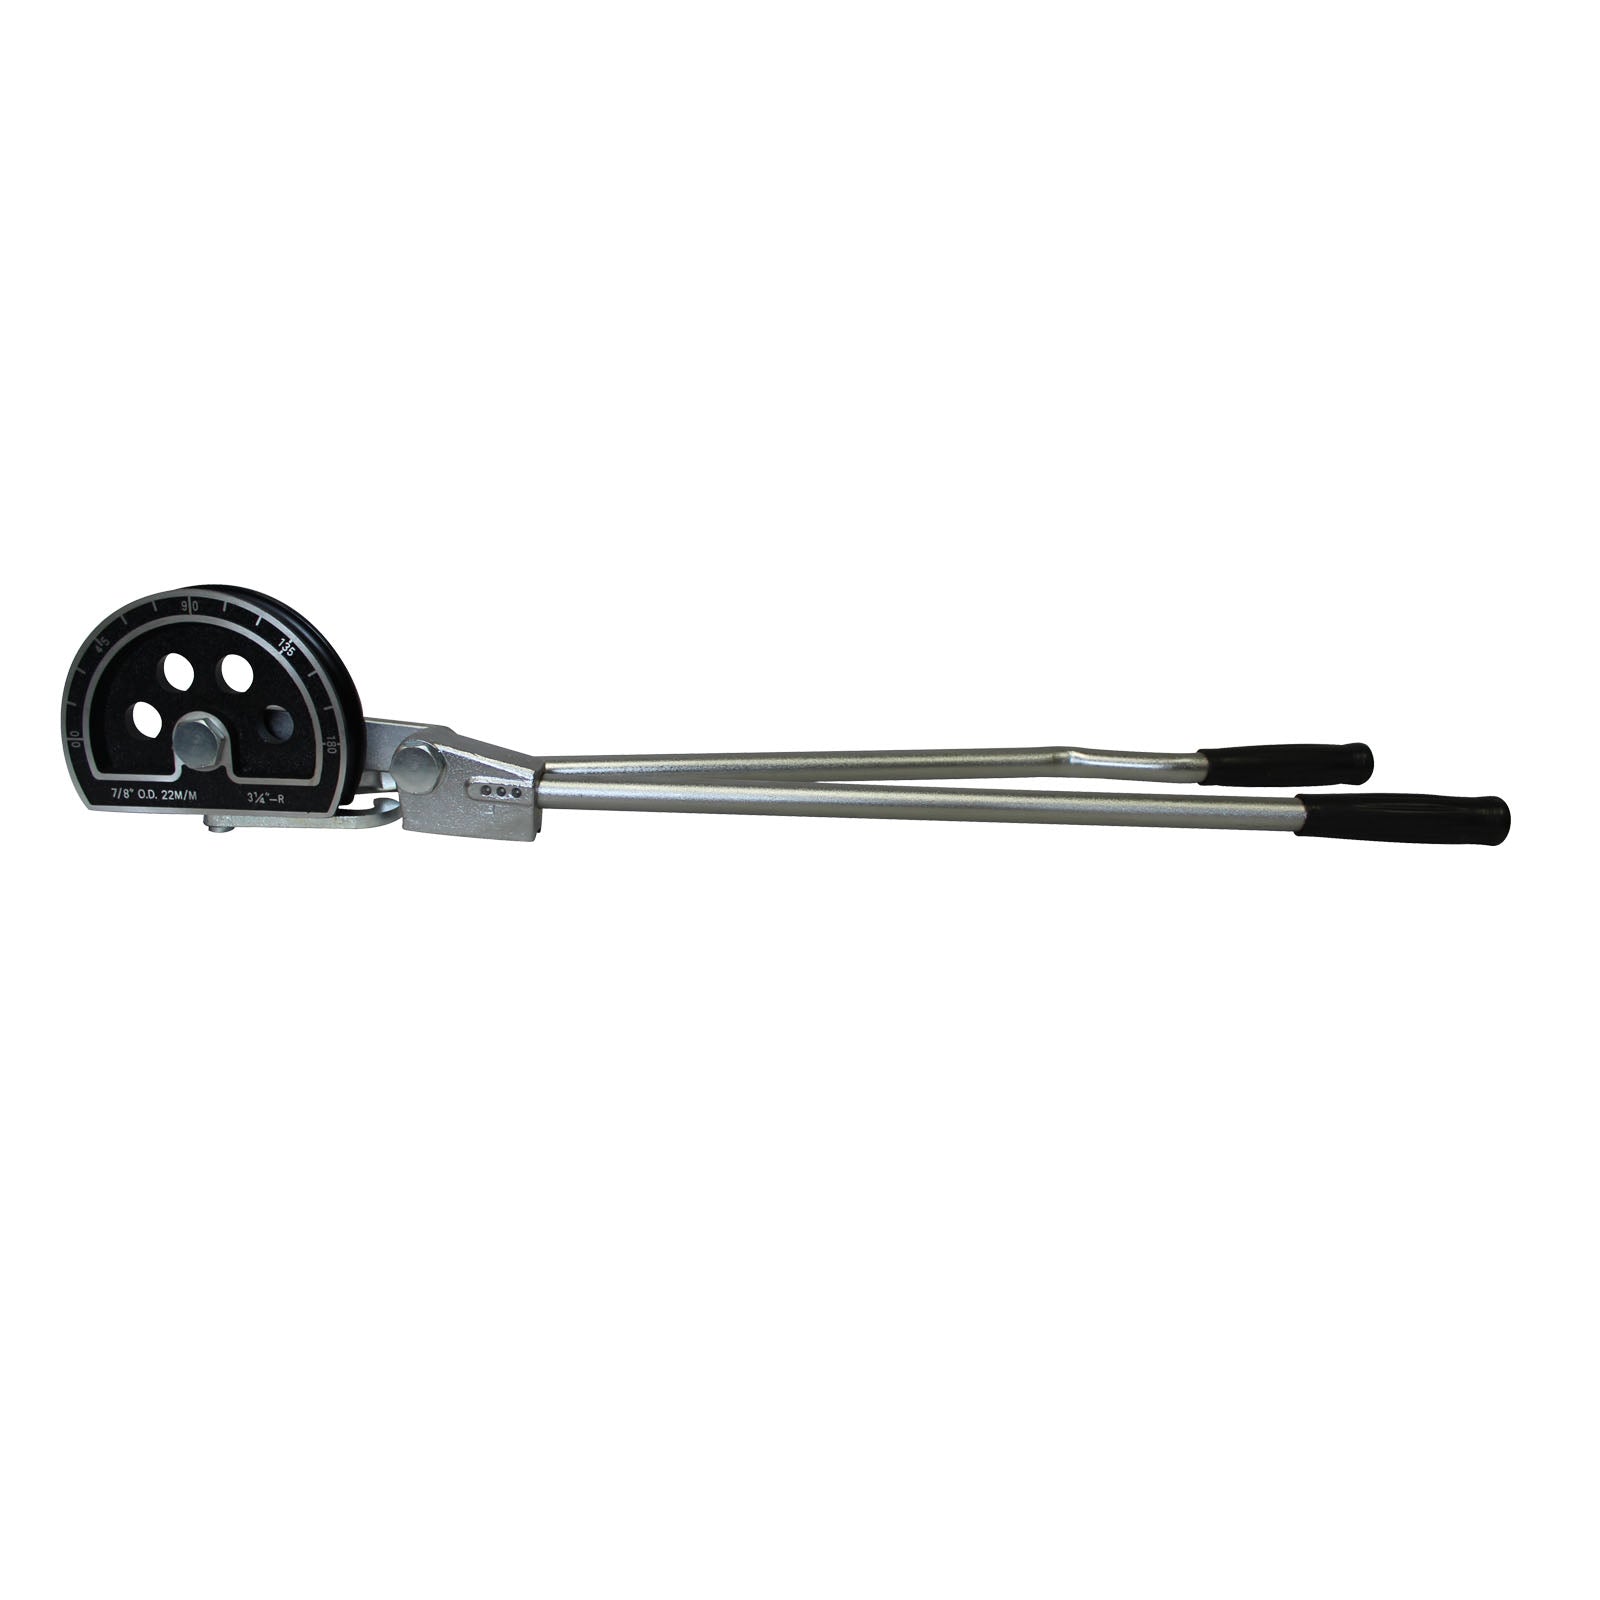
WHAT IS A PIPE BENDER?

Precise Pipe Bender Tool

Pipe benders are tools that are used in the tube bending or pipe bending process. Pipe benders are not required for tube bending. However, they can be quite helpful in terms of comfort and convenience.

HOW DOES A PIPE BENDER WORK?

When using a pipe bender, the process begins by positioning the pipe against the former, a curved part of the bender designed to shape the pipe. The handles are then pulled to apply pressure, causing the pipe to bend gradually around the former. As the pipe is pushed into the curve, it's compressed and stretched at different points along its length, following the precise shape of the former. The tighter the bend, the more pressure is needed, and for larger pipes, a longer handle provides the necessary leverage. This ensures that the pipe maintains its integrity without kinking or distorting, resulting in a smooth, accurate bend.

HOW TO USE PIPE BENDER TOOL (STEP-BY-STEP PROCESS)

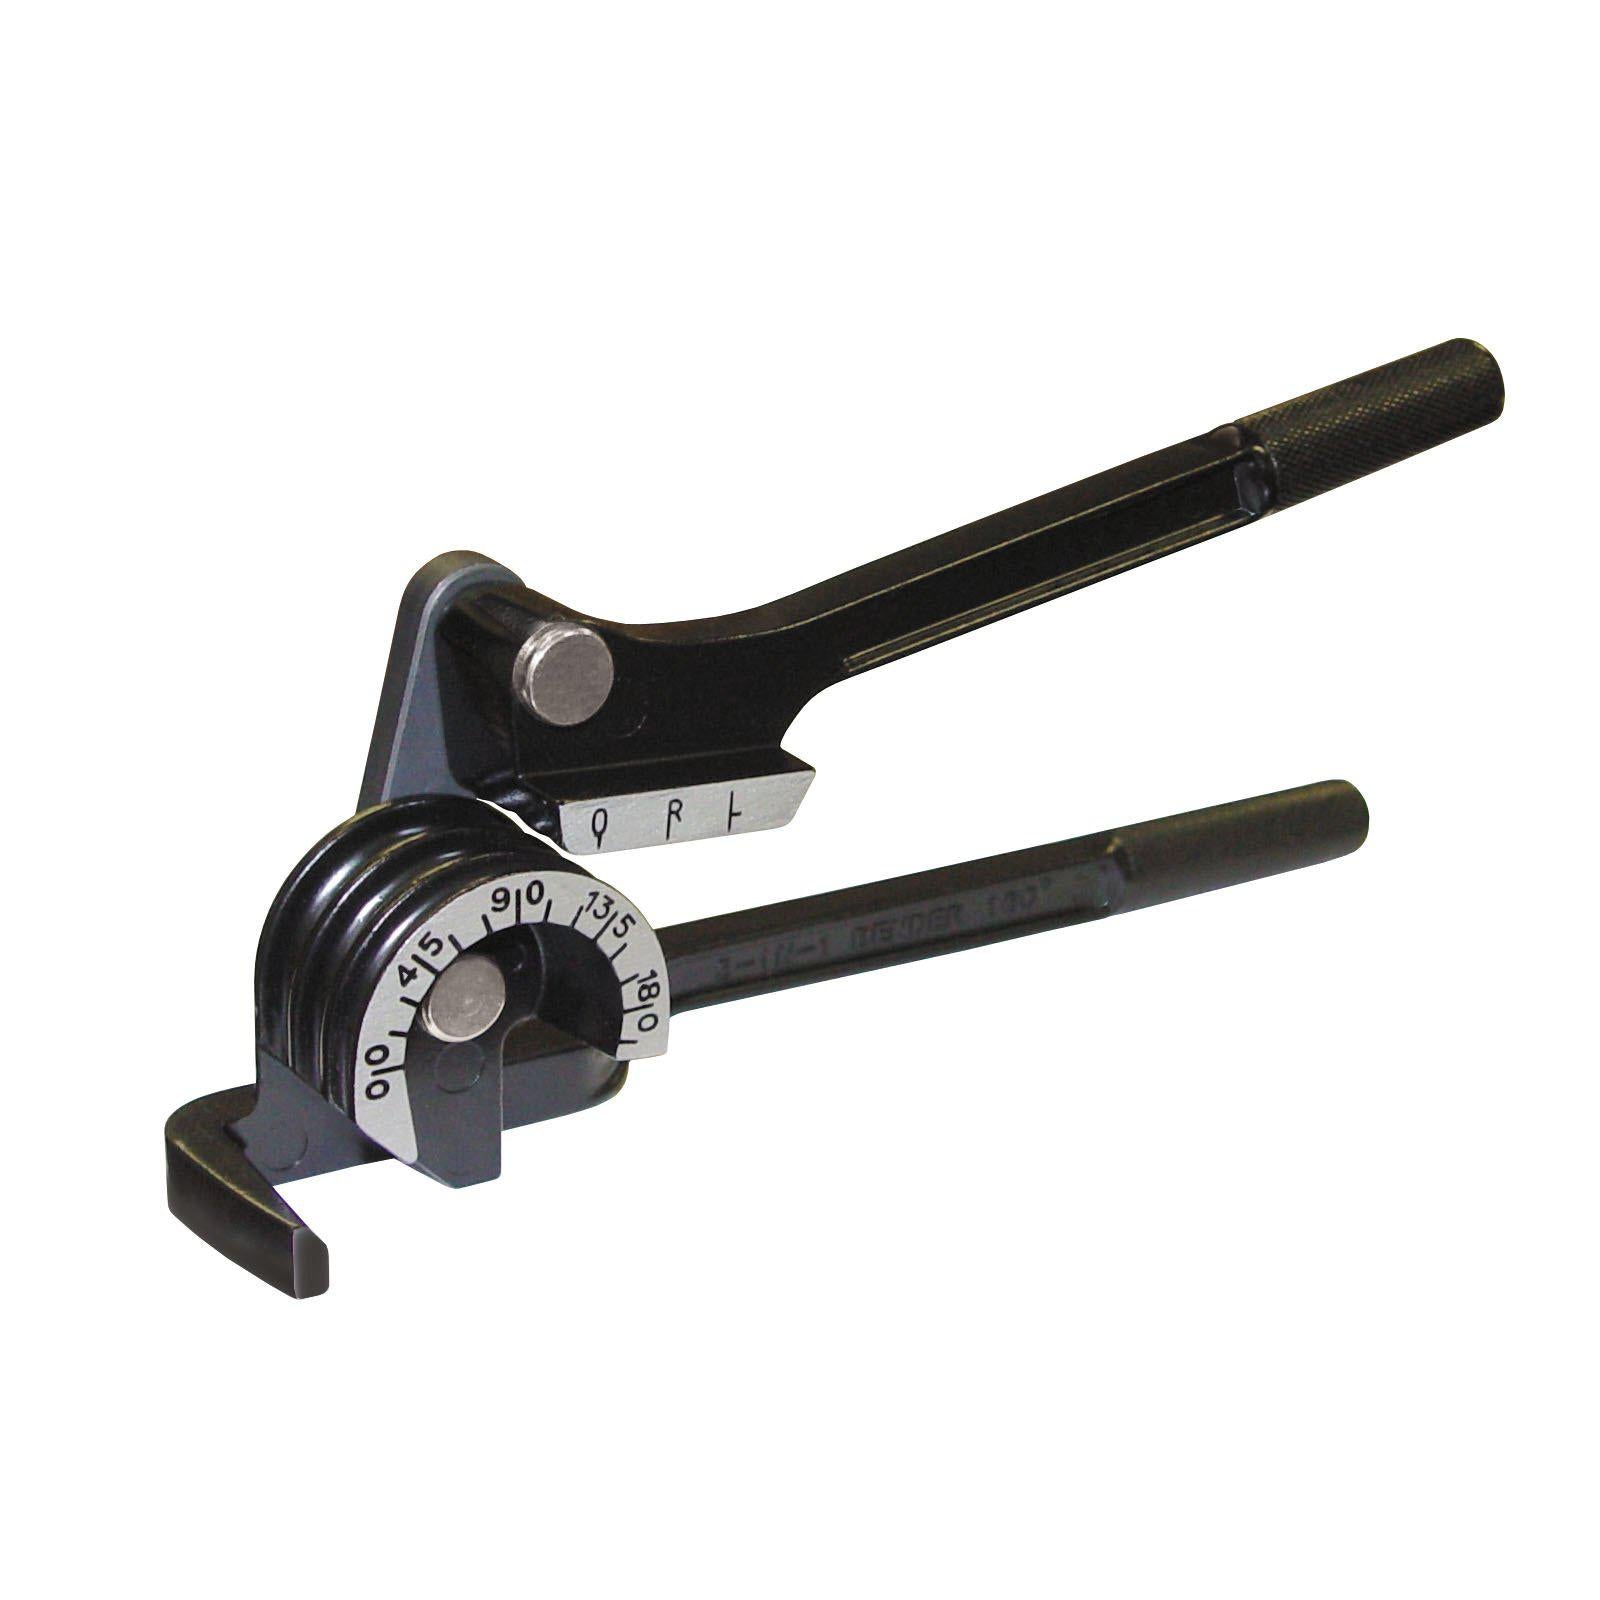
Step 1: Die Installation

It's the initial step in the bending procedure. Select a die based on the pipe size and ensure it's properly installed.

Step 2: Prepare The Follower Block

Install the follower block correctly to ensure an accurate and error-free bend.

Step 3: Pipe Placement

Position the pipe in the bender and mark where you want it to bend. Ensure the pipe size matches the die and follower block.

Step 4: Installation of U-Strap

The U-strap holds the pipe securely in place during the bending process. Reinsert the pin after positioning the strap.

Step 5: Insert the Drive Pin

The driving pin secures the pivot arms to the die, allowing the pipe to bend.

Step 6: Pipe Alignment Checking

Use the markers made earlier to ensure the pipe is aligned with the die's edge for a precise bend.

Step 7: Adjusting the Degree Pointer

Set the degree pointer to zero before starting the bend to track how far the pipe bends.
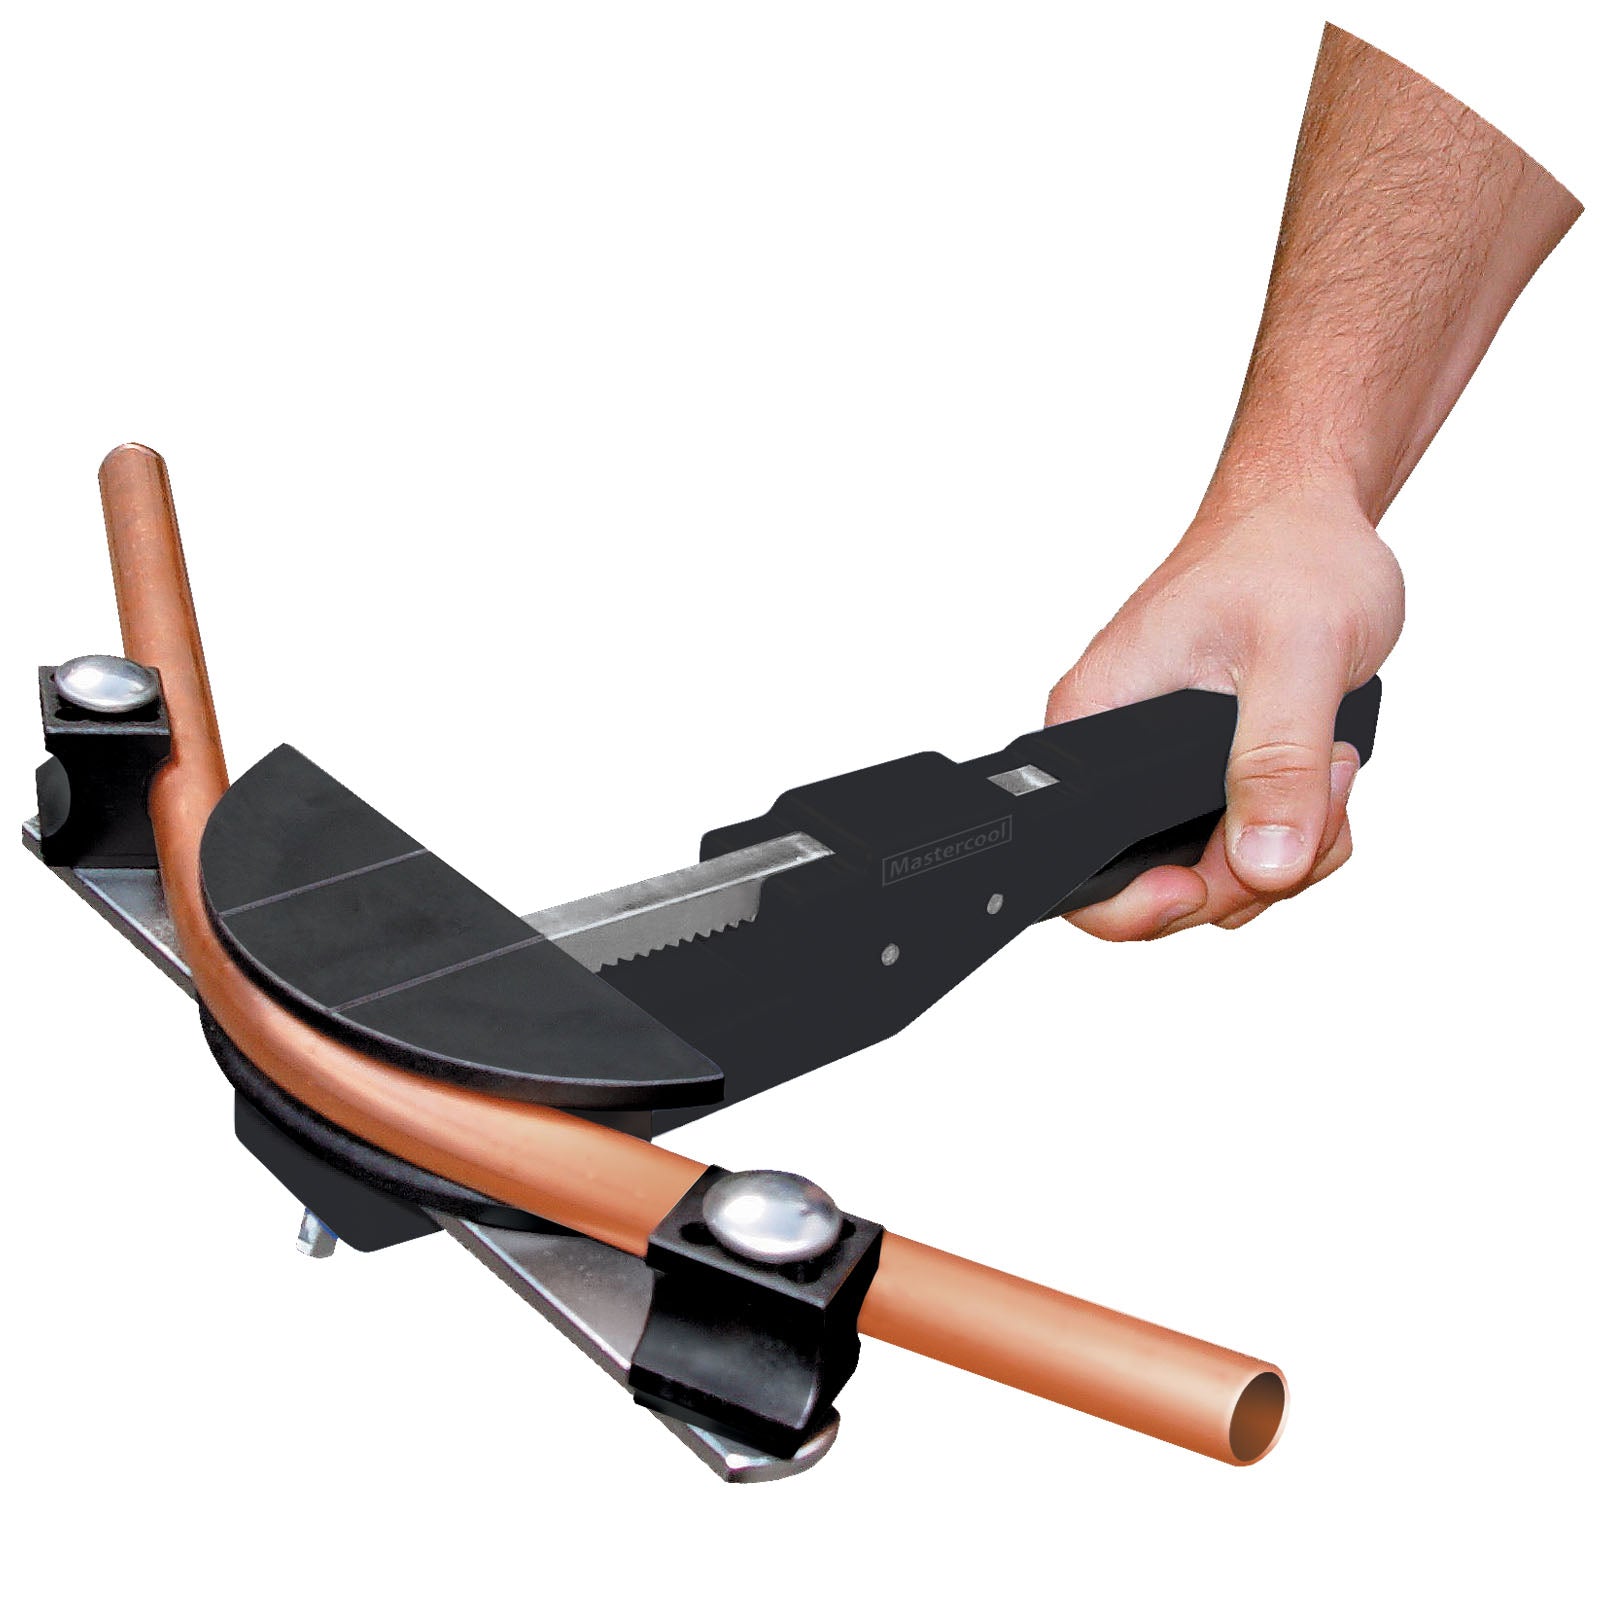
Step 8: Bending

Pull the handles of the bender to gradually bend the pipe, following the degree marker.

Step 9: Pipe Removal Preparation

Release the lever and remove the drive pins to prepare for removing the pipe from the bender.

Step 10: Remove the Pipe

Using reverse engineering, loosen the tensioner bolts and carefully remove the bent pipe from the machine.

PIPE BENDER FORMS

There are several types of pipe benders, including dual pipe, ergonomic, mini pipe, conduit, ratchet, and free-standing benders.

In addition to the common types of pipe benders, there are specialized variations for specific tasks. Hydraulic pipe benders, for example, use hydraulic pressure to bend thicker or larger pipes with minimal manual effort, making them ideal for heavy-duty applications. Electric pipe benders automate the bending process, offering consistent results for repetitive tasks, often used in industrial settings. Mandrel benders, on the other hand, use a flexible mandrel inserted into the pipe to prevent collapse during the bending process, ensuring a smooth internal surface—especially useful for thin-walled or soft materials like copper or aluminum. These types of benders provide additional precision and control depending on the material and bending requirements.

Pro Pipe Bending Equipment

PIPE BENDING TIPS USING A PIPE BENDER

  1. Ensure the former and roller sizes are accurate for the pipe size.
  2. Measure the pipe from the middle for accurate bends.
  3. Practice to achieve a smoother bend.
  4. Over-bend slightly to compensate for spring-back.
  5. For lighter materials, fill the pipe with sand and water to avoid crimping.

COMMONLY ASKED QUESTIONS

What should I take note of in pipe bending?

Pay attention to proper technique to avoid damaging the pipe and ensure longevity and performance.

Can you bend square tubing with a pipe bender?

Yes, square or rectangular tubing can be bent using a pipe bender with the right technique.

MAKE PIPE BENDING EASIER WITH THE RIGHT PIPE BENDER FROM HVAC SHOP

Top-Notch Pipe Bender

Looking for the right tools for your pipe-bending project? Check out HVAC Shop's range of pipe benders, and make pipe bending a breeze!

For those working with lightweight materials like copper or aluminum, our ergonomic and mini pipe benders are perfect for smaller projects or tight spaces, offering ease of use and precision. If you're handling larger pipes made of tougher materials, like steel, our free-standing or hydraulic benders provide the power and leverage needed to create smooth, clean bends with minimal effort. We also offer ratchet benders, which are ideal for confined spaces where a more traditional pipe bender may not be feasible.

In addition to offering a wide selection of tools, HVAC Shop is committed to ensuring that you have everything you need for your project. Our detailed product descriptions and helpful customer service team can guide you to the best choice for your specific job, ensuring that pipe bending is no longer a headache but an enjoyable and efficient process. Visit our collection today and find the perfect bender for your project!

Blog posts

View all

Why Choose Bradley Tools? A Practical HVAC Guide for Australian Tradies

Bradley HVAC ToolsRica Francia Macaspac

If you’re asking “why choose Bradley tools”, you’re really asking one trade question: will this gear make my work more repeatable and reduce call-backs. This guide breaks down what sets Bradley apart in real HVAC use—pressure testing confidence, consistent tightening, durable fit in tight access, and support that matters when tools live in vans, coastal air, dust, and humidity across Australia.

Bradley Tool Range Guide: Build a Complete HVAC Toolkit for Australian Tradies

bradley flaring toolRica Francia Macaspac

If you’re searching the Bradley tools range, you’re probably not chasing one “nice tool” — you’re building a system you can trust on real HVAC jobs. This guide breaks the Bradley range into the job steps that matter most: nitrogen pressure testing (NR1000), repeatable flare tightening (TW4/TW8 torque tools), and flaring + prep tools that keep copper connections consistent. We’ll also show a sensible kit-building order for Australian conditions, so you reduce call-backs, avoid mismatched gear, and keep your workflow calm and repeatable.

Bradley Torque Wrench Guide: TW4 vs TW8 for HVAC Flare Nuts in Australia

Australian HVAC ToolsRica Francia Macaspac

Bradley torque wrenches take the guesswork out of flare nut tightening, helping Aussie HVAC techs reduce leaks caused by over-torque and under-torque. This guide breaks down TW4 pre-set vs TW8 adjustable options, where each one fits on installs vs service work, and the simple technique, storage, and calibration habits that keep your tightening consistent and call-backs low.

Bradley NR1000 Guide: High-Pressure Nitrogen Regulator for HVAC Testing in Australia

bradley nitrogen regulatorRica Francia Macaspac

If you’re looking at the Bradley NR1000, you’re chasing one thing: pressure control you can trust. This guide explains what the NR1000 nitrogen regulator is built to do, how it helps with stable pressure testing and controlled purging, what to check for Australian cylinder and hose compatibility, and how to maintain it so your leak checks stay calm, repeatable, and reliable.

Bradley HVAC Tools Guide: Pro-Grade Tool Picks for Australian Tradies

Bradley HVAC ToolsRica Francia Macaspac

If you’re searching Bradley HVAC tools, you’re probably trying to cut down leaks, call-backs, and wasted hours — not buy another “nice looking” gadget. This guide breaks down the Bradley range in plain Aussie trade terms, including where NR1000 nitrogen regulators, TW4/TW8 torque wrenches, and RF100-style flaring tools fit in real installs, service, and commissioning. You’ll also learn how to build a staged Bradley kit based on the work you actually do, so your tools stay consistent, durable, and job-ready in Brisbane humidity, Sydney coastal air, and Melbourne cold snaps.

Propane Torch HVAC Guide: How to Choose the Right Torch for Copper Work in Australia

Copper brazingRica Francia Macaspac

A practical Propane Torch HVAC Guide for Australian tradies who want reliable heat for copper work without overspending. Learn what propane torch temperature really means on the job, how torch heads and flame shape change performance, when propane is the right daily fuel, and when it makes sense to upgrade to MAP-Pro—plus a clear propane vs MAP-Pro vs butane comparison and troubleshooting tips.