
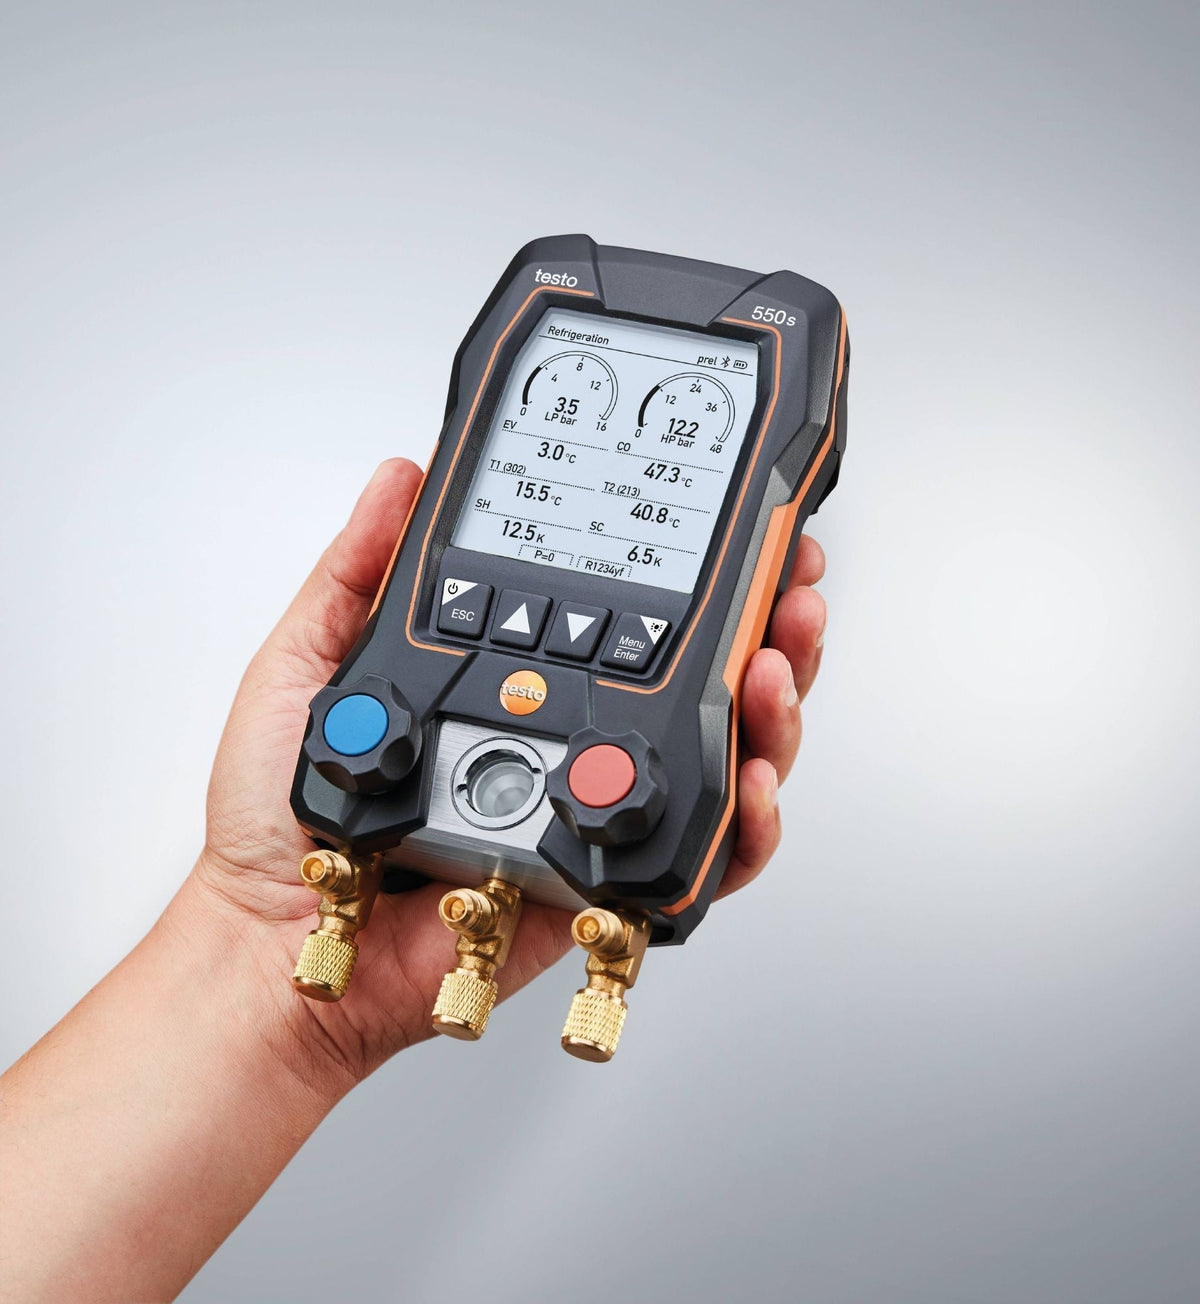
Refrigerant changes state and temperature as pressure rises and falls — which means gauge readings are usually the fastest window into what an air-conditioning system is actually doing. When a customer says the aircon takes too long to cool, cycles oddly, or was fine last month and isn't now, the manifold set goes on first. Pressures don't close the diagnosis on their own, but they narrow the field quickly.
The real mistake is treating a pressure reading like a verdict. Low suction pressure means one thing if the high side is also low, something different if the high side is elevated, and something else again if the compressor is barely pulling down. Every reading needs context: ambient temperature, engine speed, fan operation, and what the system looked like before you connected anything.

Car A/C faults rarely need a top-up. They need a diagnosis. Low charge is common, but a worn compressor creates similar symptoms. So does a stuck expansion valve, blocked condenser airflow, moisture in the circuit, or a service coupler that's leaking before you've even started. A good tech reads the pressures, then asks whether those readings make sense for what's sitting in front of them.
If you need a new set to work with, browse the refrigerant gauges collection — analog and digital options for automotive R134a, HVAC R32/R410A, and mixed-fleet workshops.
Reading AC Pressures Using Auto Refrigerant Gauges
Automotive manifold gauges typically show multiple pressure units on the same face: MPa, bar, kPa, and PSI depending on the set. Service manuals and vehicle data across the industry don't agree on a single unit, so you need to be able to translate without stopping to think about it.
Unit conversion quick reference: 1 MPa = 10 bar = 1000 kPa = 145 PSI
Red gauge reads high side, blue reads low side. The high side covers refrigerant after the compressor — hot, compressed, heading toward the condenser. The low side covers refrigerant after the expansion device and through the evaporator, where it's absorbing heat and pressure is lower. Those two numbers, read together, tell you whether the refrigerant circuit is doing what it's supposed to.
There is no universal "correct" pressure for every vehicle in every workshop on every day. Ambient temperature changes condensing pressure directly. Humidity adds heat load. Engine speed changes compressor output. Condenser fan performance affects how well heat is rejected. Even cabin settings — recirculation on or off, blower speed, how long the system has been running — shift the numbers. The target is a believable pressure relationship for the conditions, not a fixed pair of values.
As a rough orientation under moderate ambient conditions (around 20°C), many R134a systems may show roughly 1.3–2.0 MPa (188–290 PSI) on the high side and 0.12–0.25 MPa (17–36 PSI) on the low side at 1,500–2,000 RPM. In kPa terms, that often sits around 1,300–1,600 kPa high side and 150–250 kPa low side. Those numbers are a starting reference — always compare against manufacturer procedures and your own ambient conditions.
Pro Tip: Let readings stabilise before you call it. Quick readings immediately after connection — especially on systems with cycling compressors, variable displacement control, or heat-soaked engine bays — can look like faults that aren't there.
What Pressure Actually Tells You
Pressure is a proxy for refrigerant temperature and state. It tells you how hard the system is working, and whether refrigerant is boiling and condensing in the right places. That's why pressure diagnosis works well when combined with component temperatures and airflow checks — pressure alone gives you clues, not conclusions.
High-side pressure is a direct reflection of condenser heat rejection. If the condenser fan is lazy, fins are blocked, or the engine bay is heat-soaked, high-side pressure climbs. The system may still cool under light load, but performance drops under stress — in traffic, on hot days, on dark vehicles with a full cabin. In Australian summer conditions, that kind of marginal system is often what comes back as a complaint.
Low-side pressure reflects how refrigerant is being metered through the expansion device and how well the evaporator is being fed. Too low, and the evaporator may be starved. Too high, and the evaporator may be overfed or the compressor may not be pulling down properly. Neither reading alone finishes the diagnosis.
Experienced technicians read patterns, not individual numbers. A low low-side reading next to a normal high side points somewhere different to a low low-side with a low high side. Building that relational picture is the skill.

Why Ambient Conditions Change the Diagnosis
Condensing pressure rises with ambient temperature because the system has to reject heat into warmer air. A high-side reading that looks elevated in a cool Melbourne workshop is sometimes completely normal on a Brisbane rooftop or in the carpark of a Darwin shopping centre on a 38°C day. The reading doesn't change — the context does.
Humidity adds to cabin heat load beyond simple cooling. On humid days the system is removing moisture as well as heat, which can change how fast pressures settle and how vent temperature tracks. A system that looks borderline in a dry climate might perform well enough — the same system in coastal Queensland humidity may show its weaknesses clearly.
Condenser airflow is often overlooked. A system that behaves acceptably on the highway but struggles at idle is usually pointing to fan performance, not charge level. The pressure pattern at idle versus at road speed usually confirms it: if the high side drops noticeably when the vehicle gets moving, airflow is the constraint.
This is why a proper gauge reading should always be paired with notes on ambient temperature, engine speed, blower speed, vent temperature, and condenser fan behaviour. Those extra 30 seconds don't slow the job — they usually save you from chasing the wrong fault.
Common Car AC Fault Patterns
A useful habit is to take readings at idle, then again at 1,500–2,000 RPM. That comparison shows you how the system responds to compressor speed and gives you much more information than a single snapshot. You're watching the pressure split widen, stabilise, or behave oddly — not just confirming a number.
Working through a fault now?
The patterns below are only as reliable as the gauges you're reading them from. Worn hose ends, leaking couplers, and inaccurate faces all distort the picture before you've even started the diagnosis.
Browse Manifold Gauge Sets →Mastercool, JAVAC, Robinair & Imperial — analog and digital, R134a and R1234yf. Stocked locally, ships Australia-wide.
Low Charge or a Weakening Compressor
Both sides lower than expected is one of the most common patterns. Low refrigerant charge is the obvious suspect — slow leaks from service port Schrader valves, hose crimps, condenser joints, or front shaft seals are all frequent on older vehicles. The system still runs, but it's low on mass and the pressure relationship suffers.
The less obvious possibility is a compressor that's still engaging and sounding reasonable but no longer building adequate pressure difference internally. Worn reed valves or piston rings produce a similar symptom to low charge: both sides sit lower than expected.
The test that separates them: raise engine speed and watch the split. If the high side climbs and the low side drops further, the compressor is working and you're probably looking at charge level — inspect for leaks before you reach for the cylinder. If the pressures move toward each other or barely separate, compressor efficiency is the more likely problem.
On compressor failure jobs, the repair doesn't stop at the compressor. Internally worn compressors spread debris and degraded oil through the circuit. Drier replacement, expansion device inspection, and system flush are often part of the proper repair. Cutting corners here is usually how a job comes back.
Expansion Valve Problems
Expansion valve faults show up as pressure relationships that don't fit the load. If both sides are running higher than expected, the valve may be stuck open — overfeeding the evaporator, flooding the low side, and killing the pressure differential the system needs to cool efficiently.
The opposite pattern — low side pulling very low or into vacuum, high side not building normally — points to restriction or a valve stuck shut. Refrigerant can't reach the evaporator, so suction pressure drops hard and the high side doesn't build the way it would with proper mass flow. This is where misreading the symptom as "low charge" is most common: the pressures look similar, but a restriction changes the flow pattern in a way that charge alone doesn't explain.
Did You Know? A stuck-open TXV and an overcharge produce similar high-side pressure patterns. The difference usually shows in the low side — overcharge pushes it high, while a stuck-open valve floods the evaporator and may cause frost patterns or a wet suction line.
Moisture in the System
Moisture is one of the more frustrating automotive A/C faults because the symptoms come and go. The system cools, then stops cooling, then recovers. On the gauges, it can look like an intermittent restriction: the low side pulls very low or into vacuum, then pressure returns to something more normal. That's moisture freezing at the expansion device or orifice tube, temporarily blocking refrigerant flow — then melting as the ice shifts.
Unstable or drifting readings with occasional low-side vacuum events deserve respect. Recharging a wet system is not a fix. The proper repair is recovery, thorough evacuation, drier replacement, and recharge. A system that keeps coming back after top-ups is often telling you it has moisture, not just that it's low.
Leaking System
Leak inspection belongs alongside pressure diagnosis whenever the readings suggest low charge. Before assuming the system just needs refrigerant, look at the circuit. Oil residue at hose ferrules, compressor front seals, condenser joints, service port bodies, or line connections is often visible before the recovery machine is even out of the van.
Some leaks are obvious. Others are slow enough that the system cools for most of the season, then struggles when ambient temperatures peak. The customer describes it as intermittent — the leak is continuous. A careful visual inspection is still one of the most reliable first steps on any low-charge presentation.
How to Read Pressure Patterns More Reliably
Connect carefully, note any static pressure if the system has been sitting, then start the engine and watch the initial pull-down. Let it settle. Check idle behaviour. Then bring RPM up to 1,500–2,000 and observe how the pattern changes. That sequence gives you compressor response, system load, and pressure stability — far more useful than a single snapshot taken at one moment.
Pair gauge readings with vent temperature and condenser airflow check. If pressures look reasonable but vent temperature stays high, blend-door or airflow issues may be contributing. If high-side pressure is elevated but the condenser fan is slow, the pressure is a result of the airflow problem — not a cause of the fault.
| Pressure Pattern | Likely Direction of Diagnosis | What to Check Next |
|---|---|---|
| Both sides low | Low charge or weak compressor | Raise RPM, compare pressure split, inspect for leaks before topping up |
| Both sides high | Overcharge, stuck-open valve, or poor condenser airflow | Check fan operation, condenser condition, charge history |
| Low side very low or vacuum, high side below normal | Restriction or expansion device fault | Check for valve faults, moisture pattern, contamination |
| Pressures unstable or drifting | Moisture, contamination, or cycling control issue | Check evacuation history, drier condition, intermittent freeze pattern |
Common Mistakes When Using Auto Refrigerant Gauges
Treating the gauges as a diagnosis is the most common mistake. They provide evidence, not verdicts. Connect a manifold and see a low suction pressure — that's one data point. It could be charge, compressor, restriction, expansion device, or airflow. Don't call it until you have the full picture.
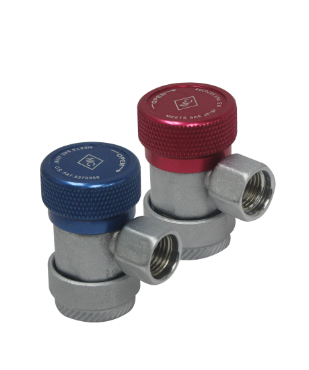
A poor service connection will give you unreliable readings. A leaking coupler, a worn hose end, or a Schrader valve that's partially unseating can distort the reading and contaminate the circuit at the same time. If the connection is unstable, the diagnosis is unstable. This is why quality couplers and hoses are worth looking after, not treating as disposable. The full range of automotive and HVAC manifold gauges at HVAC Shop includes options for both R134a and R1234yf workshop setups.
Skipping visual inspection before connecting is another trap. Bent condenser fins, blocked fan shrouds, lazy fans, oily joints, and damaged service ports all affect what the gauges tell you. Pressures should confirm your thinking — not replace it.
Reading too fast is underrated as a mistake. Some systems need time to stabilise, especially in heat-soaked engine bays or immediately after a vehicle arrives on a hot day. An early reading of a normal pull-down pattern looks like a fault. Let the system settle.
Australian Workshop Context Matters
Automotive A/C diagnosis in Australia often happens in conditions that aren't gentle. High ambient temperatures, long idle periods, urban traffic, dusty condensers from outback driving, and heavy cabin loads all push systems harder than a mild northern-hemisphere baseline assumes. A vehicle that seems adequate in a cool Adelaide winter can show clear weaknesses once temperatures climb past 35°C.
That makes pressure diagnosis more valuable, not less. It helps separate a genuinely underperforming system from one that's being asked to do more than it was designed for — and it tells you when a repair is "just acceptable" versus actually solid. A marginal system after repair may well come back in summer. Good diagnosis protects the workshop.

Get the Right Gauges for the Job
Solid pressure diagnosis starts with reliable tools. A manifold set with clean hose ends, accurate gauges, and quality couplers gives you readings you can trust — which matters when you're making repair decisions based on what you see.
For automotive R134a work, a 2-valve manifold with high and low side R134a couplers is the standard setup. If the workshop also services newer vehicles running R1234yf, a dedicated set or a compatible adapter kit keeps cross-contamination out of the picture. For dual-use workshops handling both automotive and residential HVAC, a multi-refrigerant analog manifold covers most day-to-day needs without overcomplicating the service setup.
If you're tightening up the workshop service rig, browse the full refrigerant gauges collection at HVAC Shop. Analog and digital options from Mastercool, JAVAC, Robinair, and Imperial — stocked locally, shipped Australia-wide.
Tech Note: Pressure readings are only meaningful when interpreted alongside ambient temperature, engine speed, condenser airflow, and system condition. A believable pressure pattern matters more than matching a single published number.
In the end, diagnosing AC pressures using auto refrigerant gauges is not about chasing perfect numbers. It's about understanding system behaviour. Read pressures in context, check airflow, pay attention to stability, and treat contamination as seriously as charge level — and you get faster answers and fewer callbacks.
Frequently Asked Questions
What is a normal car AC pressure reading?
It depends on ambient temperature, humidity, airflow, and engine speed. Under moderate conditions (around 20°C), many R134a systems sit somewhere around 150–250 kPa on the low side and 1,300–1,600 kPa on the high side at 1,500–2,000 RPM. The correct reading always depends on the vehicle and the actual test conditions — not a fixed pair of numbers.
Why is my low side pressure too low?
A low low-side reading can point to low refrigerant charge, a restriction, a stuck or faulty expansion device, moisture freezing in the circuit, or a compressor that isn't pulling down properly. Always judge it against the high-side reading and operating conditions — never in isolation.
Can high pressure damage the system?
Yes. Excessive high-side pressure puts extra stress on the compressor, hoses, seals, and condenser. Left unaddressed, it shortens component life and eventually causes failure. Always identify the cause — overcharge, blocked condenser, fan fault, or restriction — rather than assuming it's normal.
What auto refrigerant gauges are available at HVAC Shop?
HVAC Shop stocks analog and digital manifold gauge sets for automotive R134a and multi-refrigerant applications, from brands including Mastercool, JAVAC, Robinair, and Imperial. Browse the full range in the refrigerant gauges collection.